Tag: LeafyGreens

  • Spinach Majjige Huli

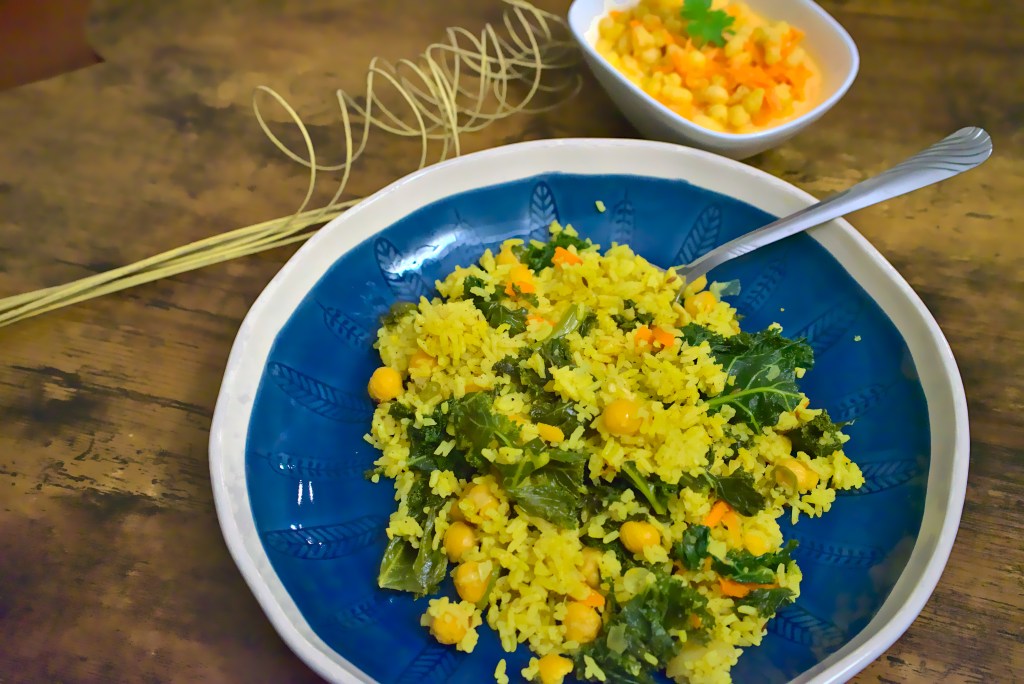
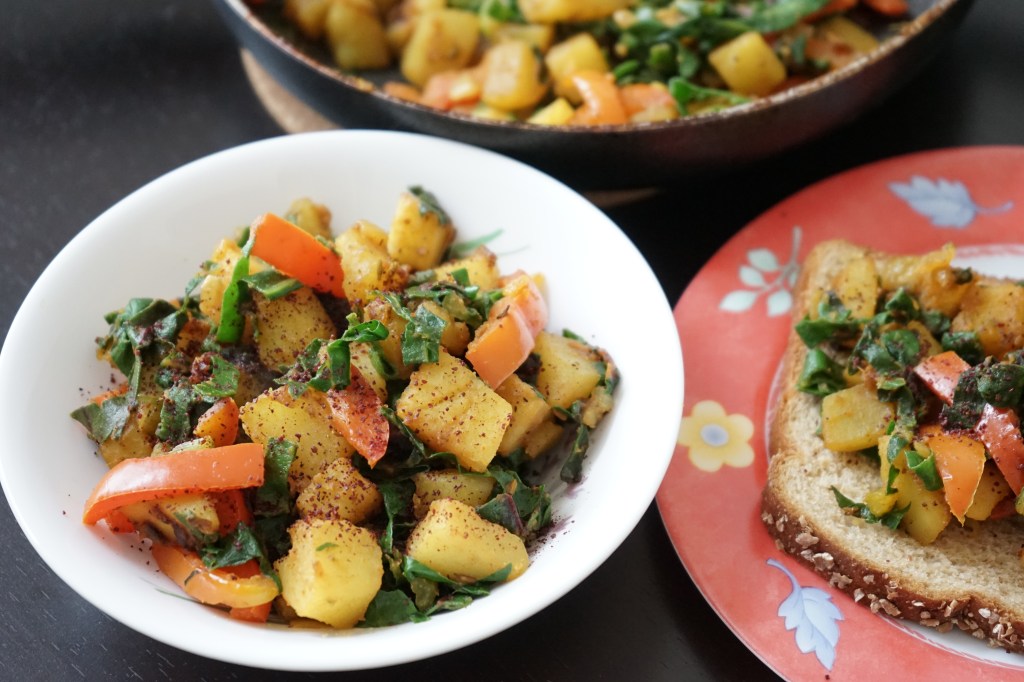
    Yoghurt and greens. This recipe has everything that I love and everything that my husband does not. Yet, he ate it, not once, but twice. So, I am going to take the win.

    This recipe is yet another good and very interesting way to incorporate greens into your diet. Unfortunately it is not vegan because of the use of yoghurt. If you try this recipe with plant based yoghurt, I would love to know how to turns out. Now, on to the the recipe.


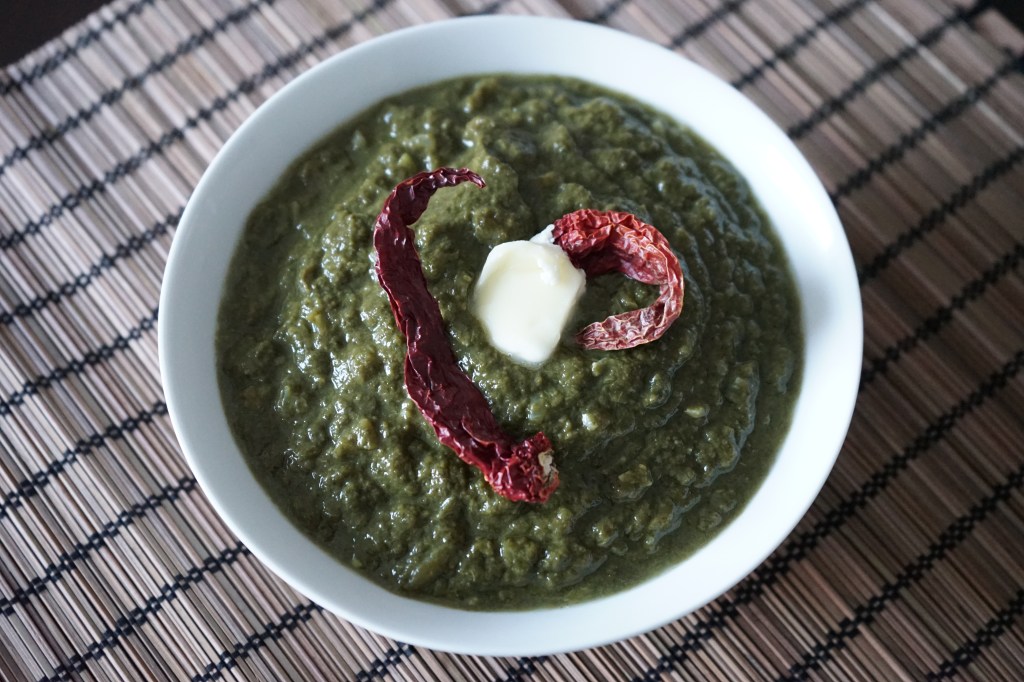
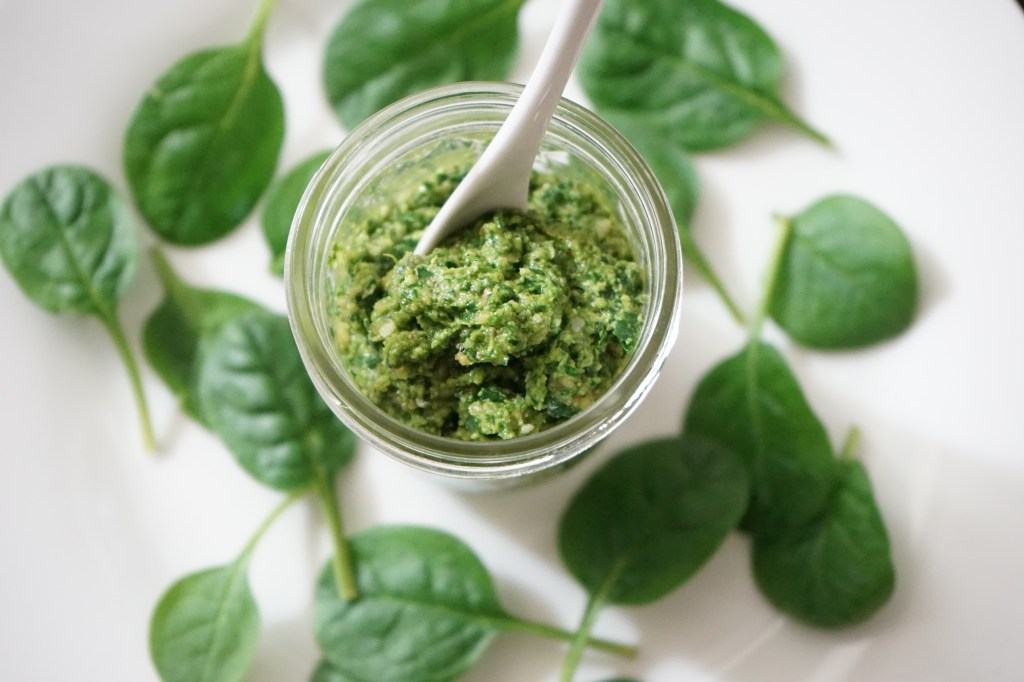
    Majjige Huli is a popular dish from the Southern Indian state of Karnataka. Growing up, it was a favorite at my parent’s place. Majjige Huli, when translated backwards means “Sour (Huli) Buttermilk (Majjige)“. Traditionally, the recipe is made with sour buttermilk and uses different types of vegetables. There is a boiled version (where the buttermilk is boiled to reduce its sourness, which would make it similar to the North Indian version of this called Kadhi). But this is a “raw” version because buttermilk (NOT RAW) is used but not boiled. Therefore, it is called a Hasi Majjige Huli (Hasi = Raw in Kannada). But, since I did not have buttermilk at home, I made do with yoghurt. Furthermore, Spinach is used in this recipe. But traditionally, vegetables such as Cucumber, Bottle Gourd, Green Plantains, Bell Peppers etc. are used in the preparation of the boiled version of this curry.

    The recipe has a distinct flavor due to the use of both raw and crackled mustard seeds along with its coconut and yoghurt base. It is definitely an acquired taste and therefore should be adjusted as per individual taste preferences. Anyone with any skill level can prepare this recipe in under 20 minutes. The curry is served with rice and is usually a second accompaniment along with rasam or sambhar.

    With good probiotics from yoghurt or buttermilk and vitamins and minerals from the greens, it is nutritious and cooling on the body. Definitely worth a try.

    Prep time10 minutes
    Cook time5
    Serves2

    Ingredients

    Vegetables

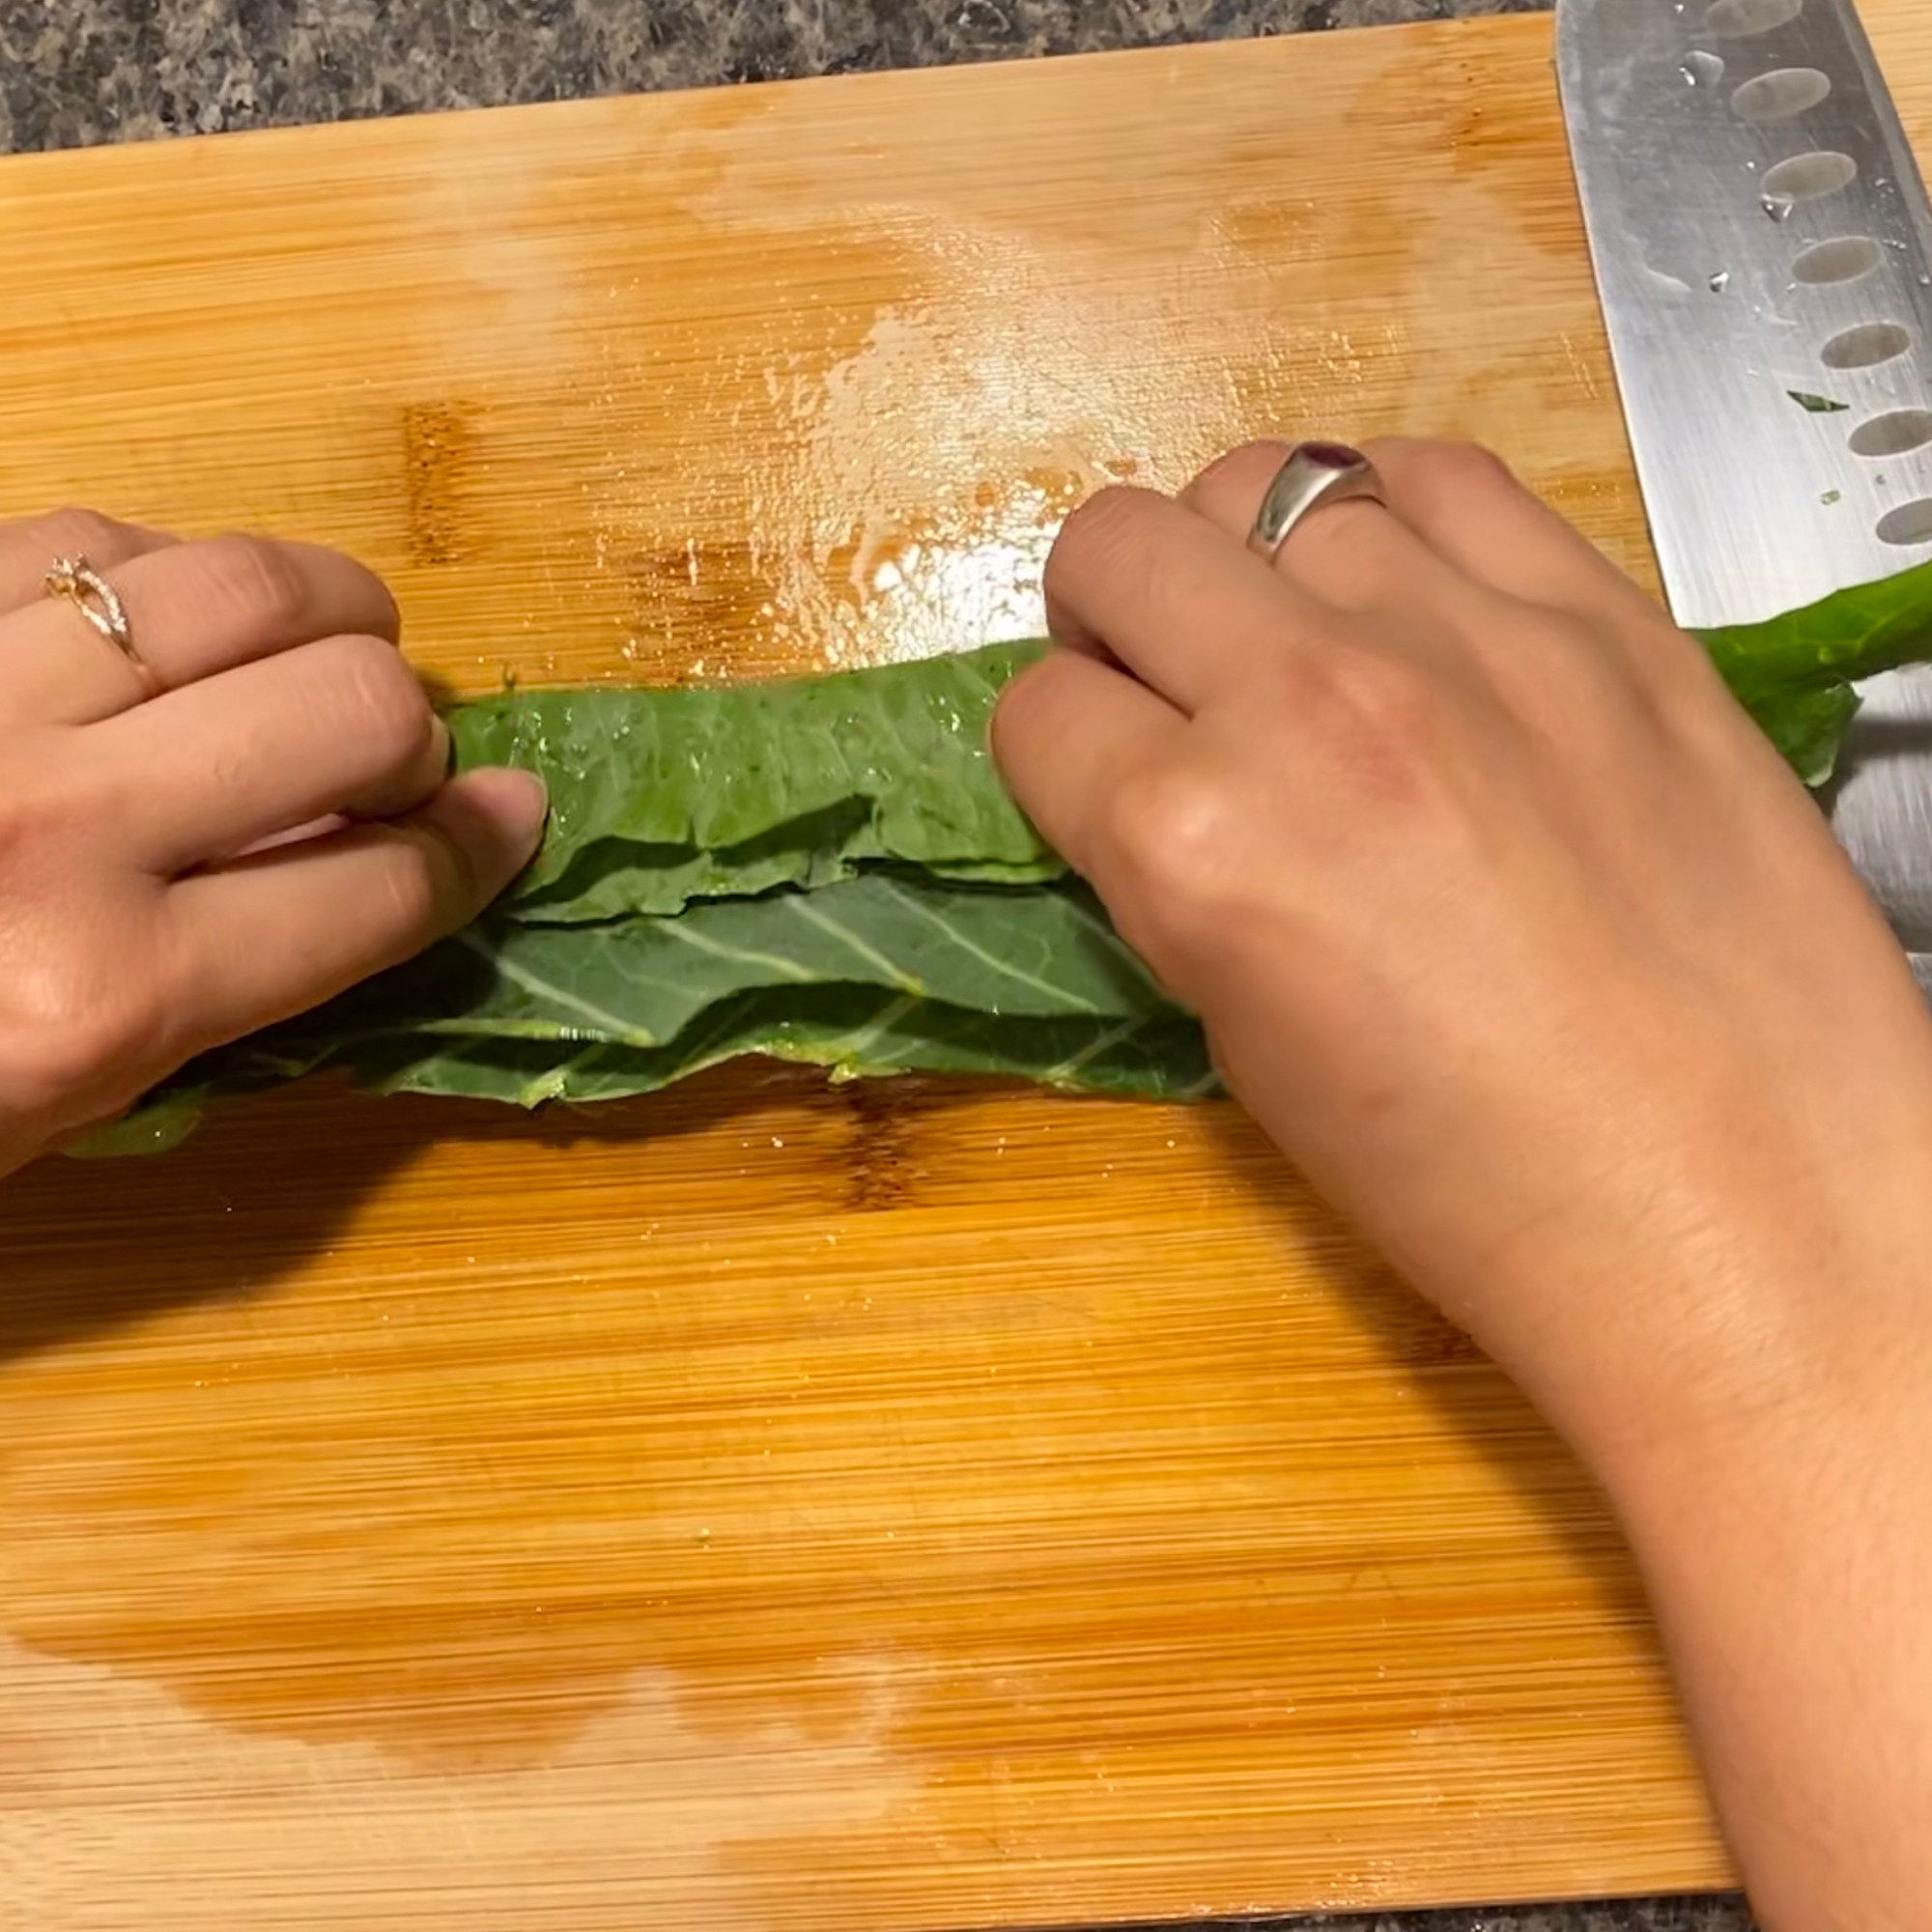
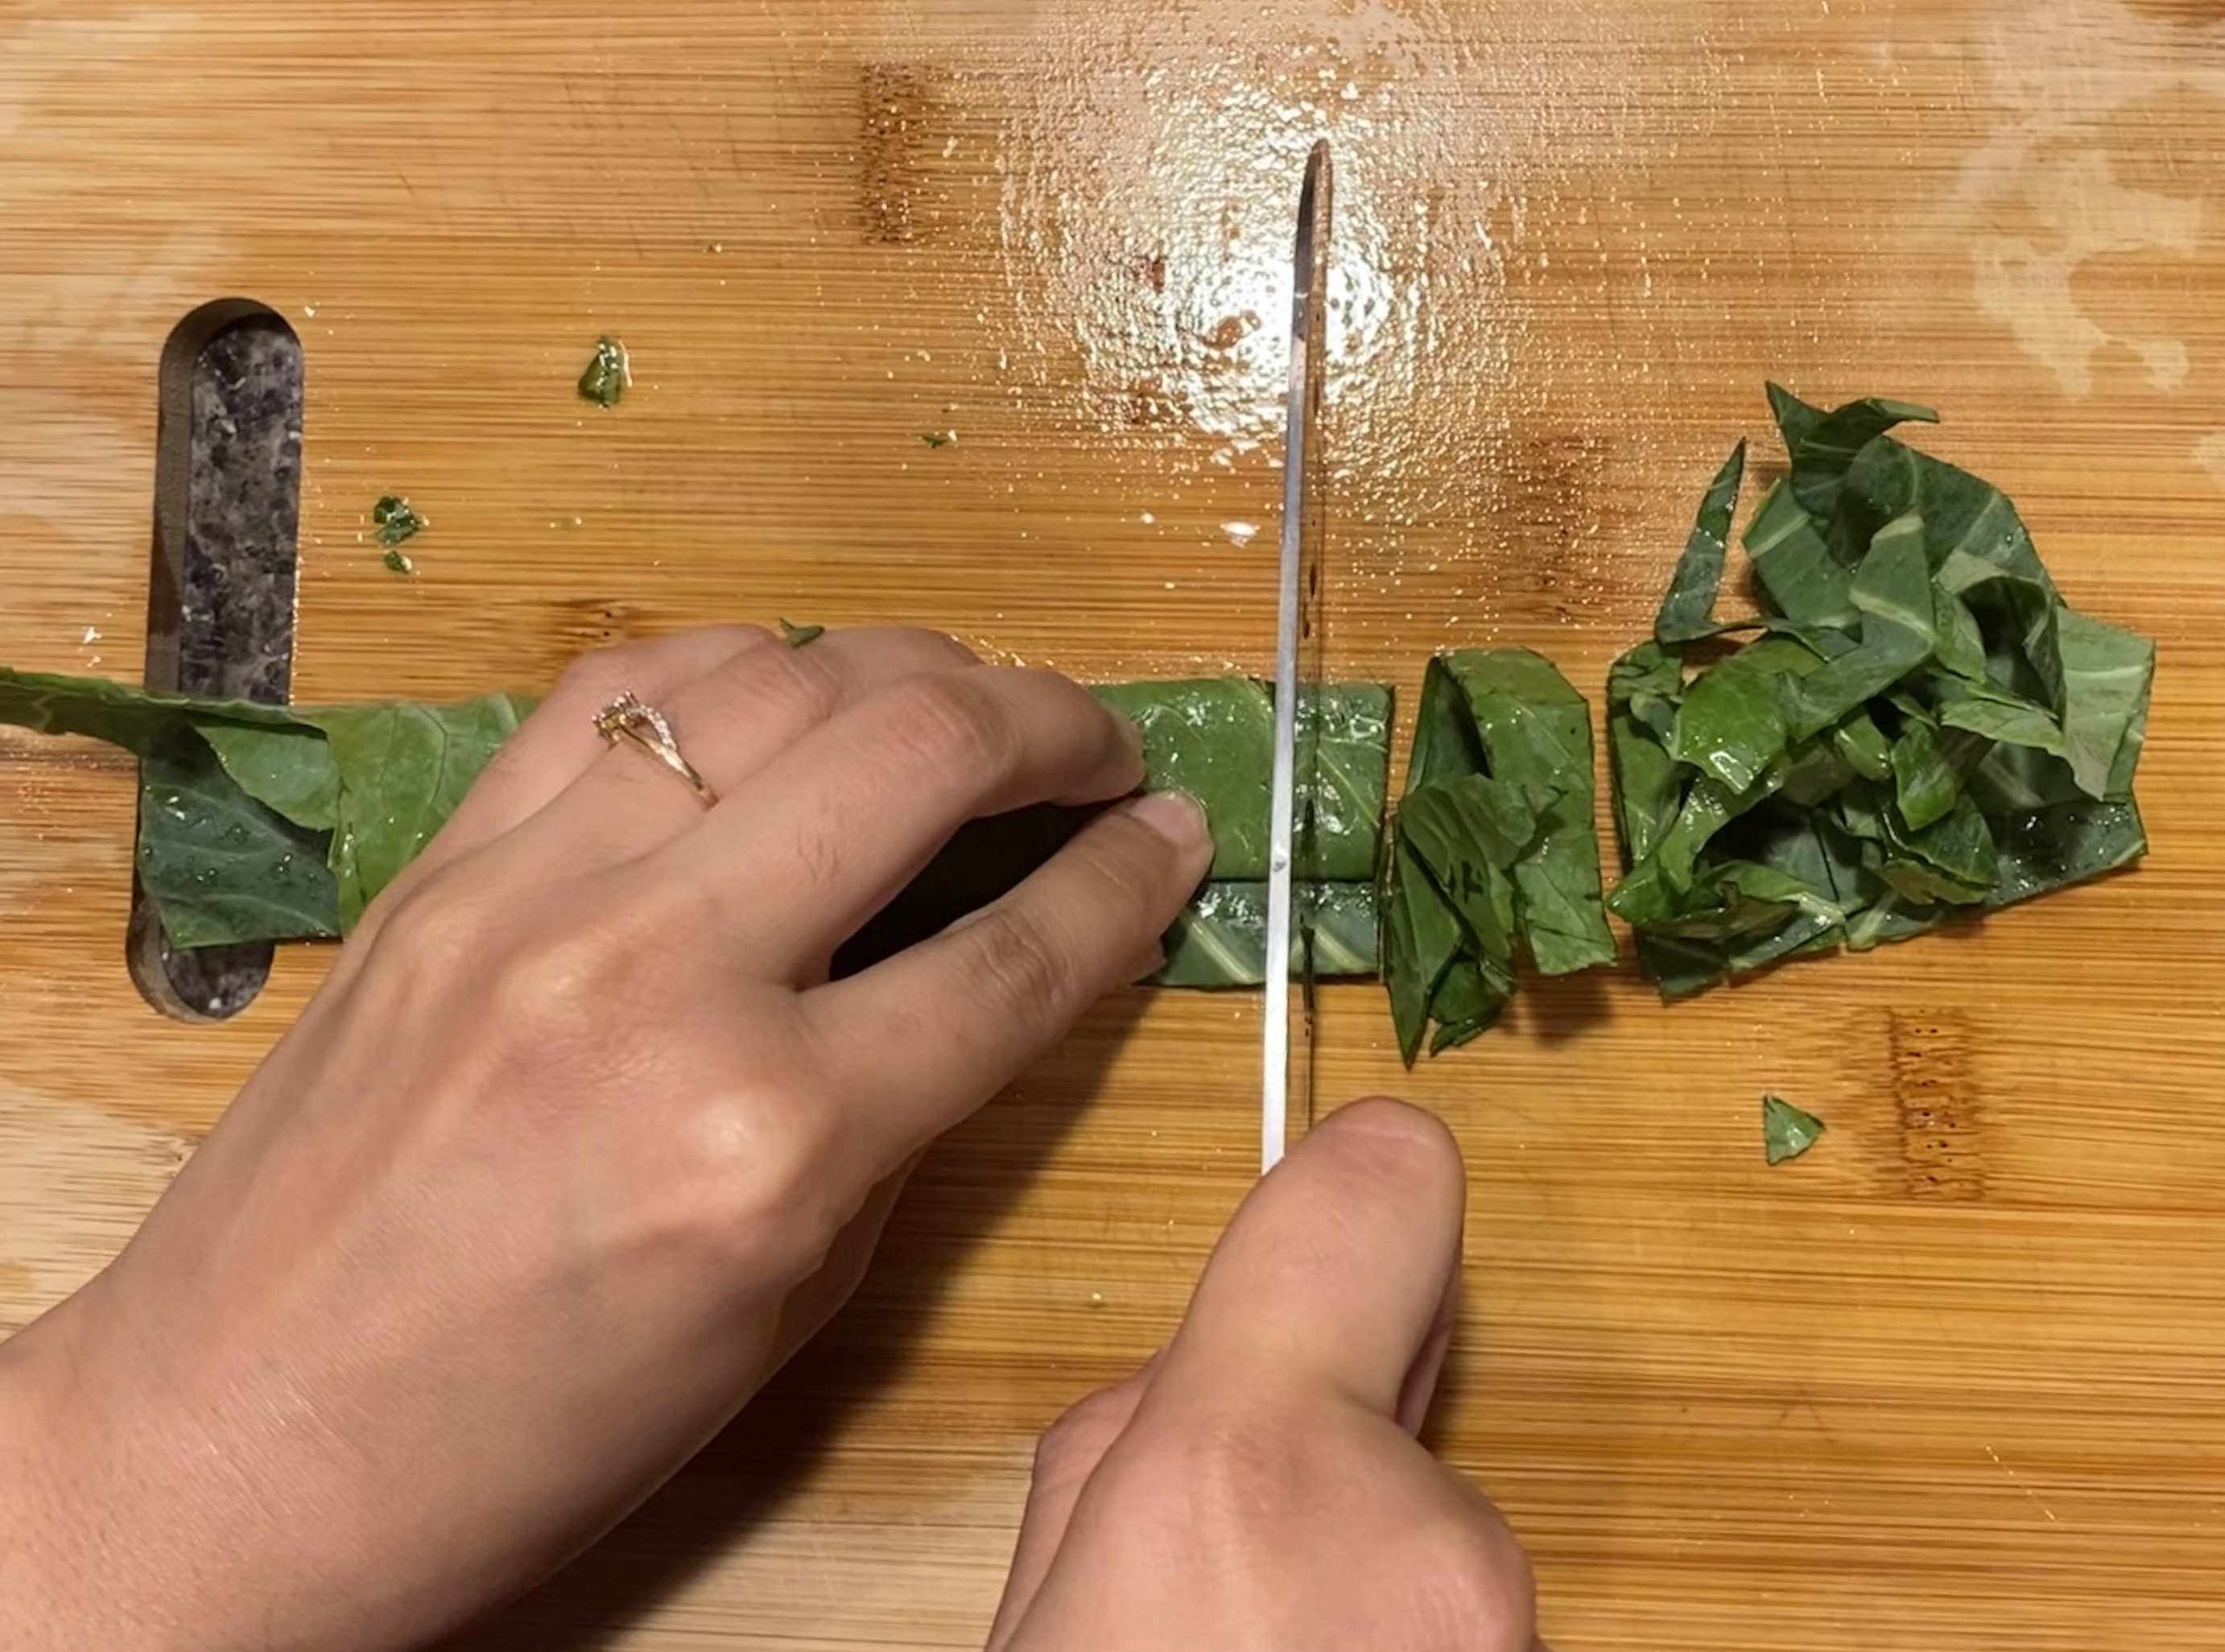
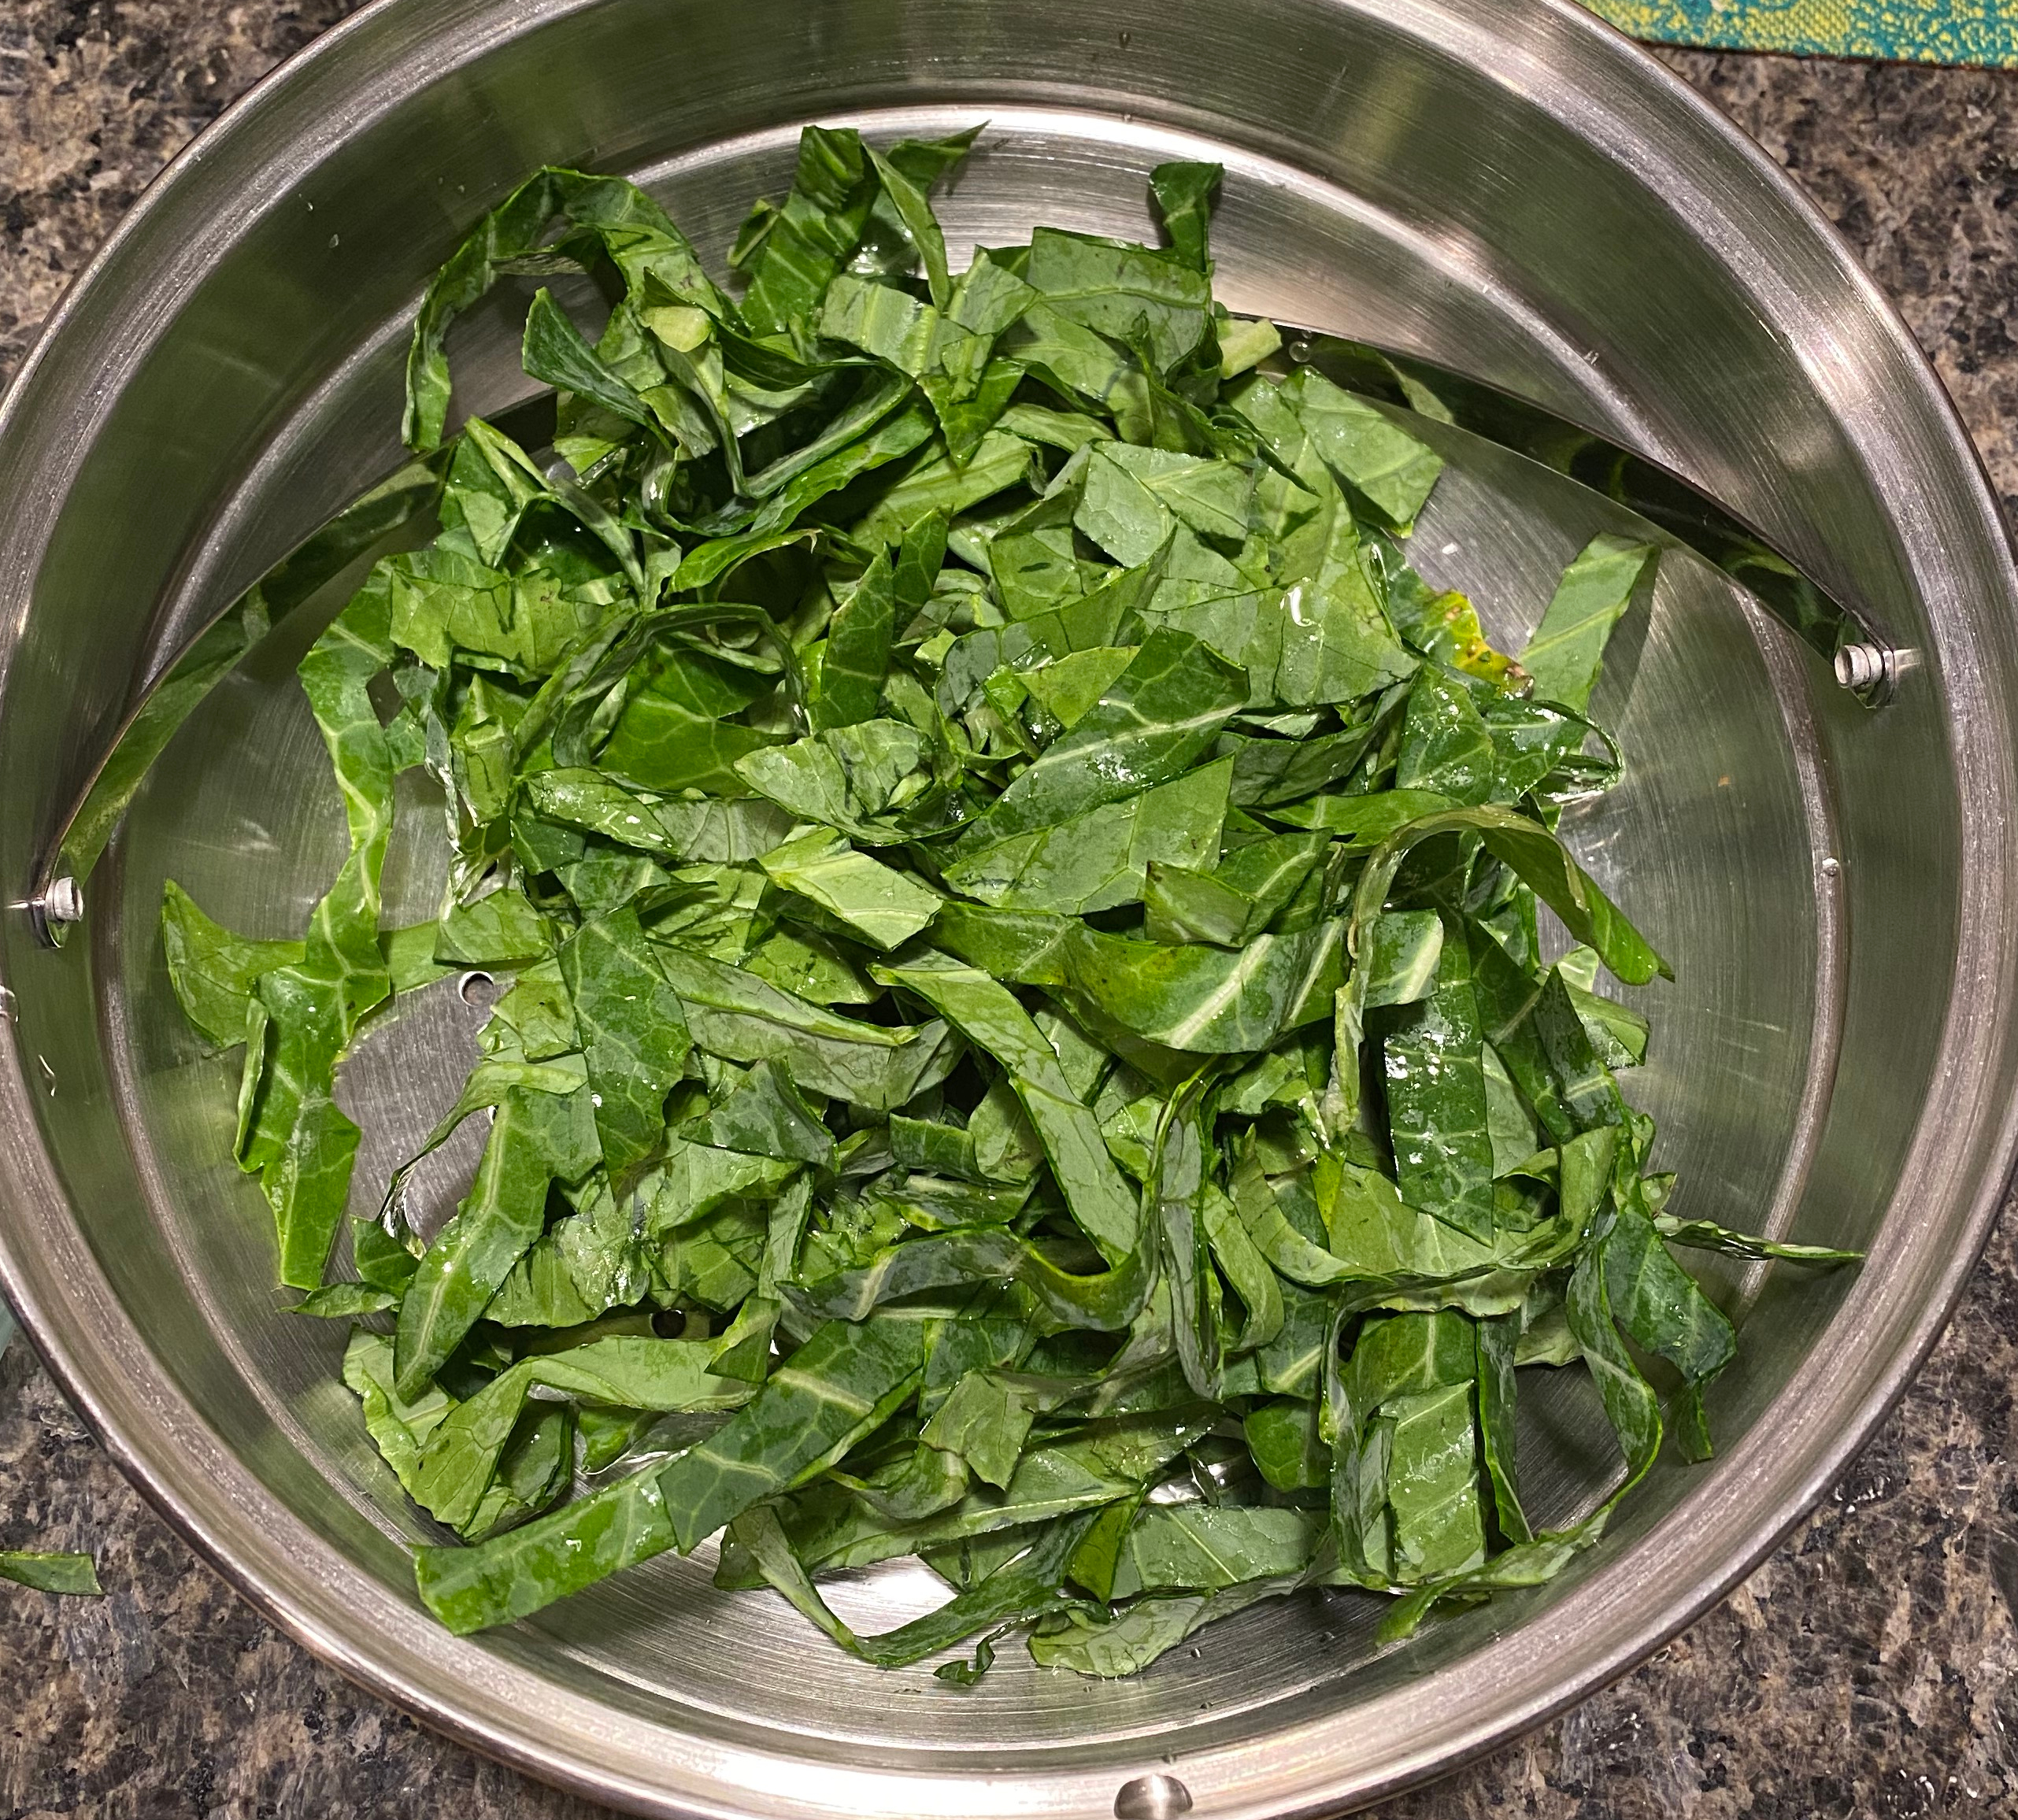
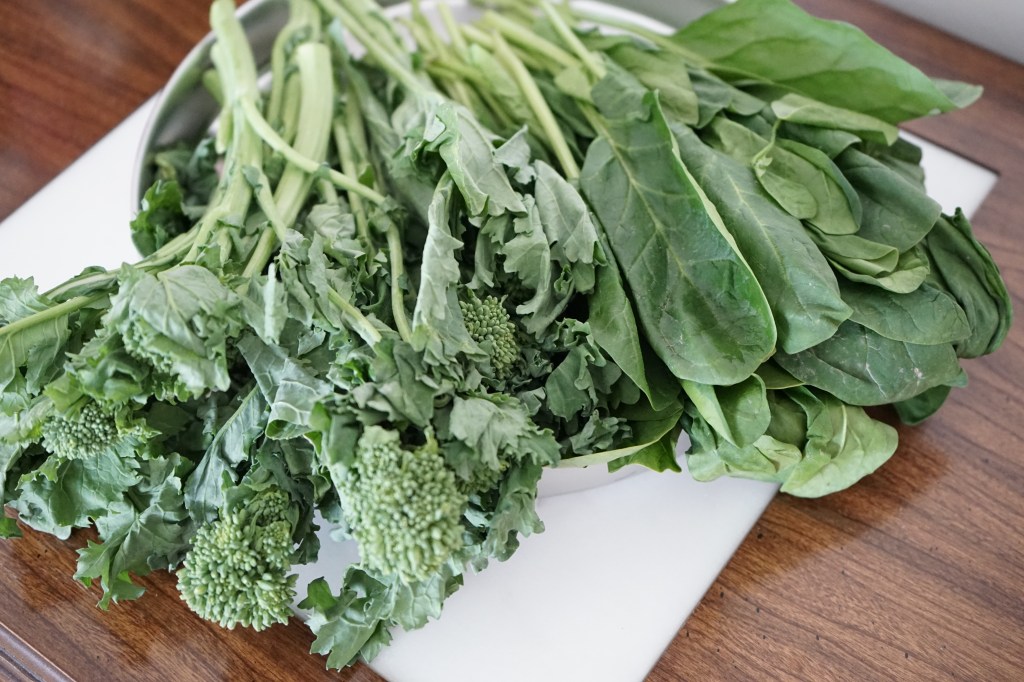
    • Spinach – 2-3 cups, roughly chopped

    Dairy

    • Greek Yoghurt – 2 tbsps

    Masala Paste

    • Mustard Seeds – 1.5 tsp
    • Green Chillies – 2
    • Cilantro – 1 handful
    • Turmeric – 1/2 tsp
    • Salt – As per taste
    • Fresh Coconut – 1/4 cup

    Oils

    • Cooking oil – 2 tsps

    Method

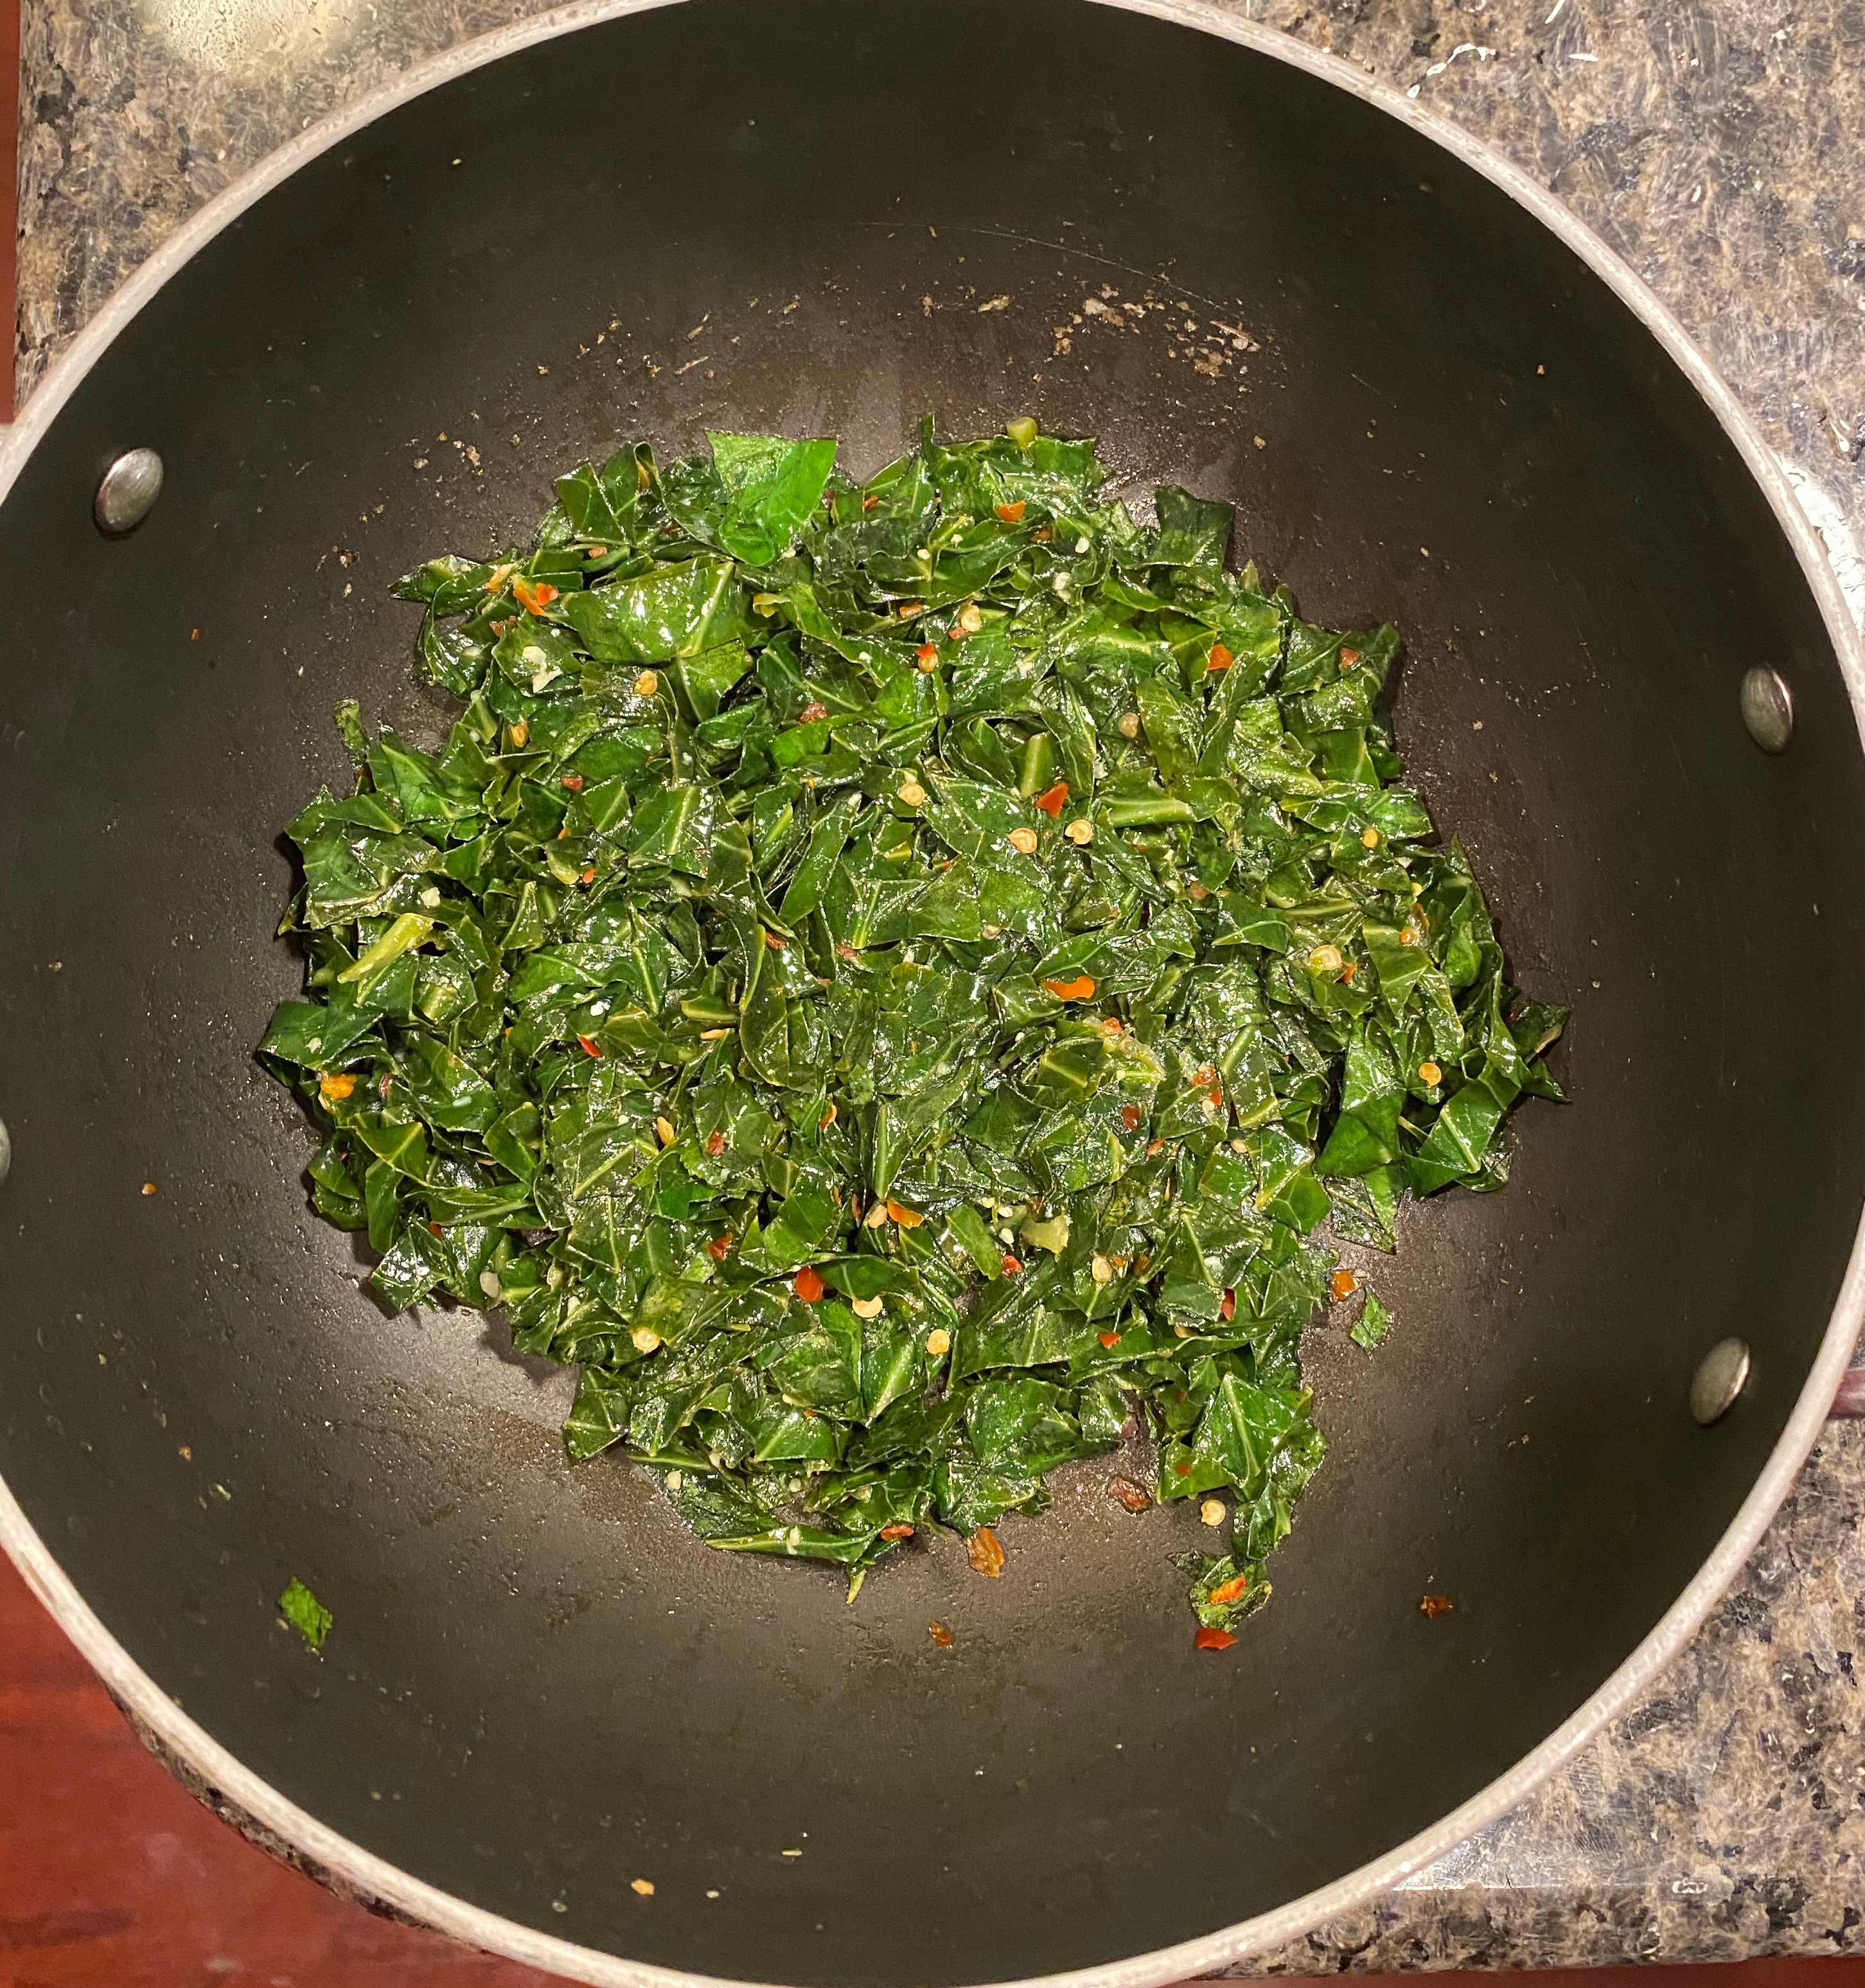
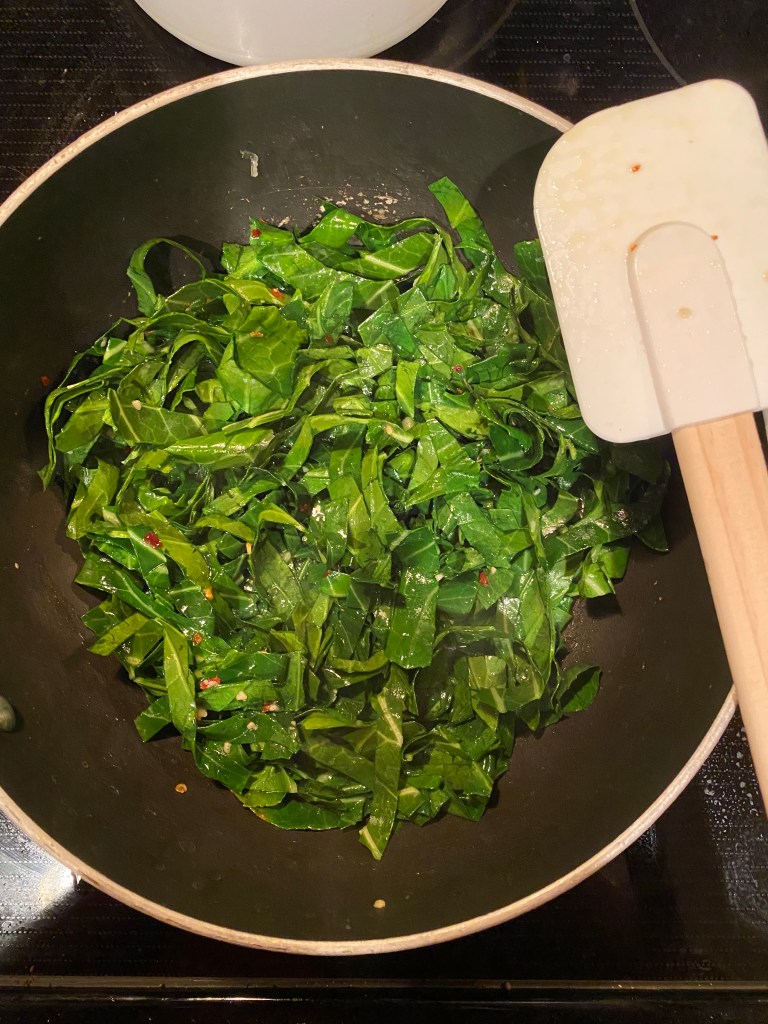
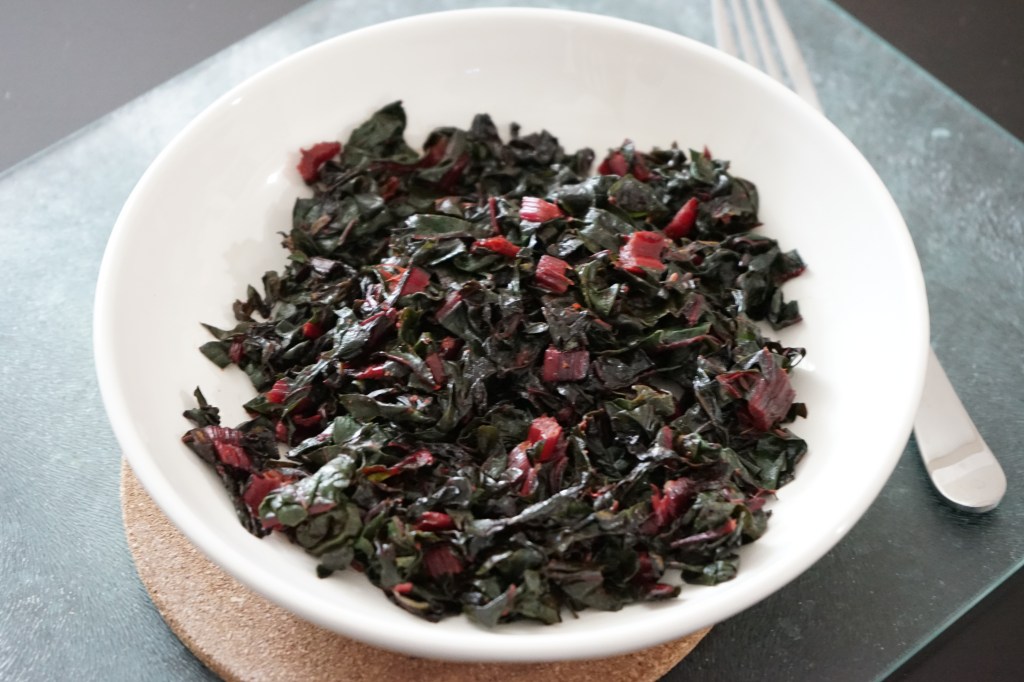
    1. Heat oil in a pan. Add 1/2 tsp mustard seeds. Once the mustard seeds crackle, add the chopped spinach. Saute for 1-2 minutes until the spinach has lightly wilted. Take it off the heat and allow it to cool
    2. In the meanwhile, to prepare the paste, add coconut, cilantro, green chillies, remaining mustard seeds and turmeric into a blending jar. Add 1/2 cup water and blend into a smooth paste
    3. To the blended paste, add yoghurt, salt, 1/2 cup water and blend into a smooth paste
    4. In a bowl, add the cooled sauteed spinach and the blended masala paste. Mix well to break up any spinach lumps
    5. Serve over warm rice and enjoy!

    Serving suggestion

    • Feel free to add a tadka (tempering) on the top. For the tadka, add some mustard seeds to hot oil. Allow it to crackle before adding some hing and curry leaves. Fry for 30 seconds and add to the Majjige Huli

    You can also follow me on Instagram to be up-to-date with what is cooking my kitchen. If you like this recipe, do share your comments below. Don’t forget to post your version on Instagram using #foodformyloveblog.

    Rating: 1 out of 5.
  • Kale and Chickpea Pulao

    This is one of those recipes that is quick, easy and has easily substitute-able ingredients. It has greens, protein and carbs, all in the right balance, along with familiar flavors that will leave you satiated.


    Beans and rice are not just a staple in Latin America, but in many other parts of the world, especially India. Only difference is that in India, the beans (or legumes) are cooked separately in a curry form and is eaten with rice. But time is of the essence for most of us today. So one-pot meals like this one can give us the required nutrition and bring us the comfort at the end of a long day.

    Although I am trying to get my husband to eat less rice and switch over to other grains, he is a true rice lover. So when we are in long distance, this is the kind of recipe for him or anyone in his place. Quick, filling and no-brainer type recipe.


    Prep time5 minutes
    Cook time20 minutes
    Serves2 (for 2 meals)

    Ingredients

    Grains

    • Rice – 2 cups, washed and soaked for 10 minutes

    Legumes

    • Chickpeas – 1 15oz can, drained and rinsed (This is equivalent to 1 1/2 cups)

    Vegetables

    • Shallots – 1 large, diced
    • Kale – 1/2 a bag (chopped) or 1 fresh bunch, roughly chopped
    • Carrots – 1 cup, matchstick or shredded
    • Serrano Pepper – 1, finely chopped

    Spices and Herbs

    • Cumin Seeds – 1 tsp
    • Ground Cinnamon – 1/4 tsp
    • Ginger-Garlic Paste – 1 tsp
    • Ground Turmeric – 1 tsp
    • Ground Coriander Powder – 1 tsp
    • Garam Masala – 1 1/2 tsps
    • Salt – As per taste

    Oils

    • Cooking Oil – 2 tbsps

    Ingredient notes

    • There are different types of Kale available at stores. The one used in this Pulao is Curly Kale. This is the most commonly found Kale and has versatile uses. It is available in bagged format (that is triple washed and chopped) or as a fresh bunch, which you need to thoroughly wash
    • For Chickpeas, if you prefer not to use the canned ones, soak 3/4 cup dried Chickpeas overnight for use in this recipe
    • If you want to skip the Serrano Pepper, add 1 tsp of Paprika or Red Chilli Powder for the sipce

    Method

    1. Turn the Instant Pot to saute mode and set it for 8 minutes
    2. Add oil
    3. Once the pot displays hot, oil is hot. Add the cumin seeds and cinnamon. Let is fry for 30 seconds for the cinnamon to release its essential oils
    4. After this, add the onions, serrano peppers and ginger garlic paste. Saute for 2-3 minutes until the onions are softened and turn slightly translucent
    5. Add the carrots and mix well. Add salt and mix again
    6. Add the chickpeas and mix well
    7. Add the spices and mix well for 2-3 minutes to cook the spices and coat all ingredients with them
    8. Add a splash of water to de-glaze the pot
    9. Add the soaked rice and mix well
    10. To add the Kale, simply place it on the top of the rice mixture. There is no need to mix it as the leaves will wilt into the mixture during the cooking process
    11. Close the lid of the Instant Pot and turn the pressure valve to the sealed position
    12. Cancel the saute mode. Select the pressure cook mode, select 12 minutes and high pressure
    13. Once the cooking is complete, allow the vent to naturally release pressure before moving it to the open position and doing a quick release
    14. Mix, serve and enjoy with a bowl of chilled boondi raita ๐Ÿ™‚

    Stove-top Method

    • Follow the same instructions as above, but use a pressure cooker
    • The rice can be cooked for the length of 3-4 whistles
    • Then, switch off the gas and wait for the natural pressure release before lifting the weight and opening the cooker


    Recipe variations

    • Substitute Kale with any other choice of greens such as Spinach or Chard
    • Substitute with choice of legume, such as black beans or Kidney Beans
    • Substitute Rice with any grain of choice. Just remember to adjust the cooking time as per the instructions on the pack of grains

    You can also follow me on Instagram to be up-to-date with what is cooking my kitchen. If you like this recipe, do share your comments below. Don’t forget to post your version on Instagram using #foodformyloveblog.

  • Sauteed Garlic Collard Greens

    Collard Greens – yet another green leafy vegetable that I think I am in love with, even more than Spinach and Chard! Although they are associated with Southern US cooking or even African cuisine, but there are no boundaries in the world of global cuisines. As I have mentioned in a few other recipes with leafy green vegetables, I am always looking for different ways to include them in our diet. And this 15 minute recipe makes for a great side of greens.


    Collard Greens typically have a bitter taste but with the right seasoning and right amount of sauteeing, the bitterness can certainly be tamed.

    How to select them? As with any leafy greens, always look for a firm, bright green leaves. Avoid any that have yellow leaves. Bagged greens are also a great option as they are selected and packed at the height of their freshness, and bonus, they are already chopped.


    How to prepare them?

    • Carefully wash the large leafs to ensure there are no dirt particles hidden in the leaf’s crevices (food safety first!)
    • The individual leaves are then separated and the leaves are torn away from the stem.
    • They are then layered and rolled like a cigar
    • The leaf is then to be cut across the length into thin strips

    It is a great idea to wash these cut strips under cold running water once again prior to sauteeing them. Some recipes call for a much longer cooking process because the greens are simmered with meat. In this case, however, we are only looking for a quick sautee to tame the flavor as well as maintain the texture. I managed to convince my husband to eat this side as a side with Rajma-Rice. If I can, so can you. ๐Ÿ™‚ Serve it up as a side with dal-rice or roti-curries for your family.


    Prep time5 minutes
    Cook time10 minutes
    Serves2

    Ingredients

    Vegetables

    • Collard Greens – 1 bunch

    Spices

    • Garlic – 1 tbsp, crushed
    • Red Chilli Flakes – 1 tbsp
    • Salt – As per taste

    Oils

    • Cooking oil – 1 tbsp

    Method

    1. Wash, cut and prepare the collard greens as show in the photos above
    2. Heat oil in a pan on medium heat. To this, add garlic, salt and red chilli flakes
    3. After 30 seconds, add the chopped collard greens and give them a good stir to coat them with the oil and spices
    4. Continue to cook for 5-10 minutes, with occasional stirring. You will notice the color of the greens become darker and shinier. The greens will release some water
    5. Once there there is no more water in the pan, turn off the heat and transfer the sauteed greens to a serving bowl
    6. Optional garnishes include a squeeze of lemon juice or a drizzle of soy sauce (for an Asian twist)

    You can also follow me on Instagram to be up-to-date with what is cooking my kitchen. If you like this recipe, do share your comments below. Don’t forget to post your version on Instagram using #foodformyloveblog.

  • Sarson Ka Saag

    Saag is a Hindi term for a dish prepared with leafy green vegetables (yes, I am back with my love for yet another leafy green vegetable). This time, it is with Mustard Greens or known as Sarson in Hindi. This beautiful dish originates from the Northern Indian state of Punjab and is a staple during the cold winter months. Every household is known to have its own recipe, just like any other traditional family favorite.


    Mustard Greens have always intrigued me. They look similar to Kale but are much more delicate with their frilly, ruffled look. Unlike the Kale or Spinach, Mustard Greens have a sharp, peppery flavor which mellows after cooking but is still distinct. To further cut through the peppery flavor, these greens are cooked with a combination of other greens (Spinach in this case). Mustard Greens are packed with a variety of nutrients such as antioxidants, iron and calcium (just like its other green counterparts). And yes, mustard seeds come from the mustard plant! But that story is for another day.


    The preparation of Sarson ka Saag has always intimidated me because to me it has always been a special, authentic Punjabi dish. And I did not want to try it and ruin the glorious dish that it is. But, with some research, some inspiration, my mum’s help and a slow step-by-step approach, the end result was an uber delicious and creamy Sarson ka Saag. My husband loves Palak Paneer and I am quite sure that he will love this saag too. And he can eat a larger variety of leafy greens. It is a win-win for both of us ๐Ÿ™‚ While this dish is typically served with Makai Ki Roti (Rotis made out of Maize Flour), we decided to stick to simple rotis, just to relish the first time preparation of the Sarson Ka Saag.

    Prep time10 minutes
    Cook time30 minutes
    Serves4

    Ingredients

    Vegetables and Greens

    • Mustard Greens – 1 bunch, roughly chopped
    • Spinach – 1 bunch, roughly chopped
    • Onions – 1 medium, finely chopped

    Spices and Herbs

    • Garlic – 2 tbsp, finely chopped
    • Ginger – 2 tbsp, finely chopped
    • Green Chillies – 2 tbsp, finely chopped/crushed
    • Salt – As per taste

    Other

    • Chickpea Flour – 2-3 tbsp

    Oils

    • Mustard Oil – 3-4 tbsp

    Food safety tip: Leafy green vegetables are notorious for bacterial contamination because of how and where they are grown, of course. So, make absolutely sure that every leaf is thoroughly washed by holding it under cold water for 30 seconds. If you placed the uncleaned leafs on a cutting board or in an empty container, make sure to wash them before re-using them.


    Ingredient notes

    • Typically Maize Flour is used as a thickening agent. But since I did not have that readily available, I used Chickpea Flour and it worked just fine
    • Although any other cooking oil can be used, Mustard Oil adds a distinct, authentic flavor to the dish
    • Mustard greens are either available as bunch at Indian grocery stores or they are available as packed, washed and ready-to-eat greens at other US grocery stores such as Kroger, Publix or Whole foods
    • Bathua (Scientific Name: Chenopodium Album) is another green leafy vegetable that is cultivated in Northern India and is an integral part of traiditonal Sarson ka Saag. But I skipped it in this recipe because it is not readily available in the US

    Method

    1. Place the roughly chopped greens in an Instant Pot or pressure cooker. Cook the greens for 5 whistles on a pressure cooker. If using an Instant Pot, you can cook the greens for 5-7 minutes on high pressure mode
    2. Once it is cooked, churn the greens either using a hand blender or another blender. The consistency is your choice, I like mine to be slightly chunky and not completely smooth
    3. In a pan, heat mustard oil
    4. To the heated mustard oil, add chopped garlic and ginger. Fry these until they have browned well
    5. Then add onions and green chillies and fry again until the onions turn translucent
    6. To this, add the churned greens, salt and mix well
    7. Add the chickpea flour, mix well to make sure there are no lumps
    8. Close the lid and simmer the saag on medium heat for 15 minutes
    9. Transfer to a serving bowl. Garnish with a dollop of butter and red chillies and serve with hot rotis

    You can also follow me on Instagram to be up-to-date with what is cooking my kitchen. If you like this recipe, do rate it and share your comments below. Don’t forget to post your version on Instagram using #foodformyloveblog.

  • Potato and Swiss Chard Breakfast Hash

    Weekends are for brunches. And brunches should be hearty. And Potatoes make everything hearty. But, yet again, this is another opportunity to get your dose of leafy green vegetables and not have to worry about for the rest of the day or the weekend.


    A hash is one of the best ways to incorporate all sorts of vegetables and proteins into a breakfast or a brunch. There is nothing fancy about this recipe other than the fact that I have added a leafy green vegetable, Swiss Chard. It is colorful and pleasing to the eye. And if you are wondering how this is different from an Aloo Palak or an Aloo Methi, it is not that different. This is just a modern take on it. Read on for the recipe and the many different ways it can be eaten.

    Prep time10 minutes
    Cook time12 minutes
    Serves2-3

    Ingredients

    Vegetables

    • Potatoes – 2, medium sized, diced (Regular Yukon Gold Potatoes)
    • Red Bell Pepper – 1, julienned
    • Swiss Chard – 1 bunch, roughly chopped
    • Onion – 1 small, diced

    Spices and Herbs

    • Cumin Seeds – 1 tsp
    • Garlic – 2 cloves, crushed (Or 1 tbsp powder)
    • Roasted Cumin Powder – 1.5 tsp
    • Salt – As per taste
    • Turmeric Powder – 1 tsp
    • Sumac – 1 tsp

    Oils

    • Cooking Oil – 2 tbsp

    Food safety tips

    – Make sure to wash the leaves for 30 seconds under cold running water while gently rubbing the leaves to release any trapped dirt

    – Separate leafy greens from raw meat or poultry products and use separate cutting boards for each to prevent bacterial cross contamination

    – Discard leafy greens within 2 hours of chopping or cooking. Always buy leafy greens that are kept at a chilled temperature to prevent bacterial growth


    Ingredient notes

    • Red skin potatoes or purple potatoes will also work well with this recipe
    • Any other type of leafy green such as kale or spinach can also be used

    Method

    1. In a pan, add oil. Once it heats up, add cumin seeds
    2. When the cumin seeds splutter, add onions and garlic and cook until the onions are translucent
    3. Add the potatoes and turmeric powder. Mix, cover the lid for 3-5 minutes and cook on medium flame until the potatoes are half cooked
    4. Then add the red pepper, salt and roasted cumin powder. Mix again, cover the lid for 3-5 minutes and cook again until the potatoes are cooked through, but not mushy
    5. Add the swiss chard, mix and cover the lid for 1-2 minutes until the leaves have wilted (The idea is to steam the greens to preserve nutrient content, not to cook them completely)
    6. Turn off the flame, sprinkle sumac powder and mix well
    7. Add a spoonful of the hash on a toasted bread and enjoy

    Serving Suggestions

    • Prepare a breakfast hash bowl with the prepared hash and eggs in any style you like
    • On a whole grain wrap, add scrambled eggs, the prepared hash and sriracha sauce. Wrap it up to make a breakfast burrito for your breakfast on the go
    • Add a vegan protein element such as black beans, chickpeas or tofu

    You can also follow me on Instagram to be up-to-date with what is cooking my kitchen. If you like this recipe, do rate it and share your comments below. Don’t forget to post your version on Instagram using #foodformyloveblog.

  • Spinach-Walnut Pesto Spaghetti

    Who doesn’t love Spaghetti? And who doesn’t love Pesto? Of course, we all do. But, did you know Pesto can be a sneaky way to incorporate leafy green vegetables into your diet?


    Pesto can be purchased in a jar from the grocery store, but there is nothing better than homemade pesto that is fresher and has leafy green vegetables in it, just like this Spinach-Walnut Pesto. All I did was tweaked the original recipe by replacing the Basil with Spinach and the Pine Nuts with Walnuts. What does this do? It makes the Pesto healthier and provides the combined nutrients of Spinach and Walnuts such as Vitamins A and C, minerals such as Calcium, Magnesium and Folate, Protein and Omega -3-fatty acids.

    In my household, this Pesto will work great because some type of pasta is a staple at least once a week. The Pesto takes only 10 minutes to prepare and stays in the refrigerator for at up to 7 days. The best part is that the leafy greens can be rotated on a weekly basis. For example, Kale also works great for this Pesto. Here, I have prepared a Spaghetti with the Pesto and added some Red Bell Peppers for some color and crunch.


    Prep time15 minutes
    Cook time15 minutes
    Serves2

    Ingredients

    Pasta

    • Whole Grain Spaghetti – 2 hand fulls of your favorite brand

    Vegetables

    • Spinach – 1.5 cups, tightly packed
    • Red Bell Pepper – 1, julienned

    Spices and Herbs

    • Garlic – 2 cloves, crushed (1 tbsp powder)
    • Salt – As per taste
    • Pepper – 1 tsp
    • Red Chilli Flakes – For granish

    Dairy

    • Ground Parmesan Cheese – 1/8 cup

    Oils

    • Olive Oil – 1/4 cup

    Food safety tips

    – Make sure to wash the leaves for 30 seconds under cold running water while gently rubbing the leaves to release any trapped dirt

    – If using packaged greens, and the if the package indicates “Triple Washed” or “Ready to Eat”, there is no need to wash the greens again

    – Separate leafy greens from raw meat or poultry products and use separate cutting boards for each to prevent bacterial cross contamination

    – Discard leafy greens within 2 hours of chopping or cooking. Always buy leafy greens that are kept at a chilled temperature to prevent bacterial growth


    Ingredient notes

    • If vegan, replace the Parmesan Cheese with Nutritional Yeast (which can provide the salty, cheesy flavor). Alternatively, use Salted Cashews (Remember to eliminate the Walnuts in this case) to provide the same thickness and saltiness.
    • Kale (Tuscan or Standard Curly Kale) can be used instead of Spinach
    • Toasting the Walnuts add a great depth of flavor to the Pesto

    Method

    1. In a pot, add water, spaghetti and a pinch of salt and cook according to the package instructions
    2. In a blender, add spinach, garlic, walnuts and parmesan cheese (if using). Blend until all the ingredients are finely chopped
    3. Slowly add olive oil and only blend to mix. Alternatively, the olive oil can be whisked with the mixture by hand. Set the prepared pesto aside
    4. In a pan, add a drizzle of oil and add the red bell peppers. Sprinkle some salt and allow it to cook, but let the crunch remain
    5. Add the cooked spaghetti to the pan and a few 2-3 tbsps of the prepared pesto. To this, add 1-2 tbsps of the cooked spaghetti water. Toss the pasta and let it come together for 1-2 minutes
    6. Transfer to serving dish. Garnish with red chilli flakes. Bon Appetit ๐Ÿ™‚

    Serving Suggestions

    • Use the pesto for breakfast by spreading it on a toast and topping with some arugula and cherry tomatoes. Scrambled eggs or tofu would be a great addition
    • Toss some roasted vegetables with the pesto and serve it on a bed of mixed greens for a warm salad
    • Spread the pesto on a warm tortilla, top with some sauteed vegetables and make yourself a fajita (Italian-Mexican fusion ๐Ÿ™‚ )

    You can also follow me on Instagram to be up-to-date with what is cooking my kitchen. If you like this recipe, do rate it and share your comments below. Don’t forget to post your version on Instagram using #foodformyloveblog.

  • Steamed Swiss Chard

    Eat your greens. Haven’t we all heard that when we were little. In fact, even as fully grown adults, we struggle to get our dose of green leafy vegetables in our daily diet. But this simple 10 minute recipe will leave you with no excuses to include greens in your daily diet.


    The star of this recipe, as the name suggests, is Chard, and the particular variety I have used is the Swiss Chard. While it is not as popular as its market neighbors like Kale or Spinach, it holds a powerhouse of nutrition to be benefited from. In particular, this leafy green is known for its high content of Vitamins A, C and K as well as fiber and minerals like iron and potassium. Chard is from the Beets family and is known for its bright colored stems (red, yellow, pink, purple and white). The most common variety is the one used in this recipe, however, when all the varieties are bunched together, they are sold as “Rainbow Chard”.

    Swiss Chard has an earthy taste and unlike the Kale, both the leaves and the colorful stems can be cooked and eaten. This makes it just as versatile a leafy green as its competitors like Kale and Spinach. When buying Swiss Chard, ensure that the leaves are bright and the stems are firm. Avoid picking up any that have wilted leaves or signs of damage on the stems. Furthermore, I strongly recommend using the Swiss Chard within 1-2 days of purchase (stored loosely wrapped in a plastic bag). Because they are available year around, I see no reason why they need to be pre-prepared and stored for long periods. The fresher, the better.

    The best way to prepare leafy greens greatly depends on type of leafy green and its nutrient content. For example, Vitamin C is water-soluble and heat sensitive. So cooking Swiss Chard (which is high in Vitamin C) with water will not only degrade the vitamin C, but it will cause it to leach into the water, leaving only the cell structure i.e. the leaves behind. On the other hand, nutrients like Vitamin A become “bio-available” because of the softening of the cell structure during cooking. Lesson – the cooking method has to be a fine balance between making the leaf palatable and make certain nutrients bio-available while preserving others.


    This steamed Swiss Chard recipe takes 10 minutes from preparation to completion, resulting in a earthy tasting, beautifully colored dish. It is a great side with any meal comprised of rice, rotis and subzis.


    Prep time5 minutes
    Cook time5 minutes
    Serves2

    Ingredients

    Vegetables

    • Chard – 1 bunch, roughly chopped (Any variety of Chard will be fine)

    Spices and Herbs

    • Cumin Seeds – 1 tsp
    • Garlic Powder – 1 tsp
    • Roasted Cumin Powder – 1 tsp
    • Salt – As per taste

    Oils

    • Cooking Oil – 1 tbsp

    Food safety tips

    Make sure to wash the leaves for 30 seconds under cold running water while gently rubbing the leaves to release any trapped dirt

    – Separate leafy greens from raw meat or poultry products and use separate cutting boards for each to prevent bacterial cross contamination

    Discard leafy greens within 2 hours of chopping or cooking. Always buy leafy greens that are kept at a chilled temperature to prevent bacterial growth


    How to cut Chard? (Visualize it if you can ๐Ÿ™‚ )

    • Cut of the stem (until the base of the leaf)
    • Press your fingers on the stem between the leaf to check if it is tender. If yes, then it can be cooked and eaten
    • Fold the leaf in half with the stem in the center. Then, starting at the stem, fold again
    • Using a guillotine motion of the knife, chop the rolled leaf into thin strips. This knife technique is called “Chiffonade”
    • If the stem is not tender, cut the leaf off by running the knife at the edge of the stem from the top to the bottom until the leaf is released from the stem

    Method

    1. In a pan, add oil
    2. Once it heats up, add cumin Seeds. Once they splutter, add garlic powder
    3. Immediately add the chopped chard and mix for 1 minute
    4. Add salt and roasted cumin powder
    5. Cover the lid and steam the chard for 3-4 minutes. This should be until the leafs have wilted slightly and the stems have cooked, but have not become mushy
    6. Turn of heat, transfer to serving bowl and enjoy the leafy greens. As an optional garnish, a squeeze of lemon juice of would be nice. Furthermore, some toasted walnuts, almonds or pine nuts would add a nice crunch too

    Serving Suggestions

    • Use the steamed chard as a topping on a homemade pizza
    • Use the steamed chard as an addition to a breakfast wrap or toast with hash or eggs

    You can also follow me on Instagram to be up-to-date with what is cooking my kitchen. If you like this recipe, do rate it and share your comments below. Don’t forget to post your version on Instagram using #foodformyloveblog.