If you have read a few of my posts, you will see me mention that I love brunch, especially on the weekends. I also enjoy food in a bowl format, something that incorporates different food components, textures and nutrition. With that in mind, this Tex-Mex Breakfast Bowl came together with some of my favorite and go-to ingredients.
From a nutritional standpoint, this bowl hits the spot. There is Quinoa and Black Beans checking the box for protein. There are Sweet Potatoes checking the box for complex carbohydrates and there is Avocado checking the box for good fat. The Bell Peppers add a beautiful crunch, color and vitamins. So all in all, a colorful, hearty and healthy brunch bowl 🙂
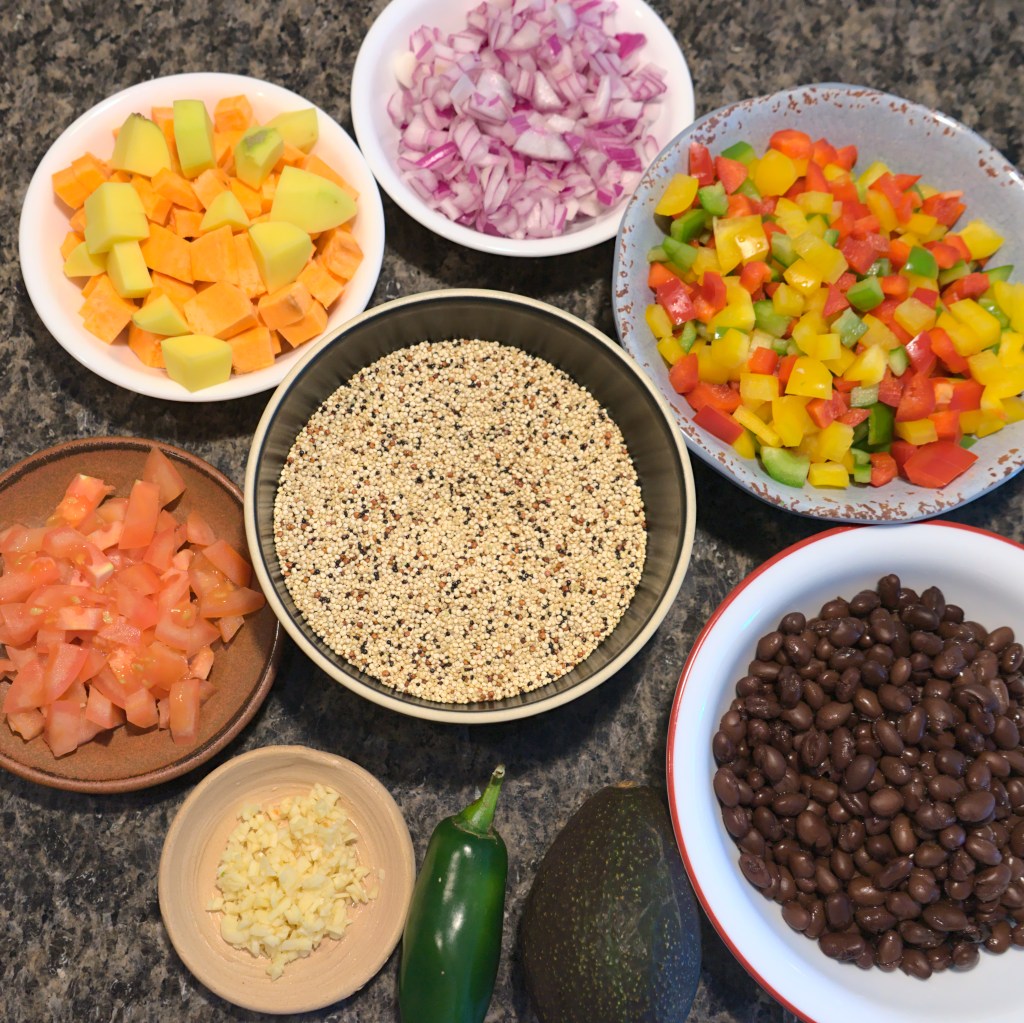
The ingredients seem like a lot in number, but what needs to be done with them so ridiculously simple. They can all cook simultaneously, so just a few minutes need to be spent preparing the ingredients and putting the bowl together.
| Prep time | 10 minutes |
| Cook time | 20 minutes |
| Serves | 2 |
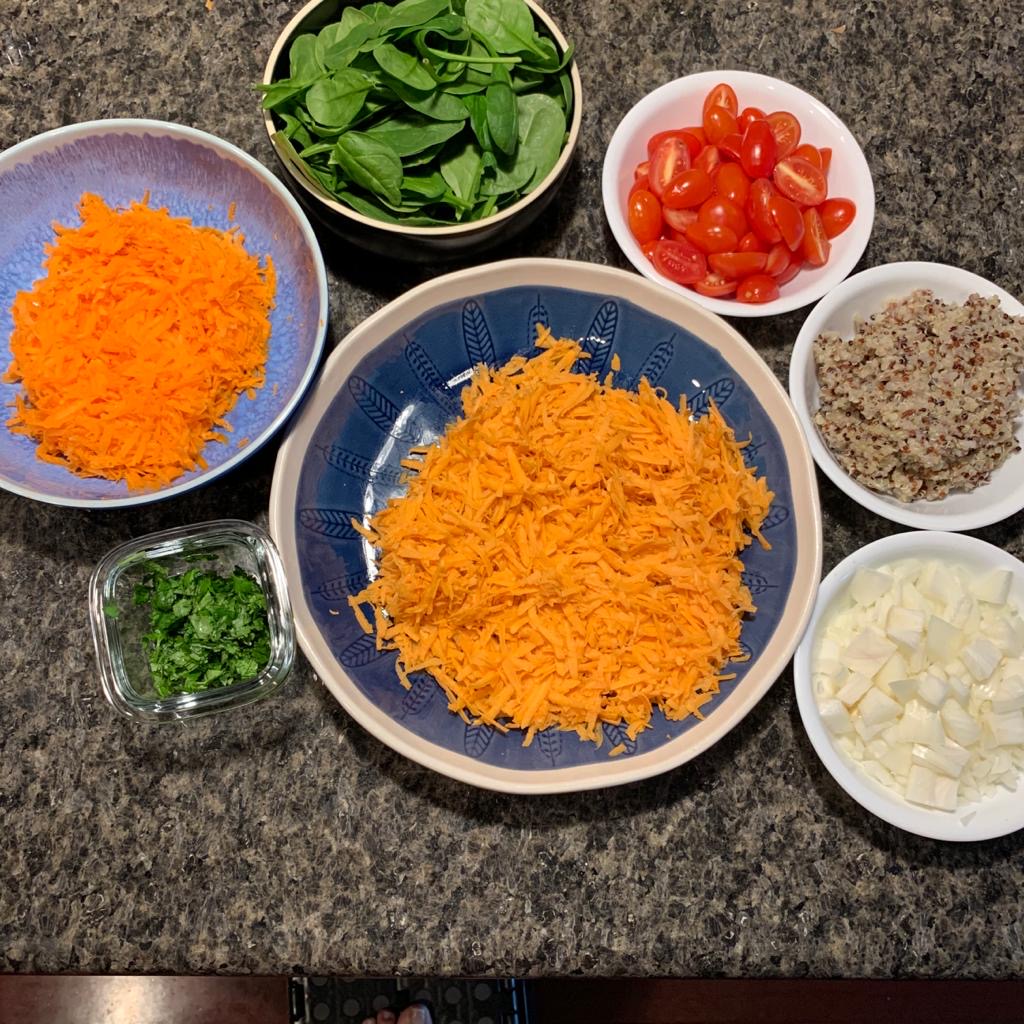
Ingredients
Beans
- Black Beans – 1 can (15oz) [Approx. 2 cups]
Grains
- Quinoa – 2 cups, uncooked
Vegetables
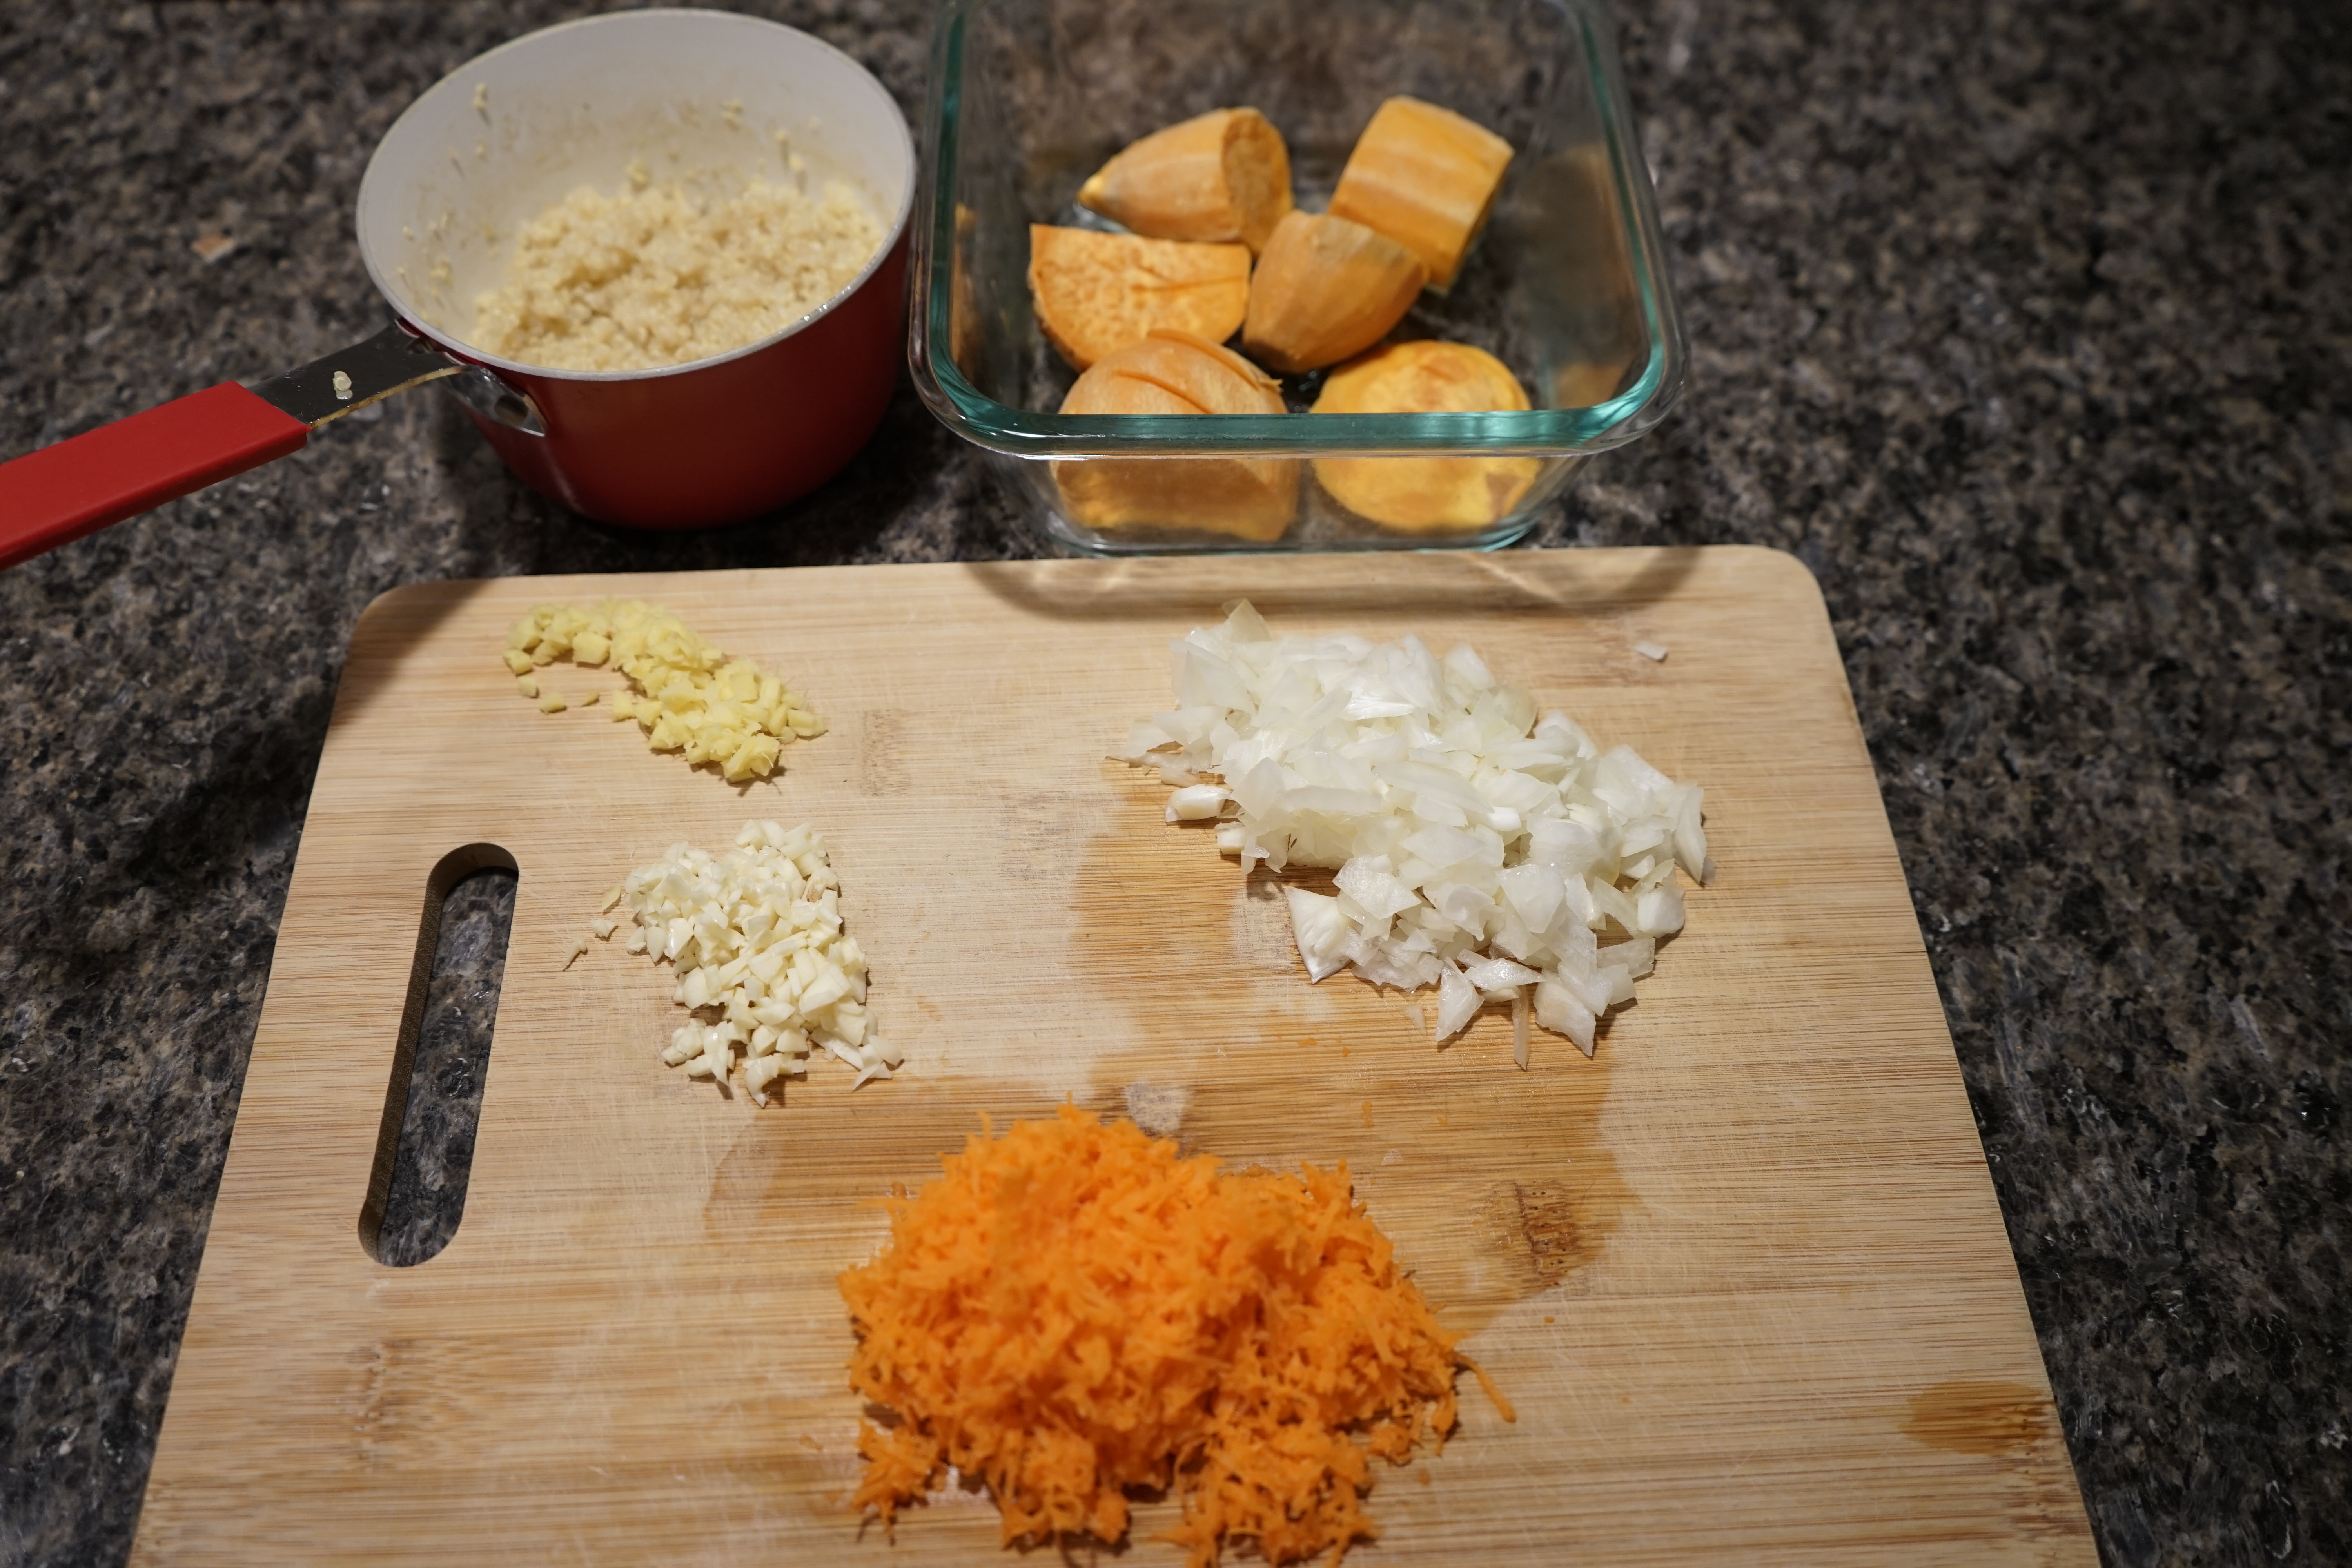
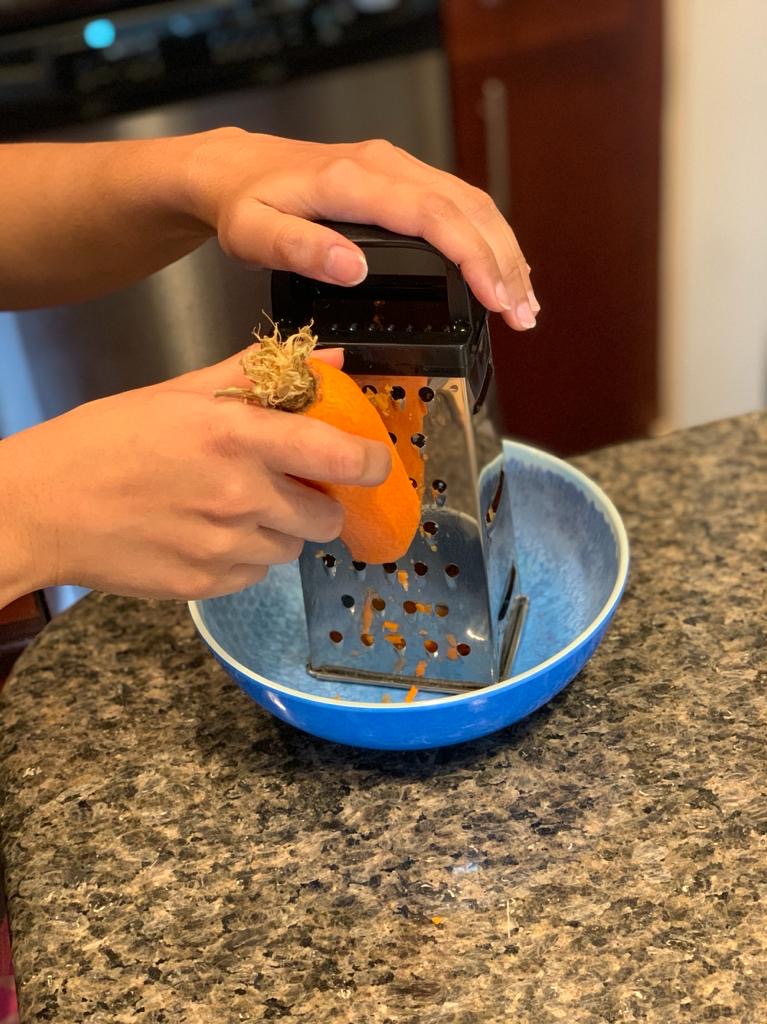
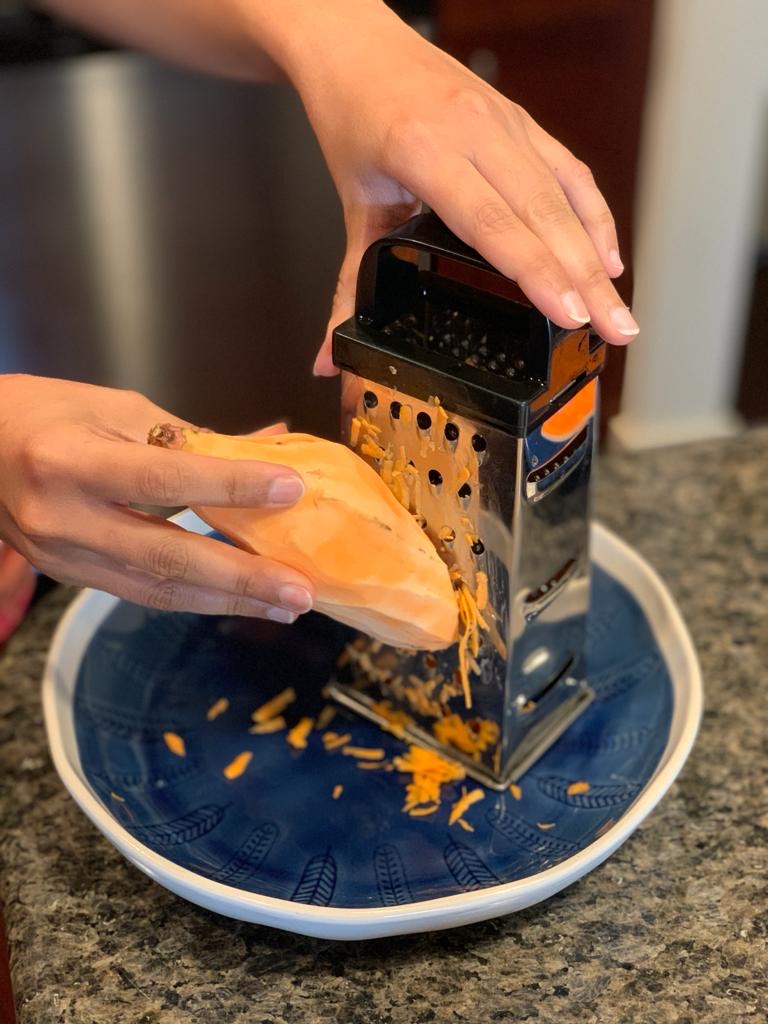
- Sweet Potatoes – 1.5 cups, cubes
- Bell Peppers – 1 cup, chopped (I used multi-colored ones, feel free to use whatever is available)
- Onions – 1 cup, diced + 1/4 cup finely chopped
- Tomatoes – 1 cup, diced
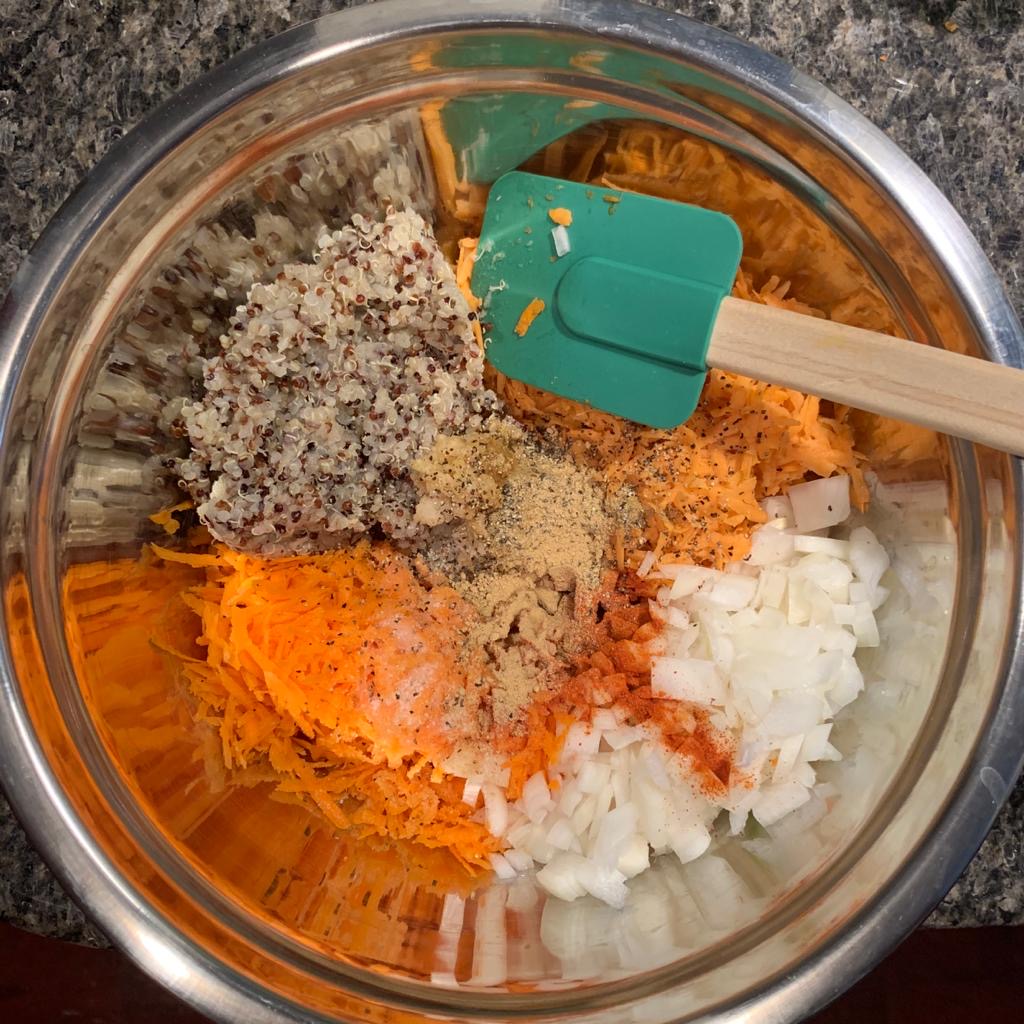
Spices, Flavors and Herbs
- Cilantro – A handful
- Garlic – 2 tbsps, finely chopped
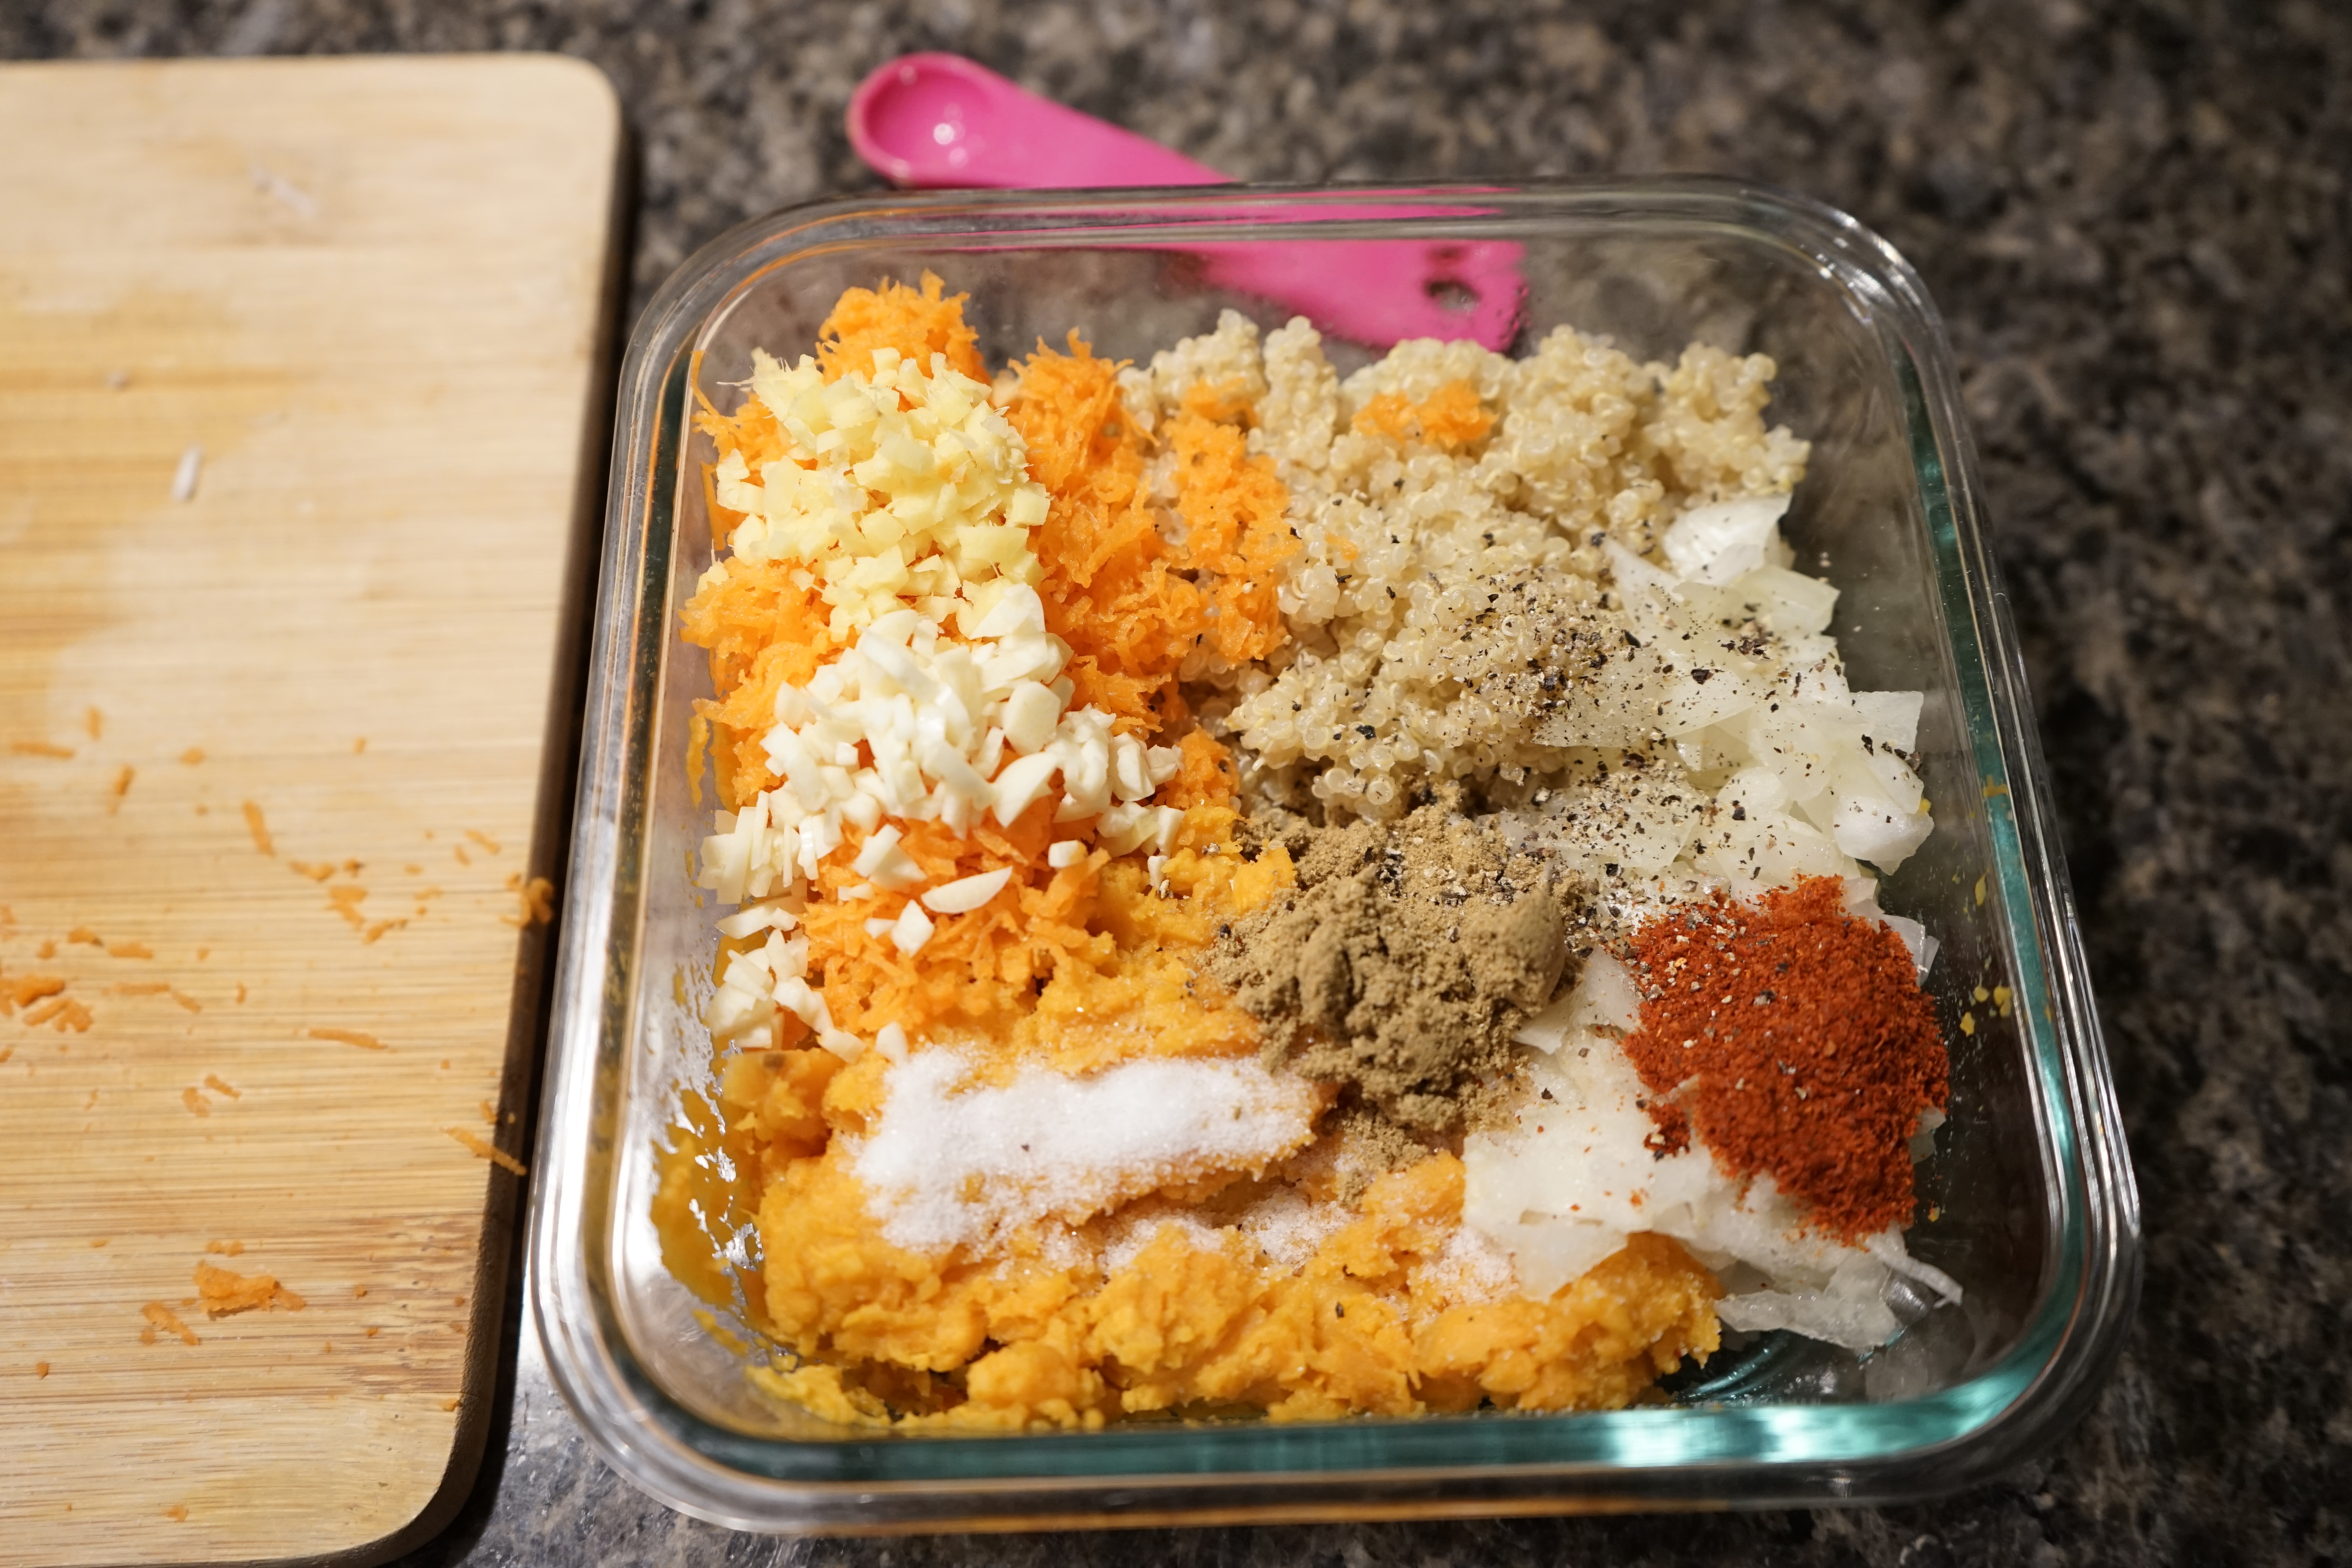
- Coriander Powder – 2 tsp
- Cumin Powder – 2 tsp
- Jalapeno – 1, sliced
- Red Chilli Powder – 2 tsp (Alternatively, Red Chilli Flakes or Paprika can also be used)
- Salt – As per taste
Fruit
- Avocado – 1, sliced
- Lemon – 1, Cut into 4 quarters
Oils
- Cooking Oil – 4 tbsp
Method
- Cook the quinoa using the package instructions.
- In the meanwhile, cook the sweet potatoes. For this, heat 2 tbsp of oil in a pan. To this, add 1 tbsp of chopped garlic. Once the garlic starts to brown, add the cubed sweet potatoes. Add salt, 1 tsp each of coriander and cumin powder and 1 tsp of red chilli powder. Cook for 5-7 minutes until the sweet potatoes are tender and can be easily halved (not mashed) with the edge of a wooden spoon. Set these aside
- In the same pan, add 2 more tbsp of oil. To this, add diced onions and the remaining 1 tbsp of chopped garlic. Cook the onions and garlic. Next, add the chopped peppers and black beans. To this add salt, 1 tsp each of coriander and cumin powder and 1 tsp of red chilli powder. Cook this mixture for approx. 5 minutes until all the flavors have amalgamated. The goal is to maintain the texture of the peppers and the beans, and not to have them mashed. Set this aside
- To prepare the mild salsa, in a bowl, add the finely chopped onions, cilantro and diced tomatoes. To this add salt and a squeeze of 1 quarter of a lemon
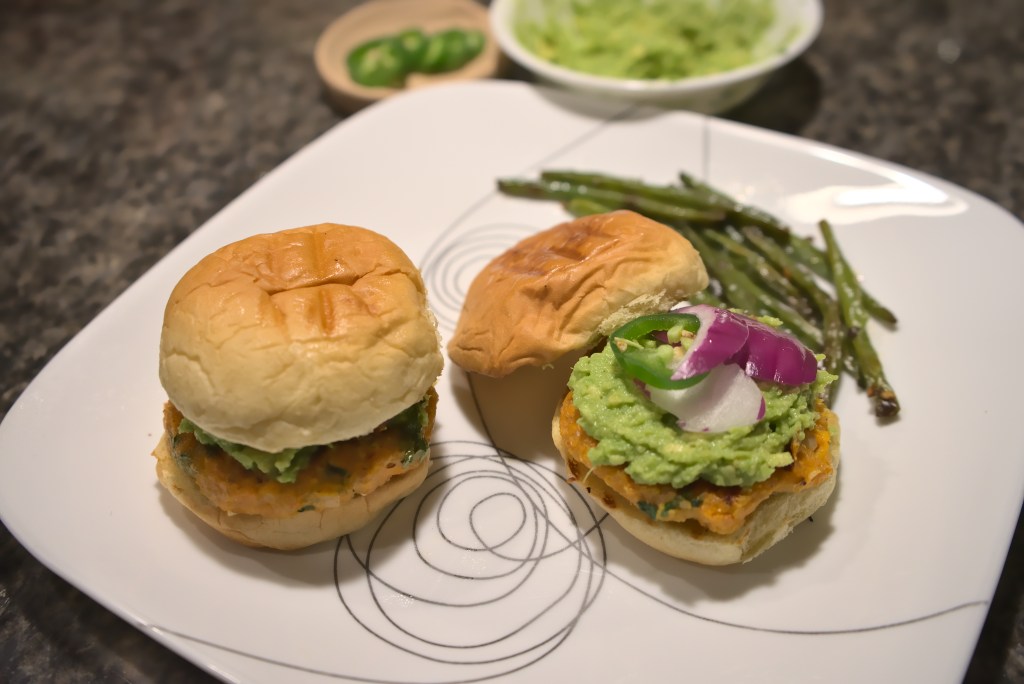
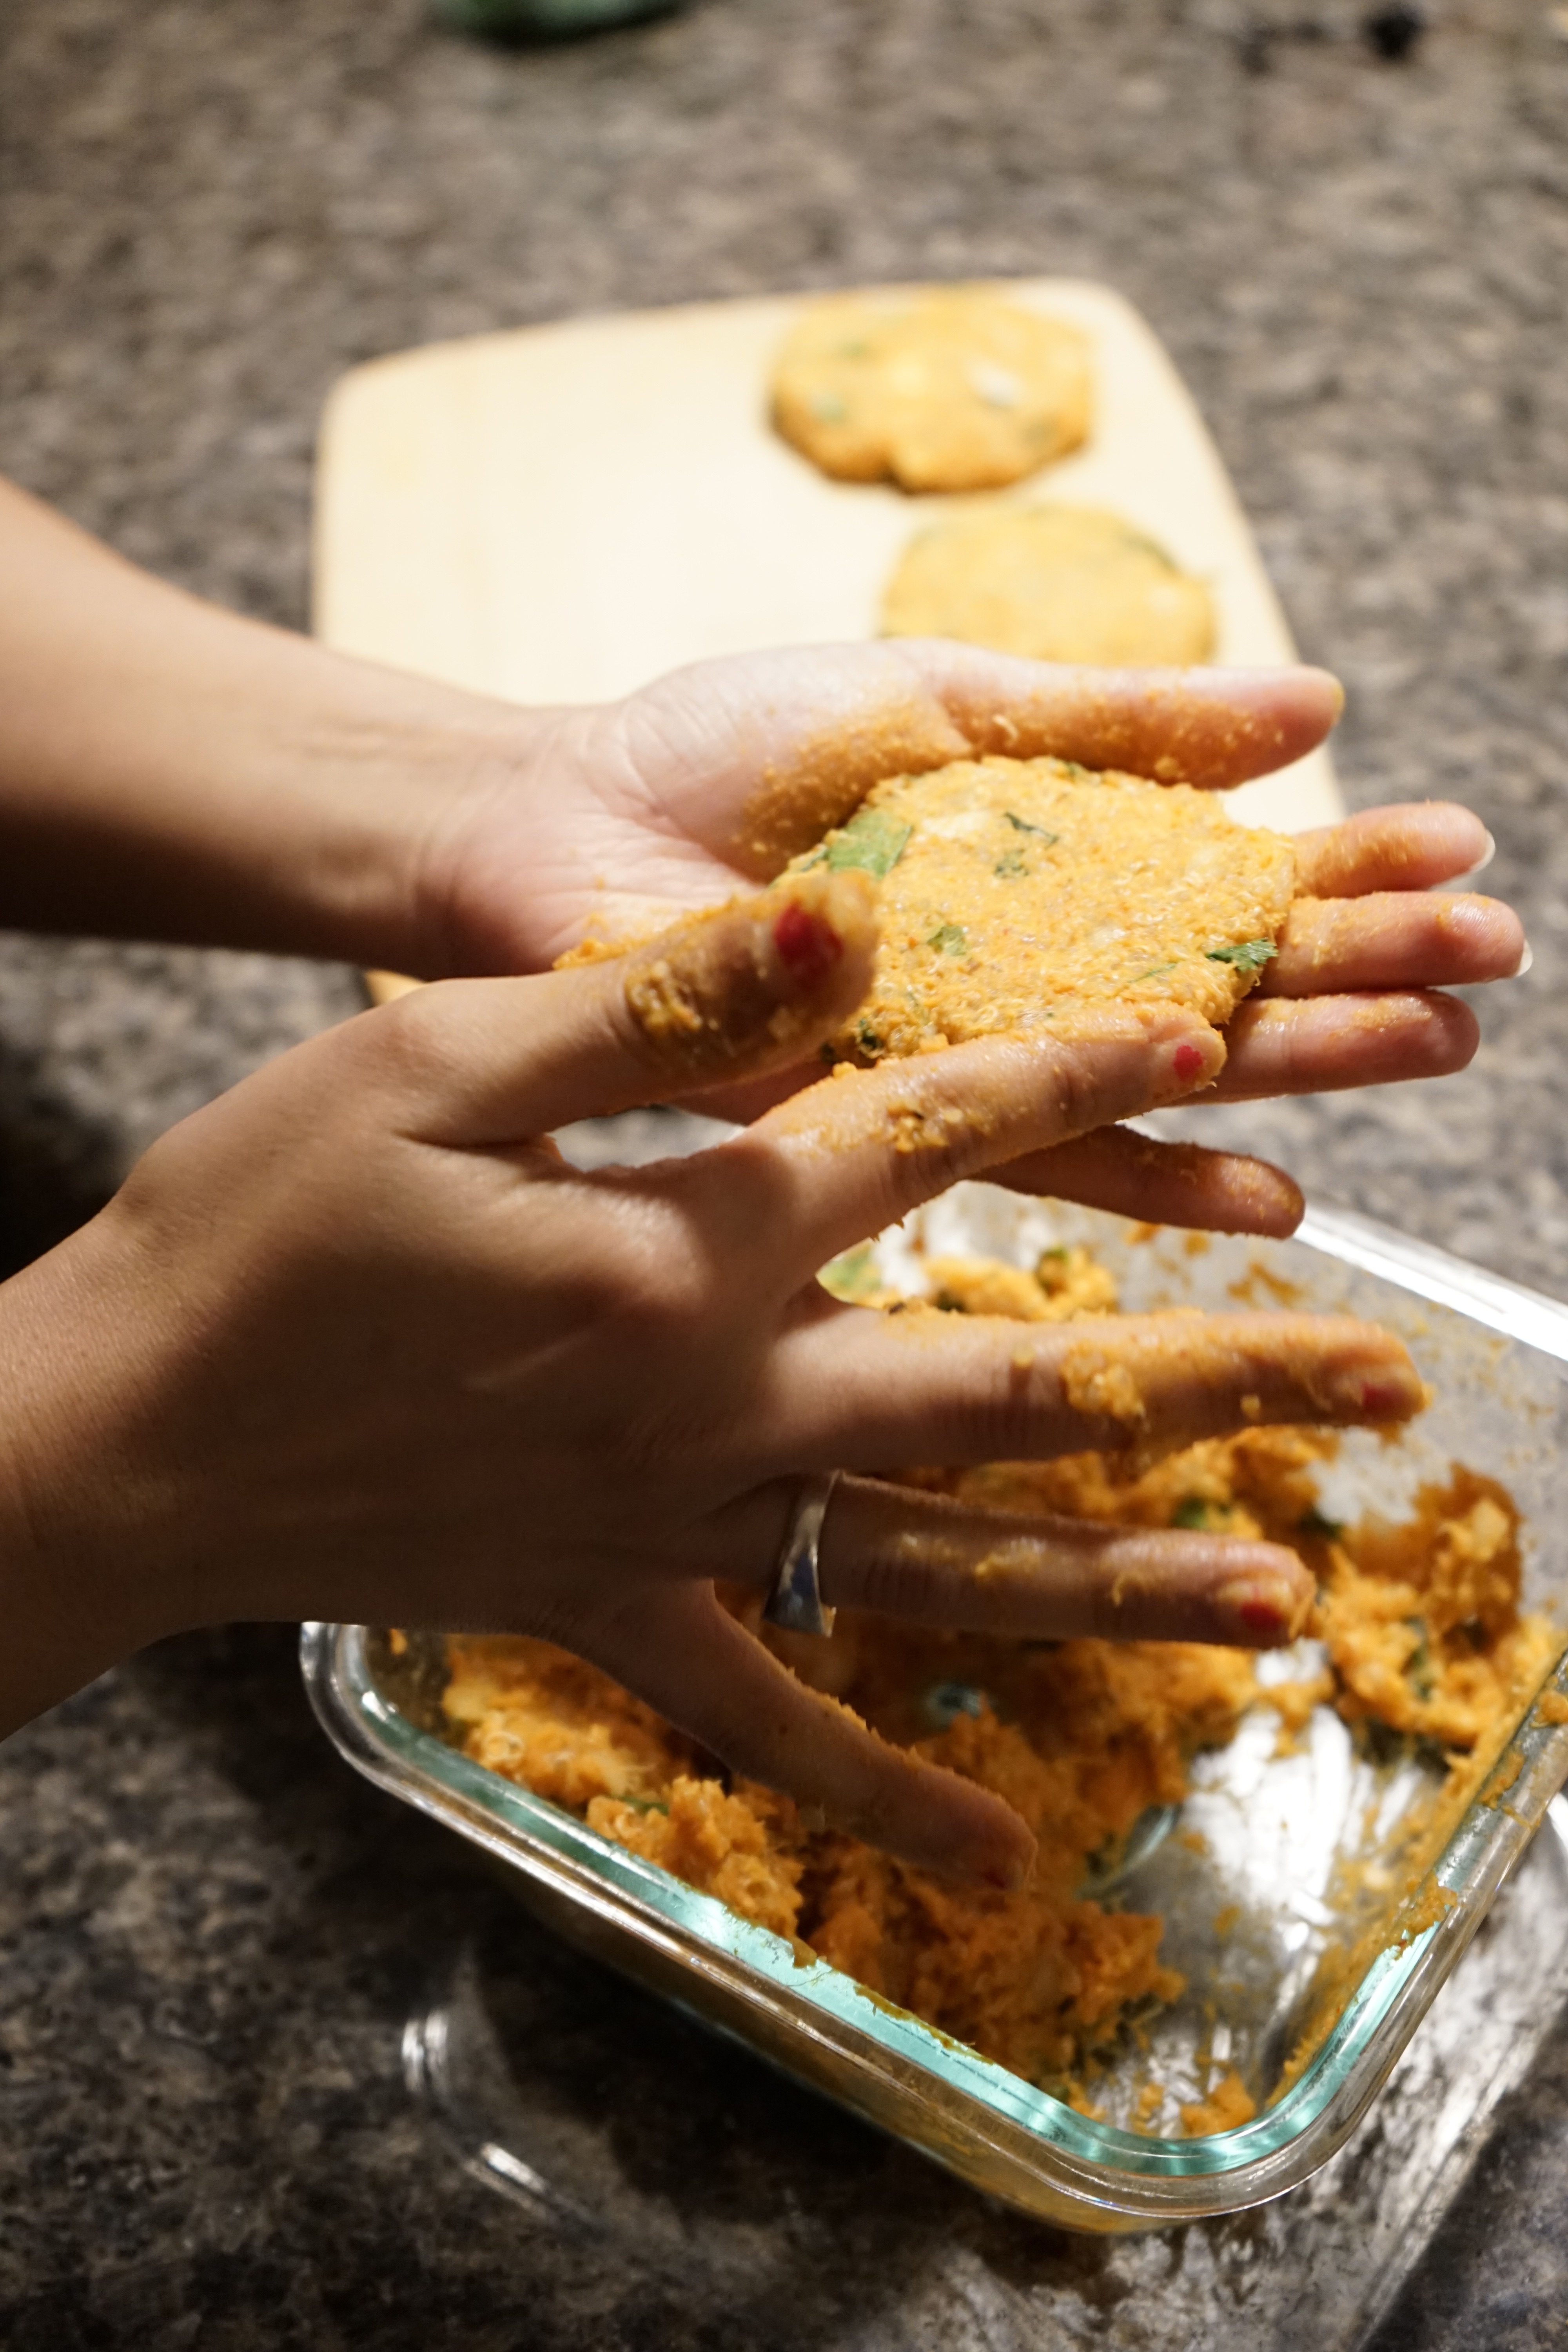
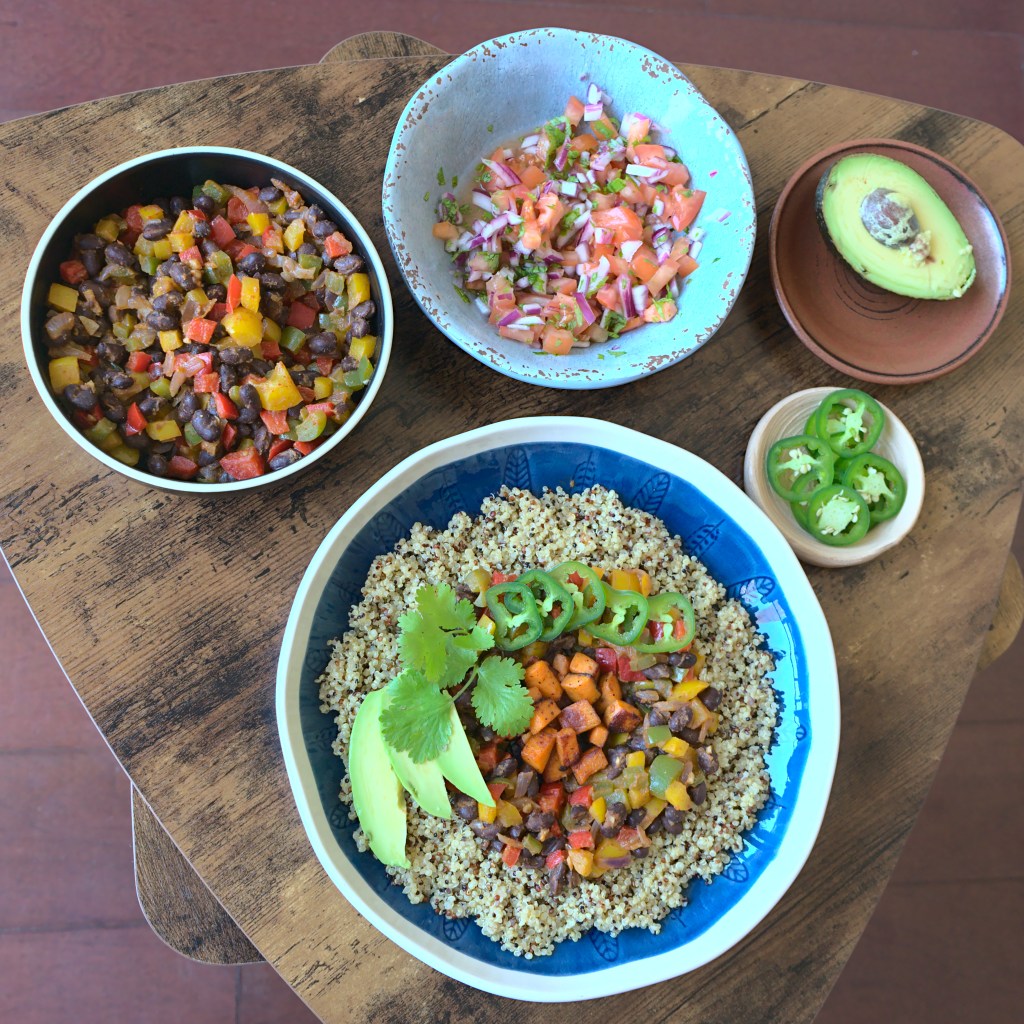
- Time to prepare the bowl with layers. At the base, place some cooked, fluffed quinoa. On top of this, add some black bean and pepper mixture. On this, add some sweet potatoes. Top this with some salsa, sliced avocado, sliced jalapenos and a squeeze of lemon juice. Enjoy the scrumptious bowl 🙂
Serving Suggestion
- For extra protein, add in some scrambled eggs
You can also follow me on Instagram to be up-to-date with what is cooking my kitchen. If you like this recipe, do share your comments below. Don’t forget to post your version on Instagram using #foodformyloveblog.