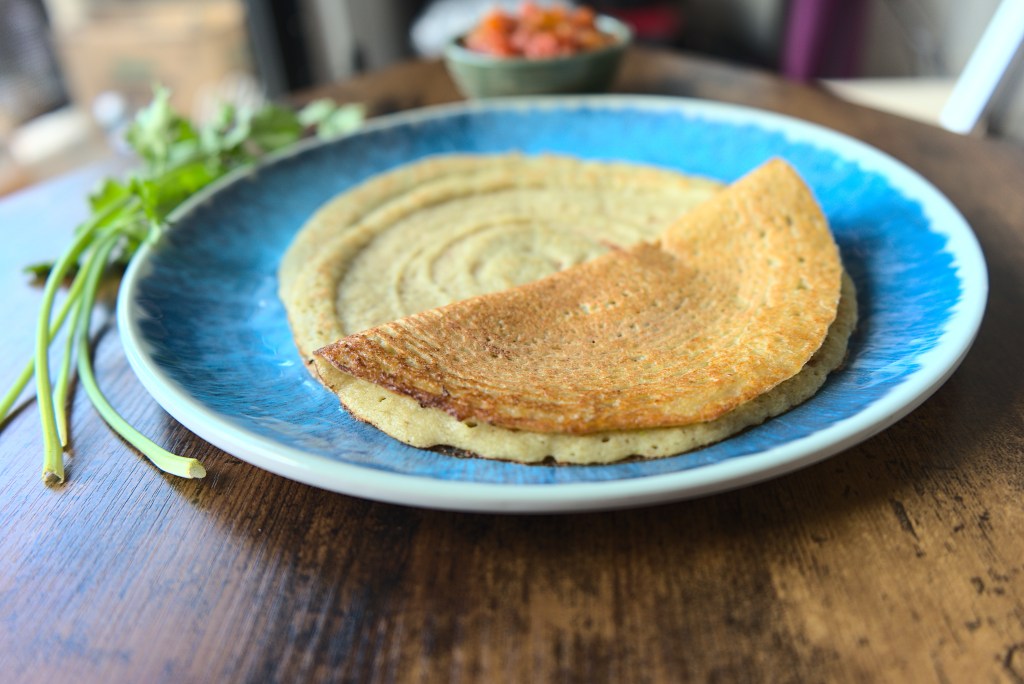
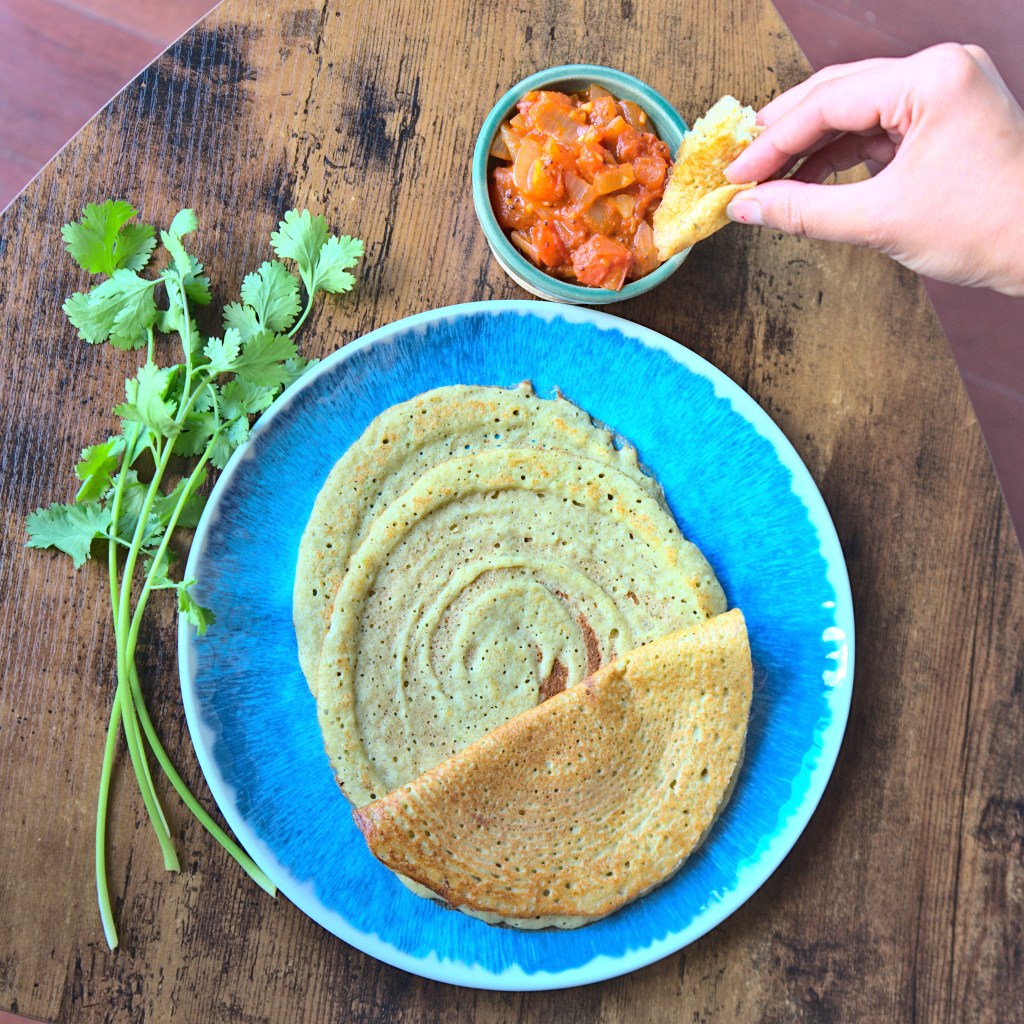
As a Dosa lover, if there was one thing I would love, it would be to not wait for ages to enjoy a Dosa, as I am sure many of you do too 🙂 In other words, could I enjoy Dosa without having to soak the dals and rice, grind, ferment and then get the final batter? Well, yes indeed. And no, I am not referring to buying Dosa batter from a store. I am referring to the option of a non-fermented version of Dosa.
I have posted an Adai recipe previously, which is a non-fermented Dosa. Pesarattu is yet another one. The star lentil of this dish is the power packed Mung Beans or Green Moong. As we all know, this little green lentil has impressive nutritional benefits, particularly being high in protein and fiber. For this reason, I try to include this particular lentil in my household’s diet at least once a week in some way or form.
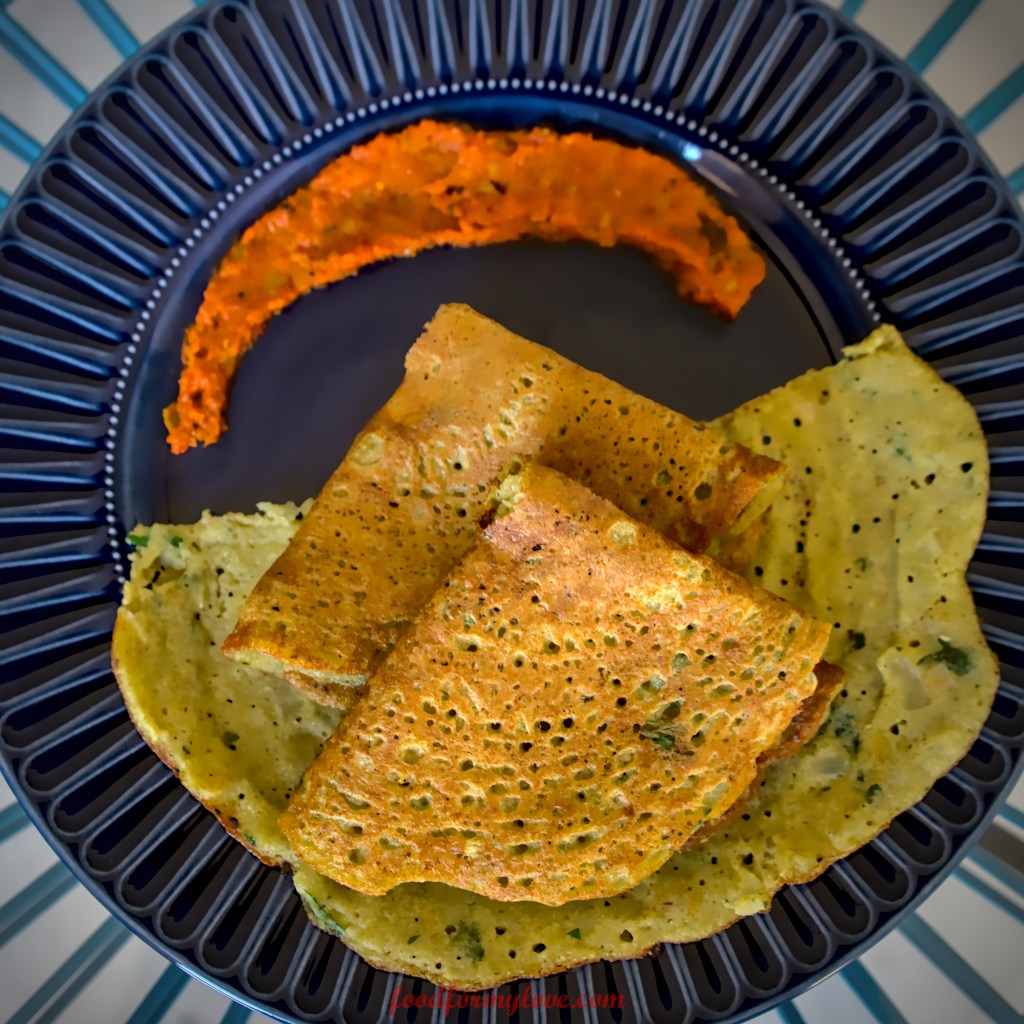
This type of Dosa originated in the south Indian state of Andhra Pradesh. In Telugu, Pesaru-bedalu = Green Moong and Attu = Dosa. Although Pesarattu is traditionally served with a filling of Upma (just like a Masala Dosa is served with a Potato filling), I choose to serve it with a variety of chutneys and podis, courtesy my MIL 😊
| Prep time | 6-10 hours |
| Cook time | 2-3 minutes per Pesarattu |
| Serves | 3-4 |
Ingredients
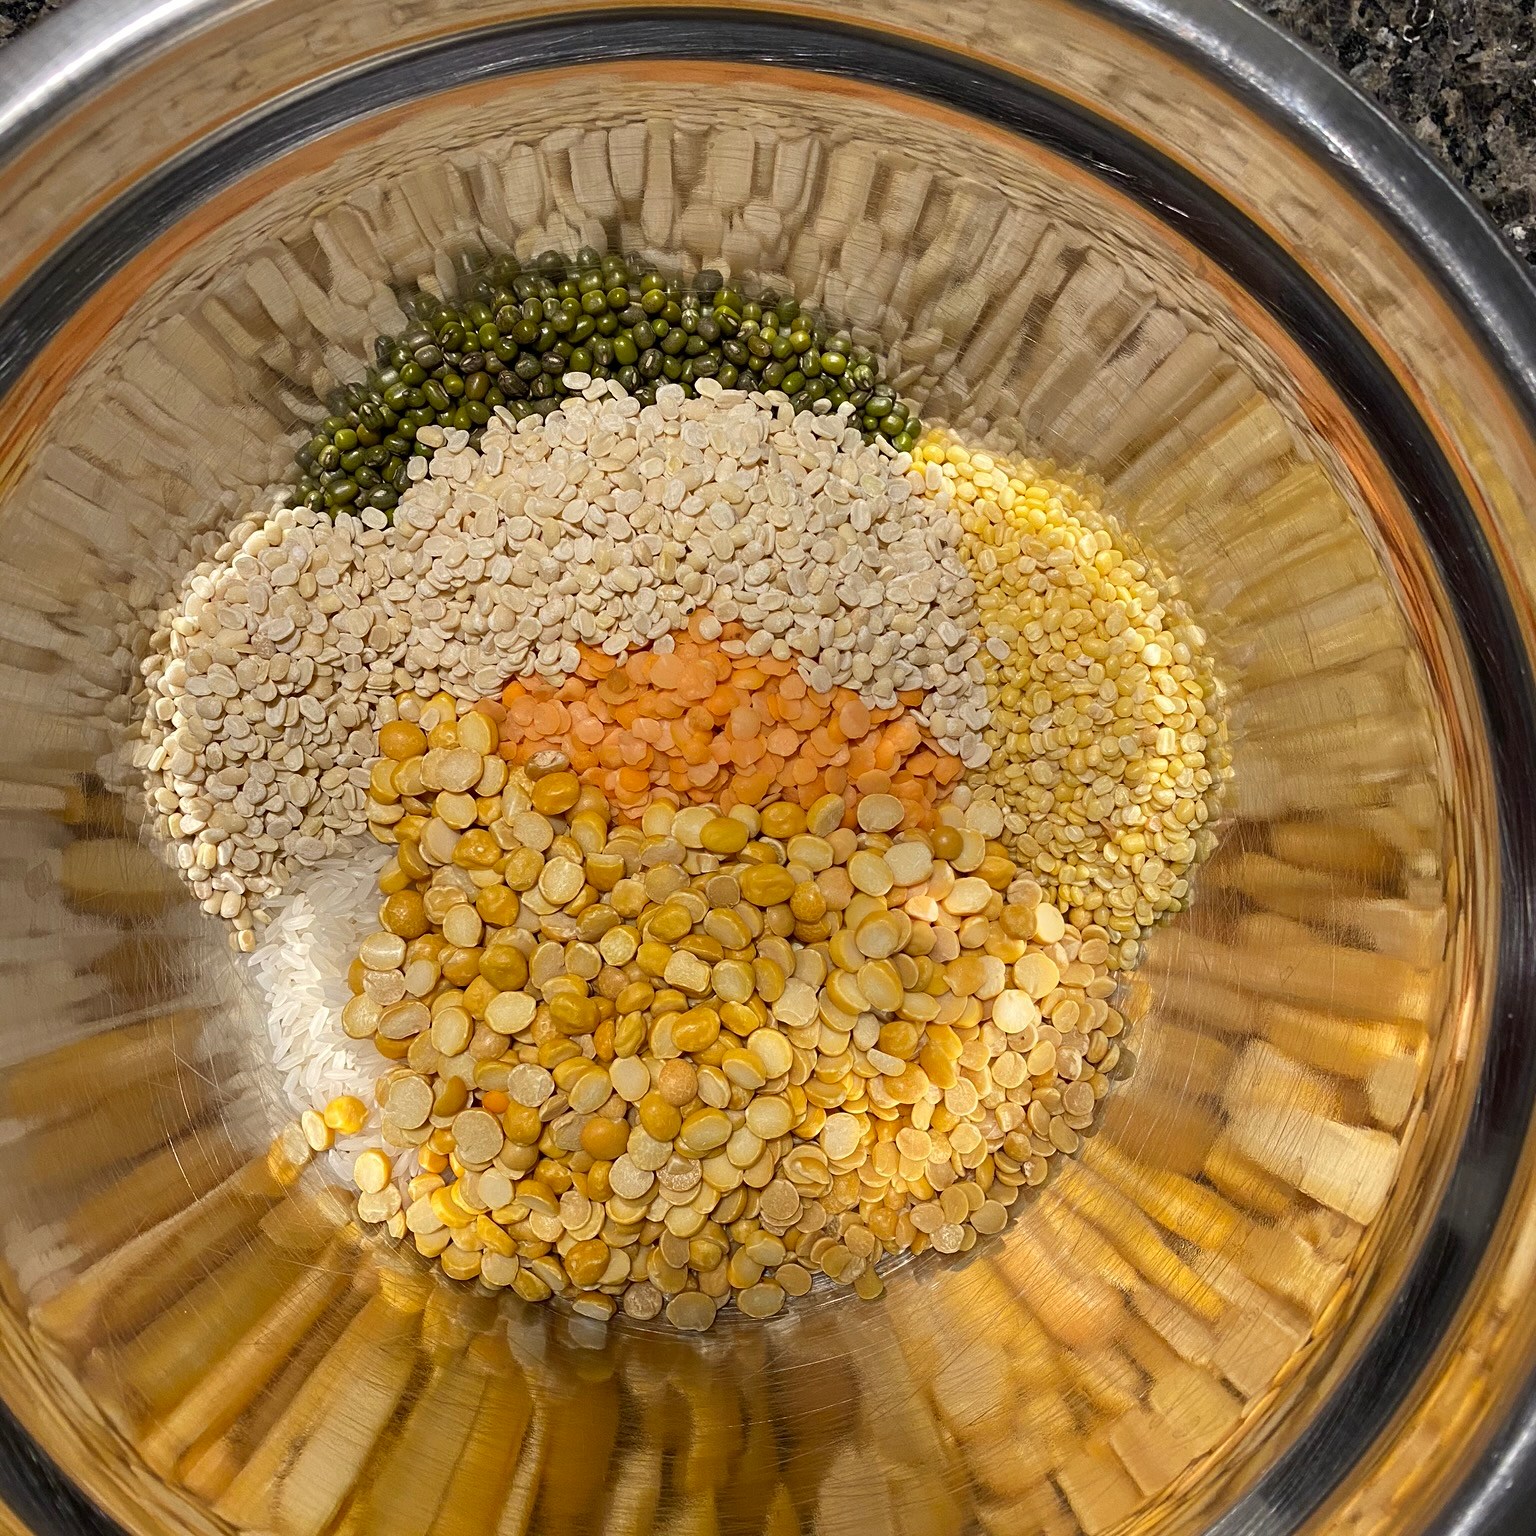
Lentils and Grains
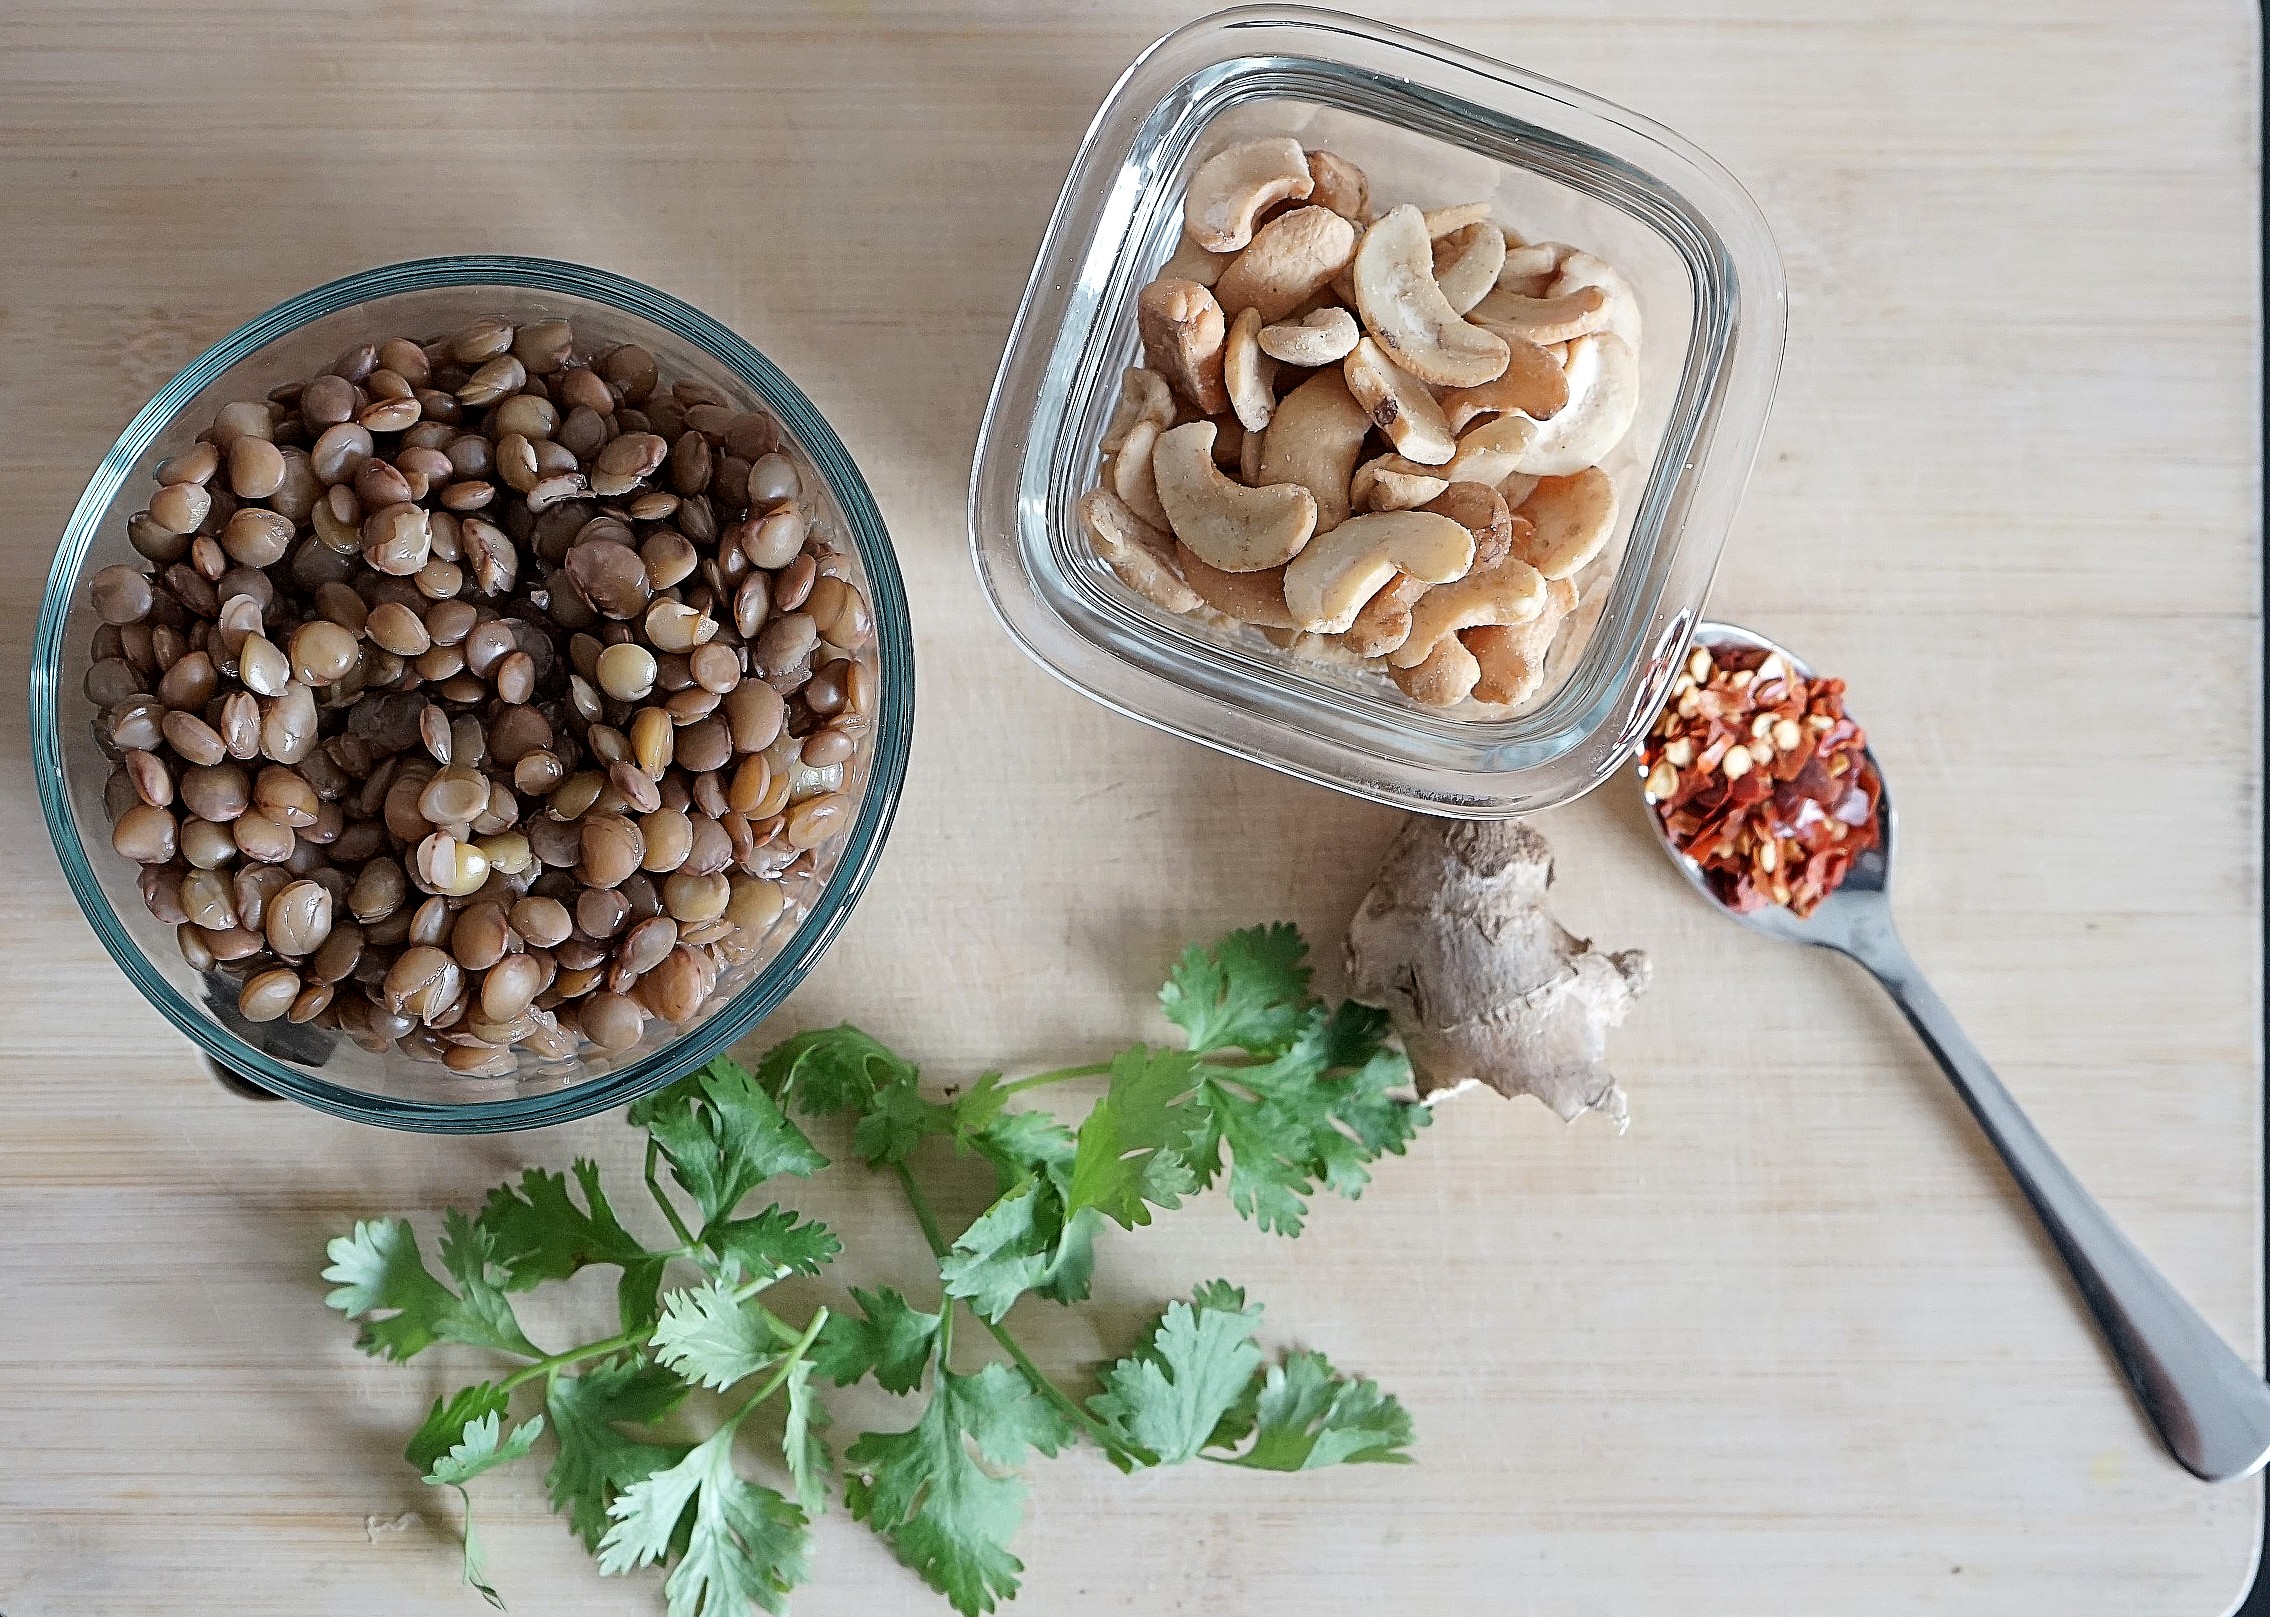
- Dry Mung Beans (Whole Green Moong) – 1.5 cups
- Yellow Split Pigeon Peas (Toor Dal) – 1 cup
- Rice – 1 cup
Vegetables and Spices
- Onion – 1 small, chopped
- Ginger – 2 tbsp, chopped
- Green Chilies – 2 tbsp, chopped
- Cilantro – 2 tbsp, chopped
- Salt as per taste
Oils
- Cooking Oil – A few tbsps
Pro tip:
Split Pigeon Peas (Toor Dal) is traditionally not added to Pesarattu. However, adding it to this recipe adds a crispness to the Pesarattu. This is due to the fact that the Split Pigeon Peas are lower in moisture than Mung Beans. They resist moisture absorption, thus enabling them to give a crispier texture to the Pesarattu. Alternatively, you can add Split Chickpeas (Chana Dal), which are equally dry leading them to crisp up (similar to making a pakoda where vegetables are dripped in a besan battter [besan is made from ground dried Chickpeas]). Did you know that Split Pigeon Peas and Split Chickpeas dont sprout for exactly this reason!?
Method
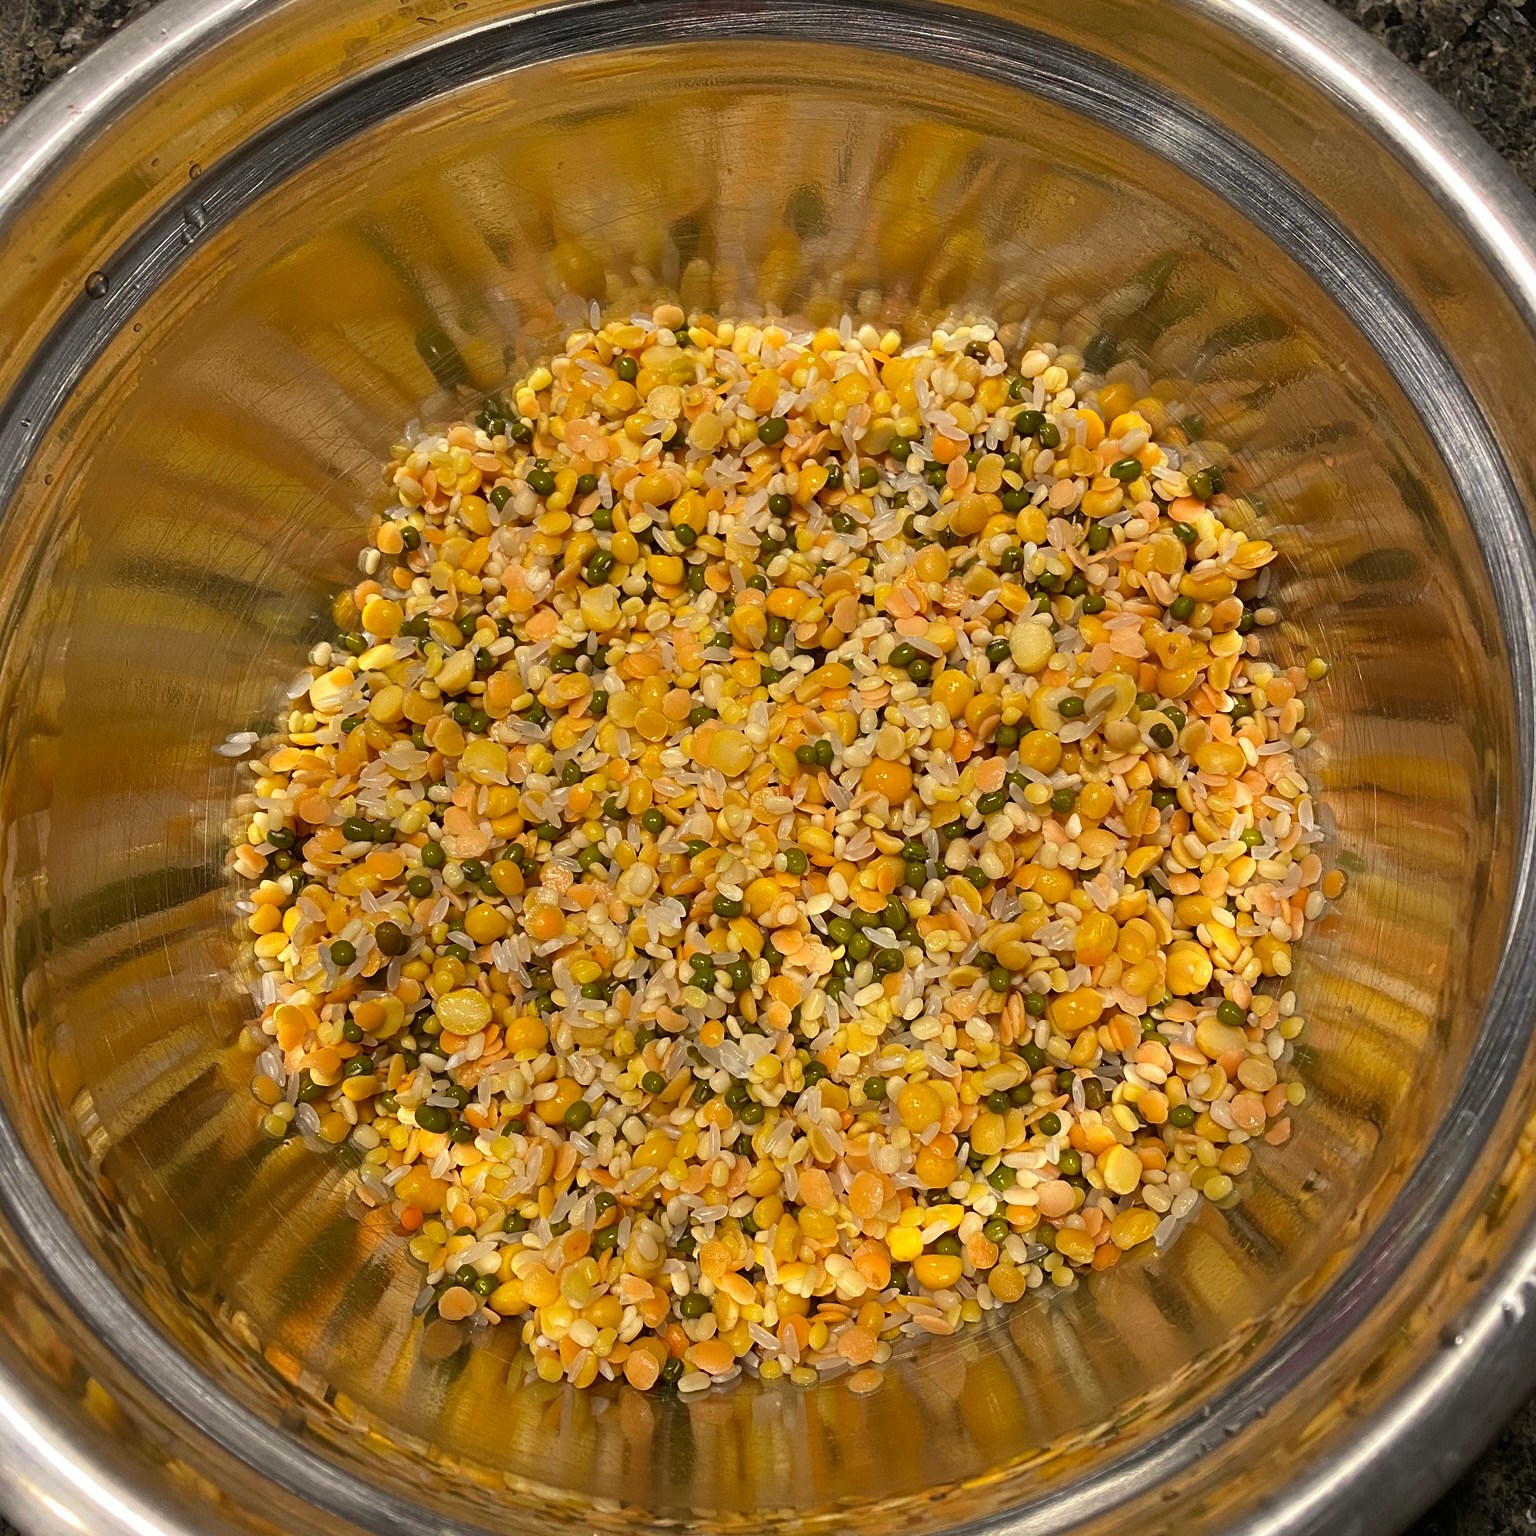
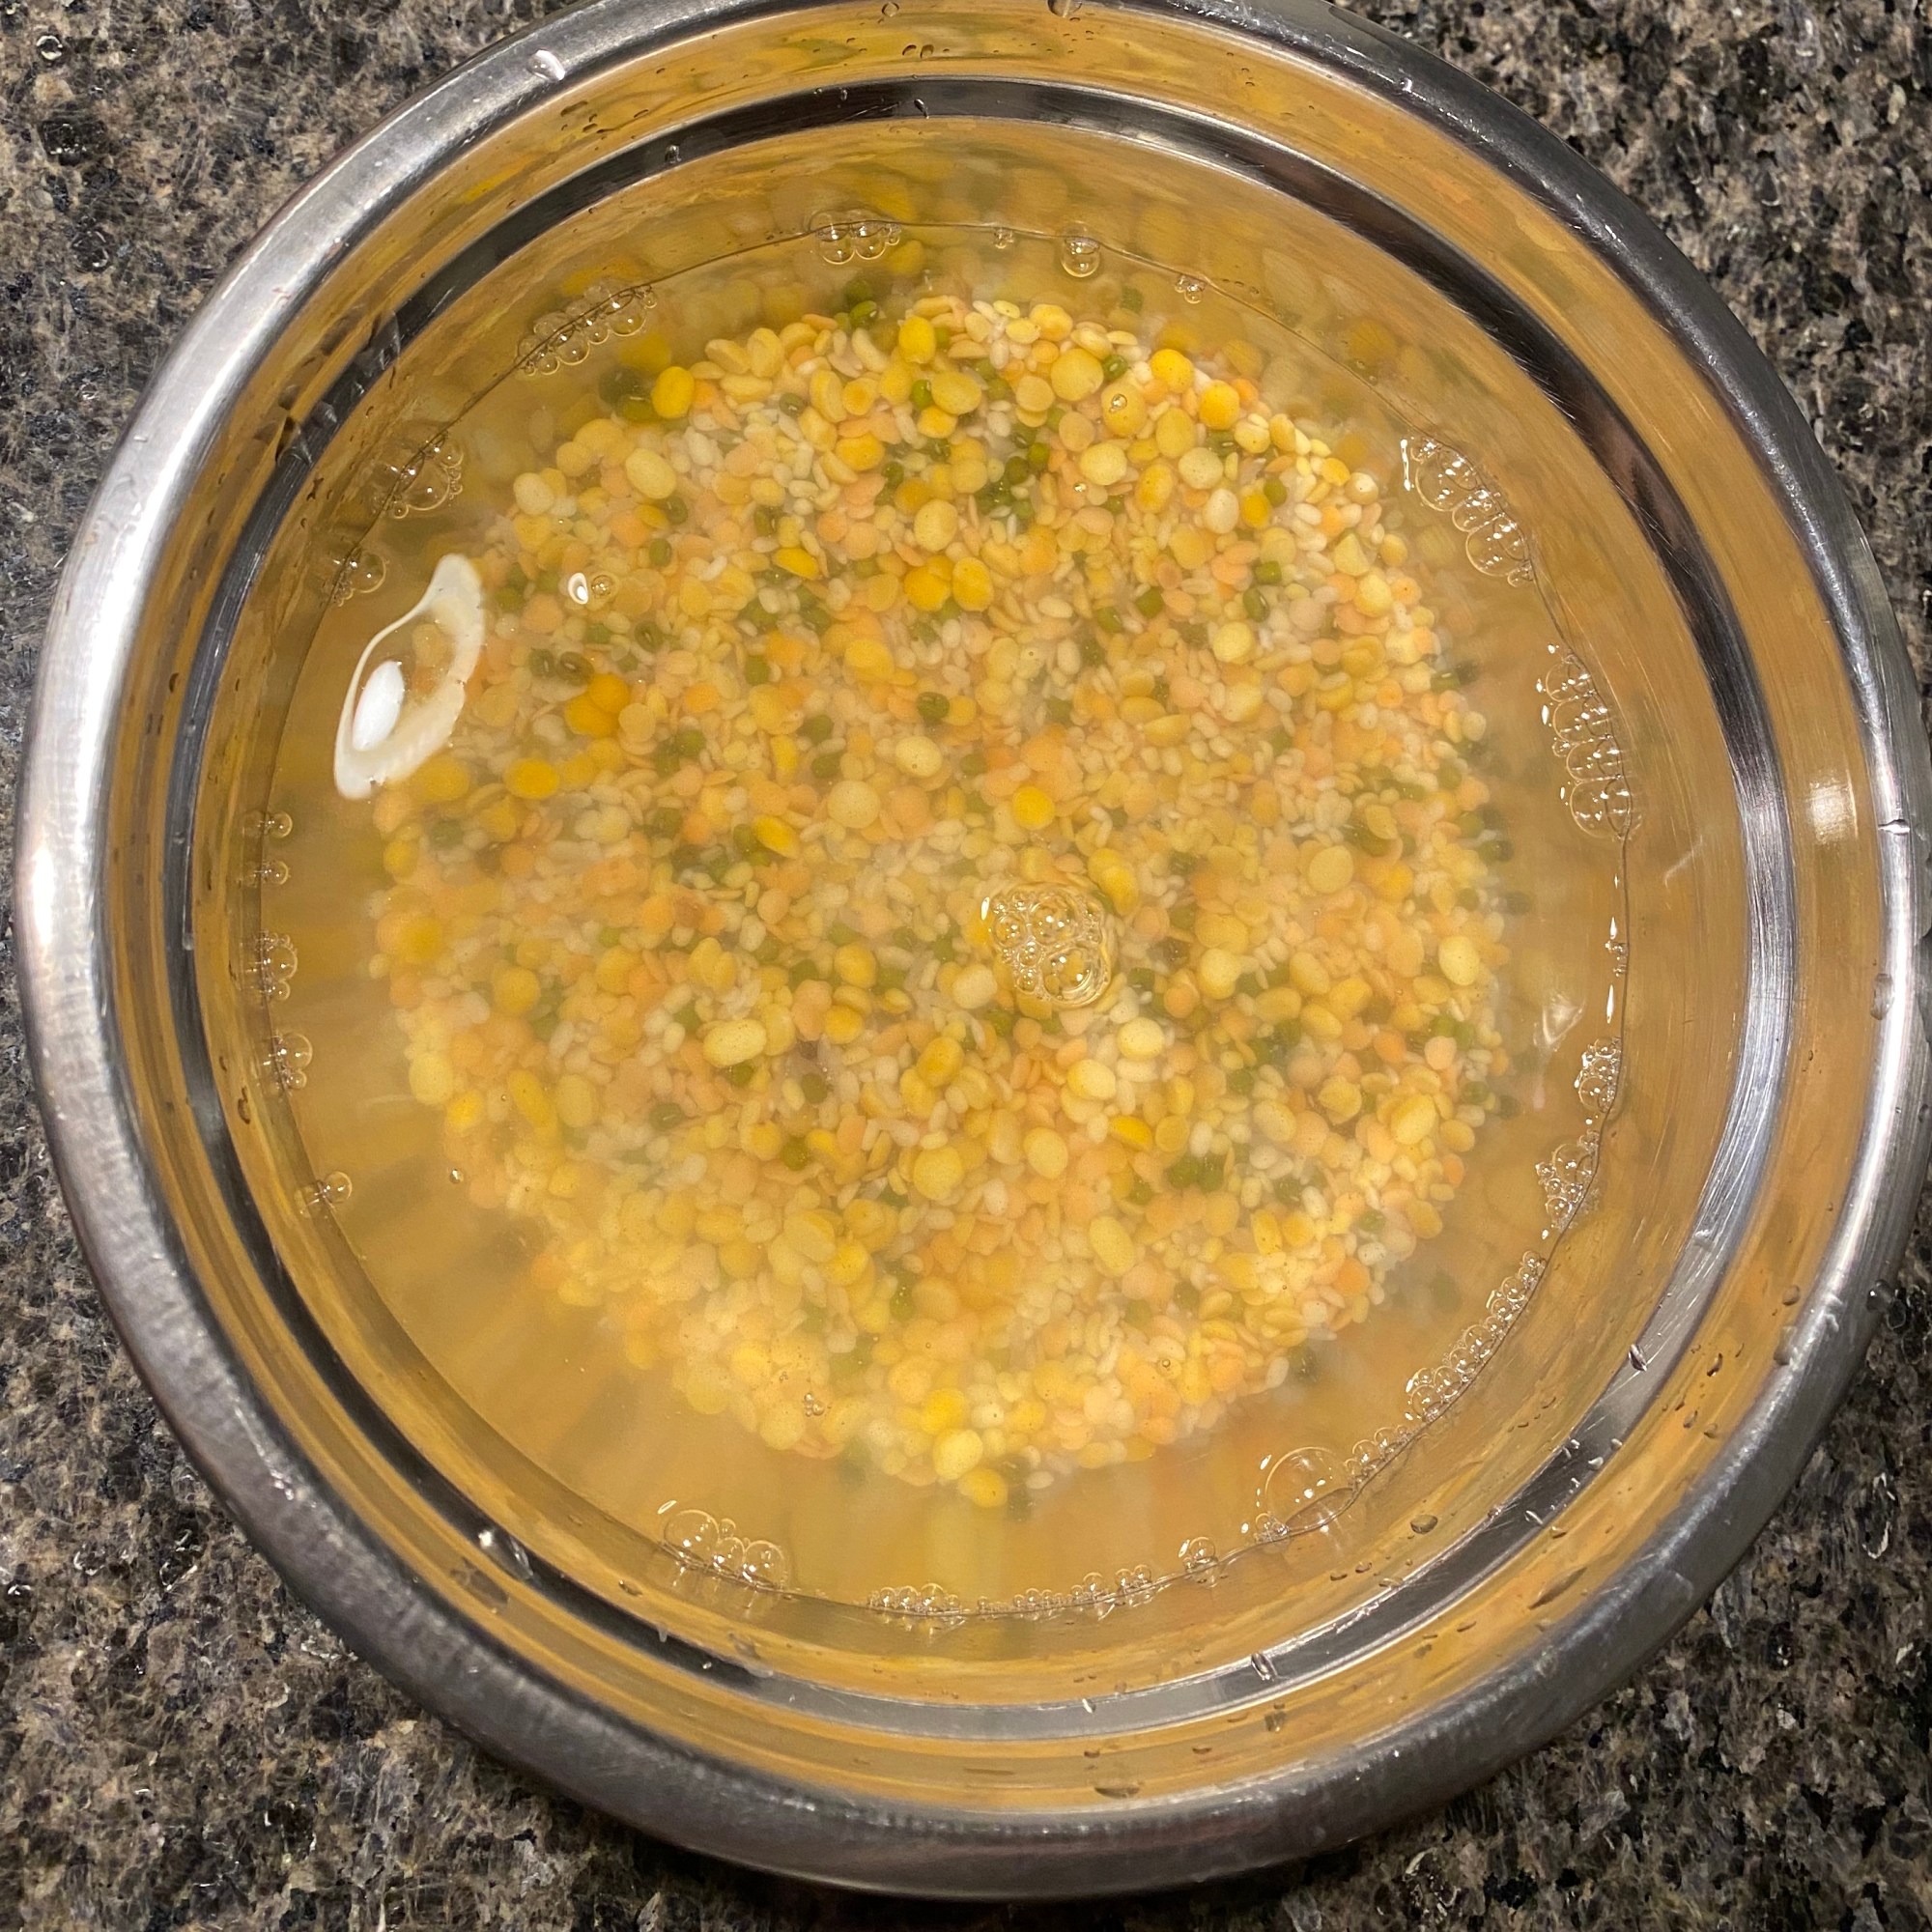
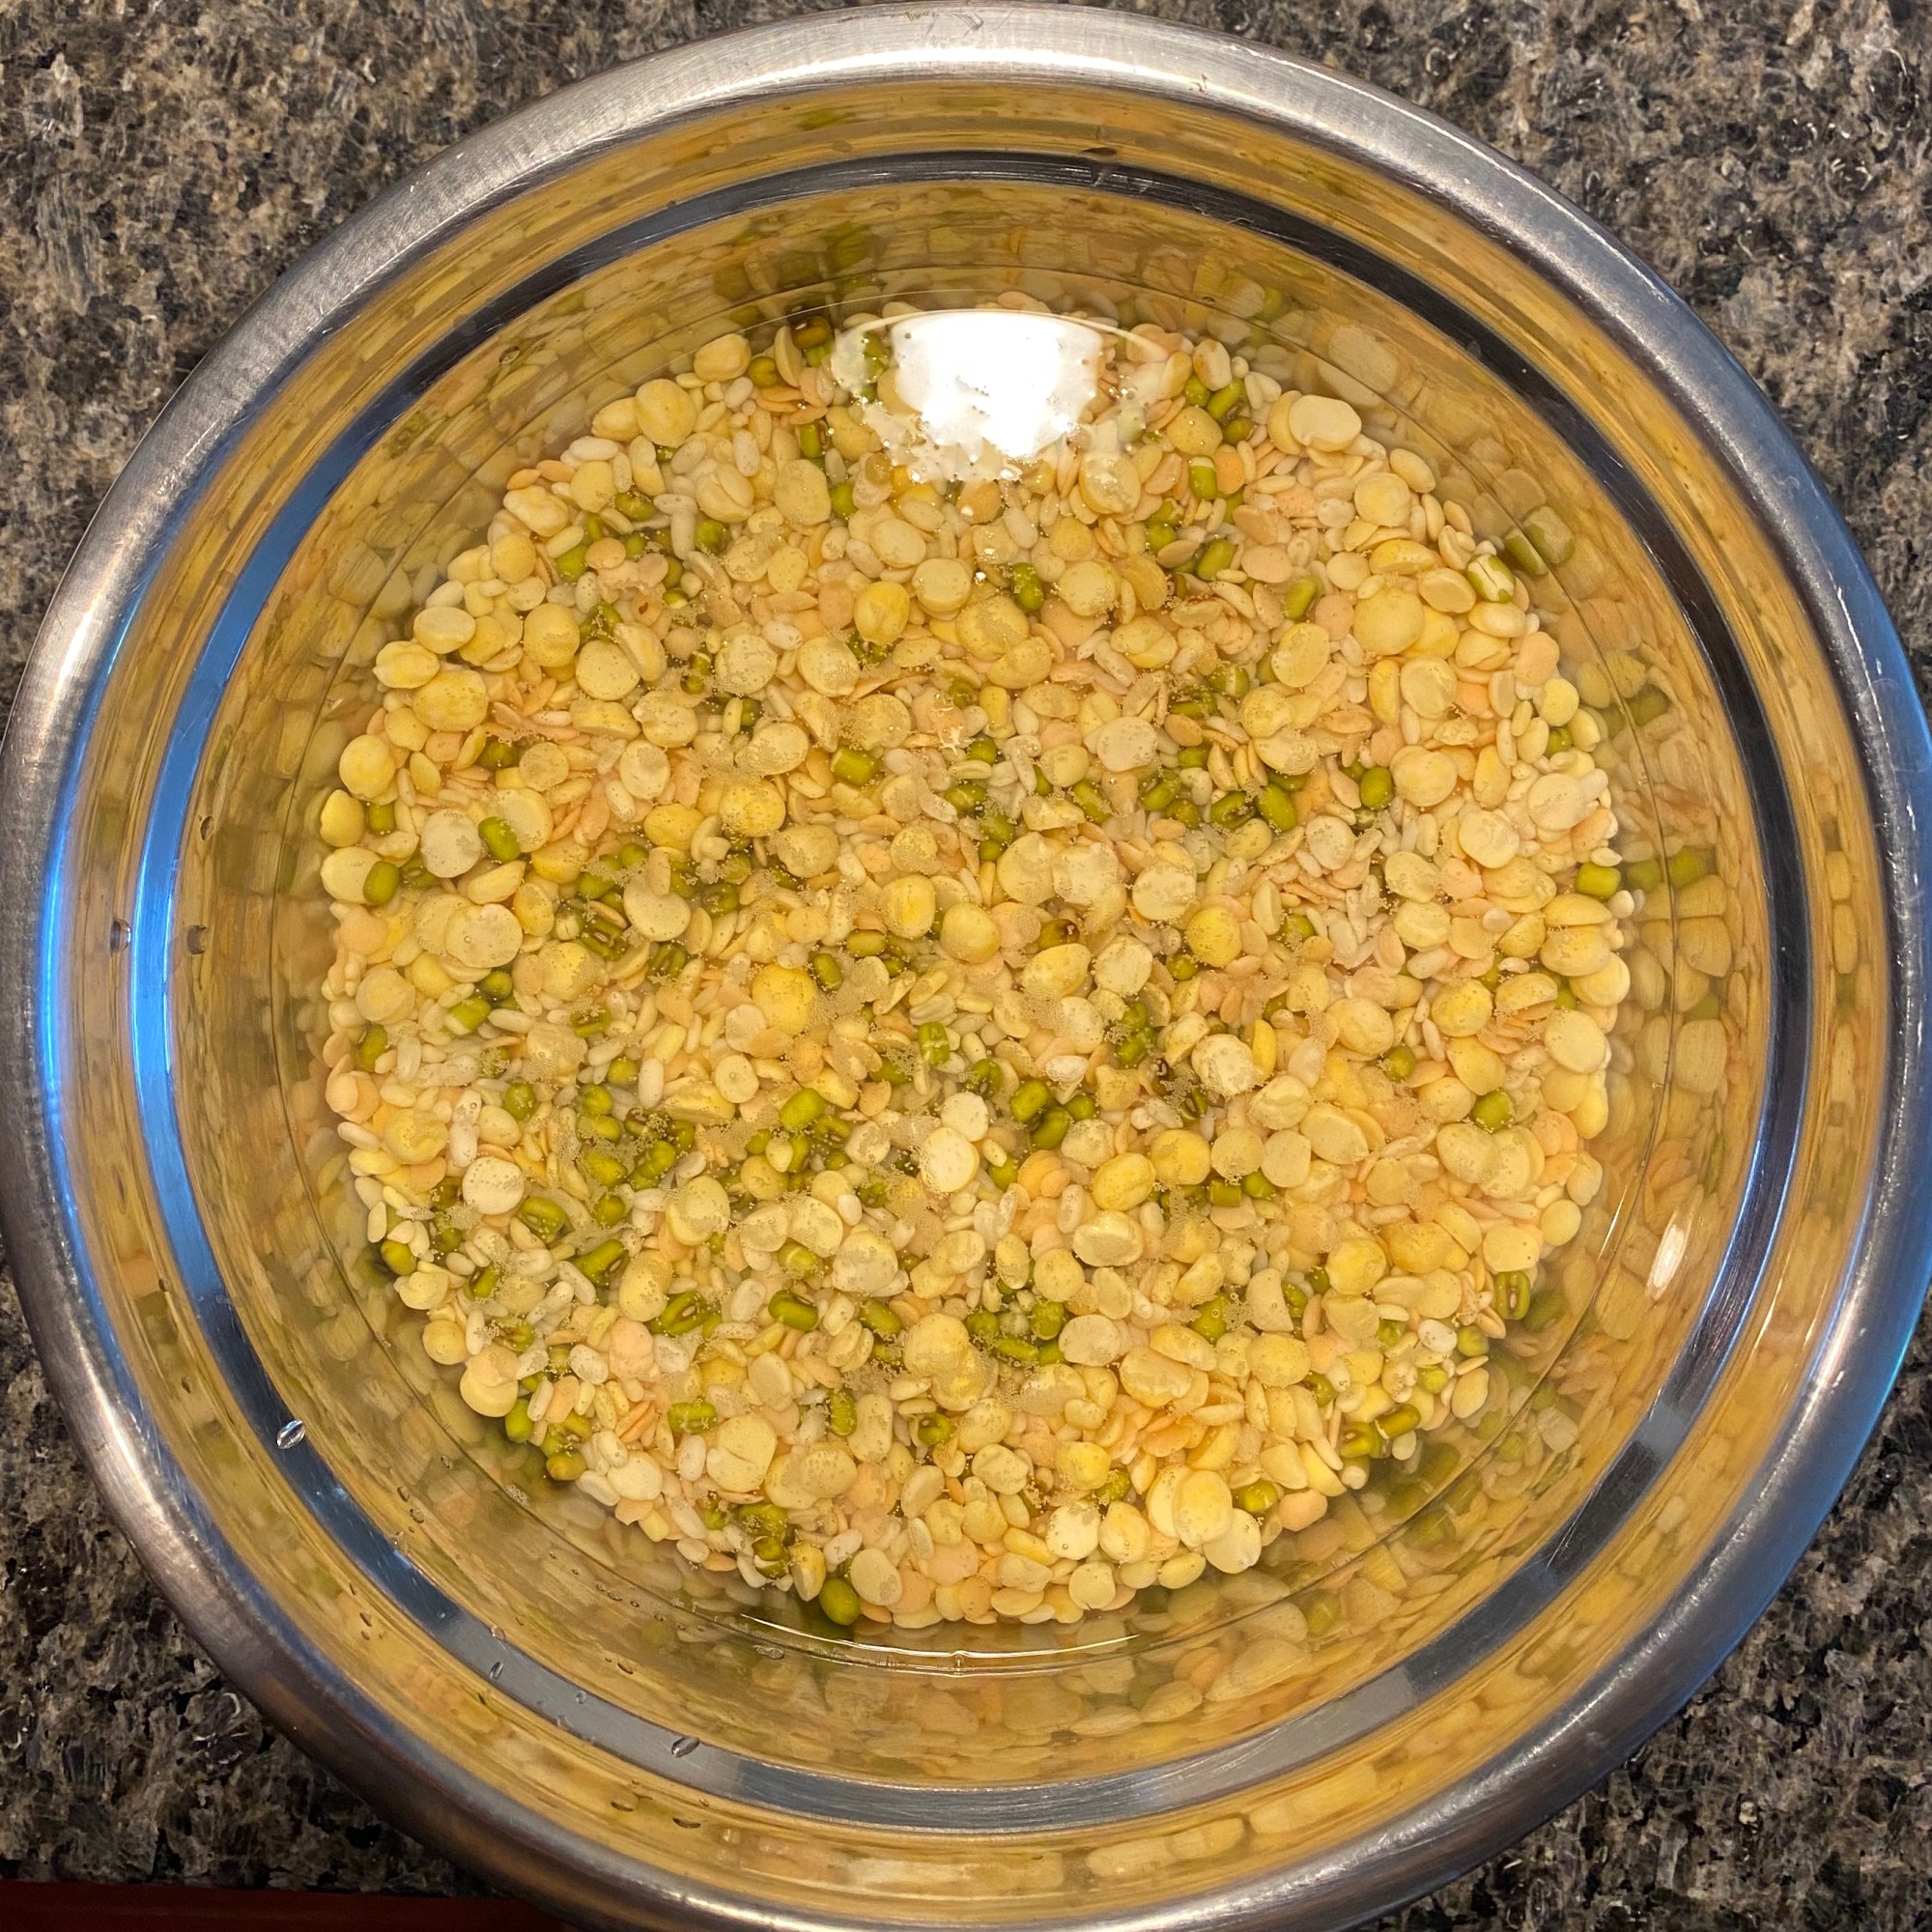
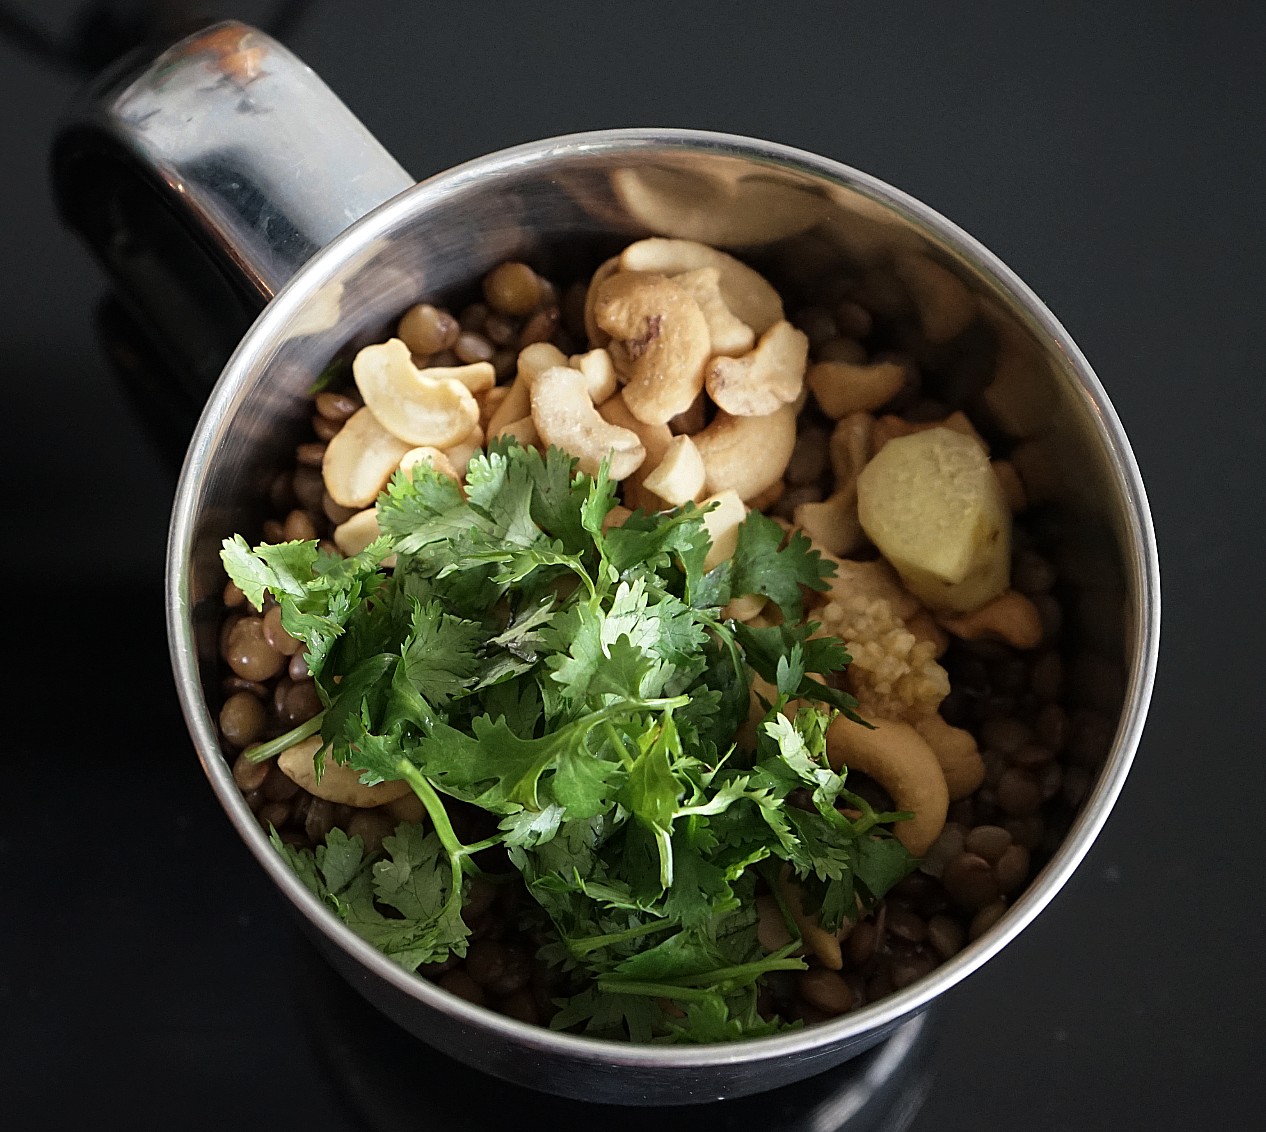
- Wash all lentils and grains. Soak them for a minimum of 4-6 hours or overnight
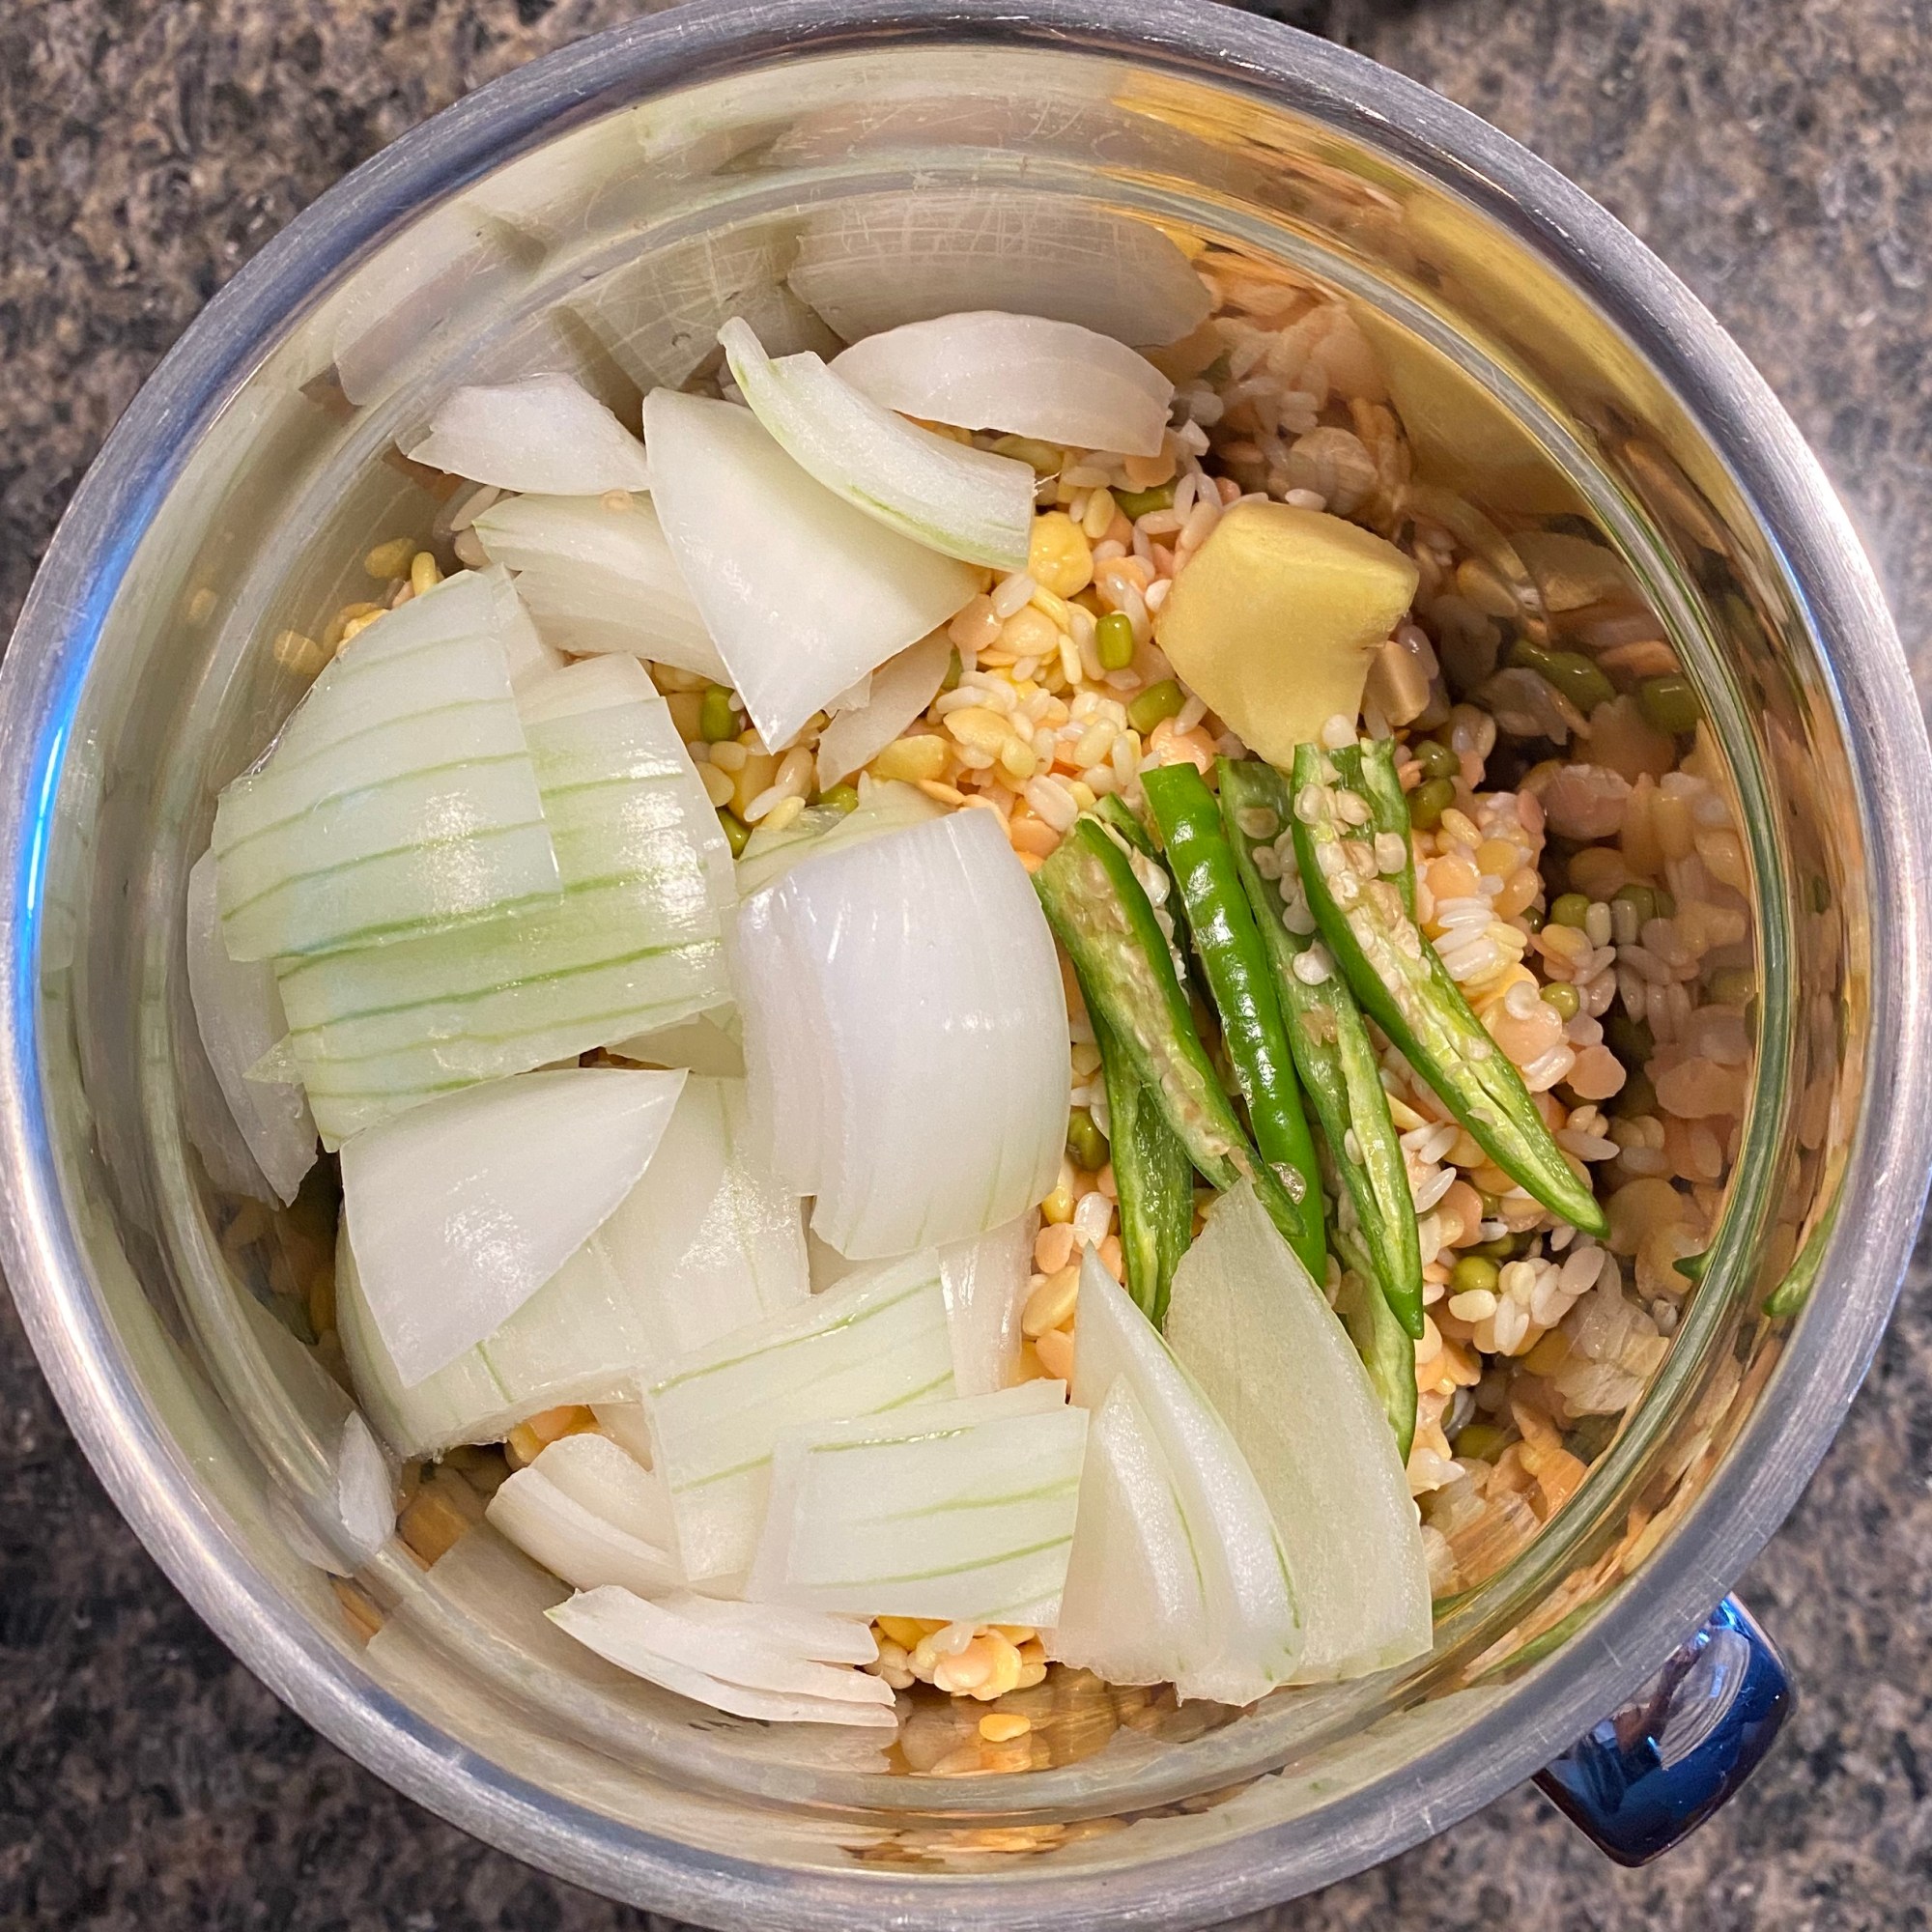
- The following morning, add the soaked lentils and grains to a blender.
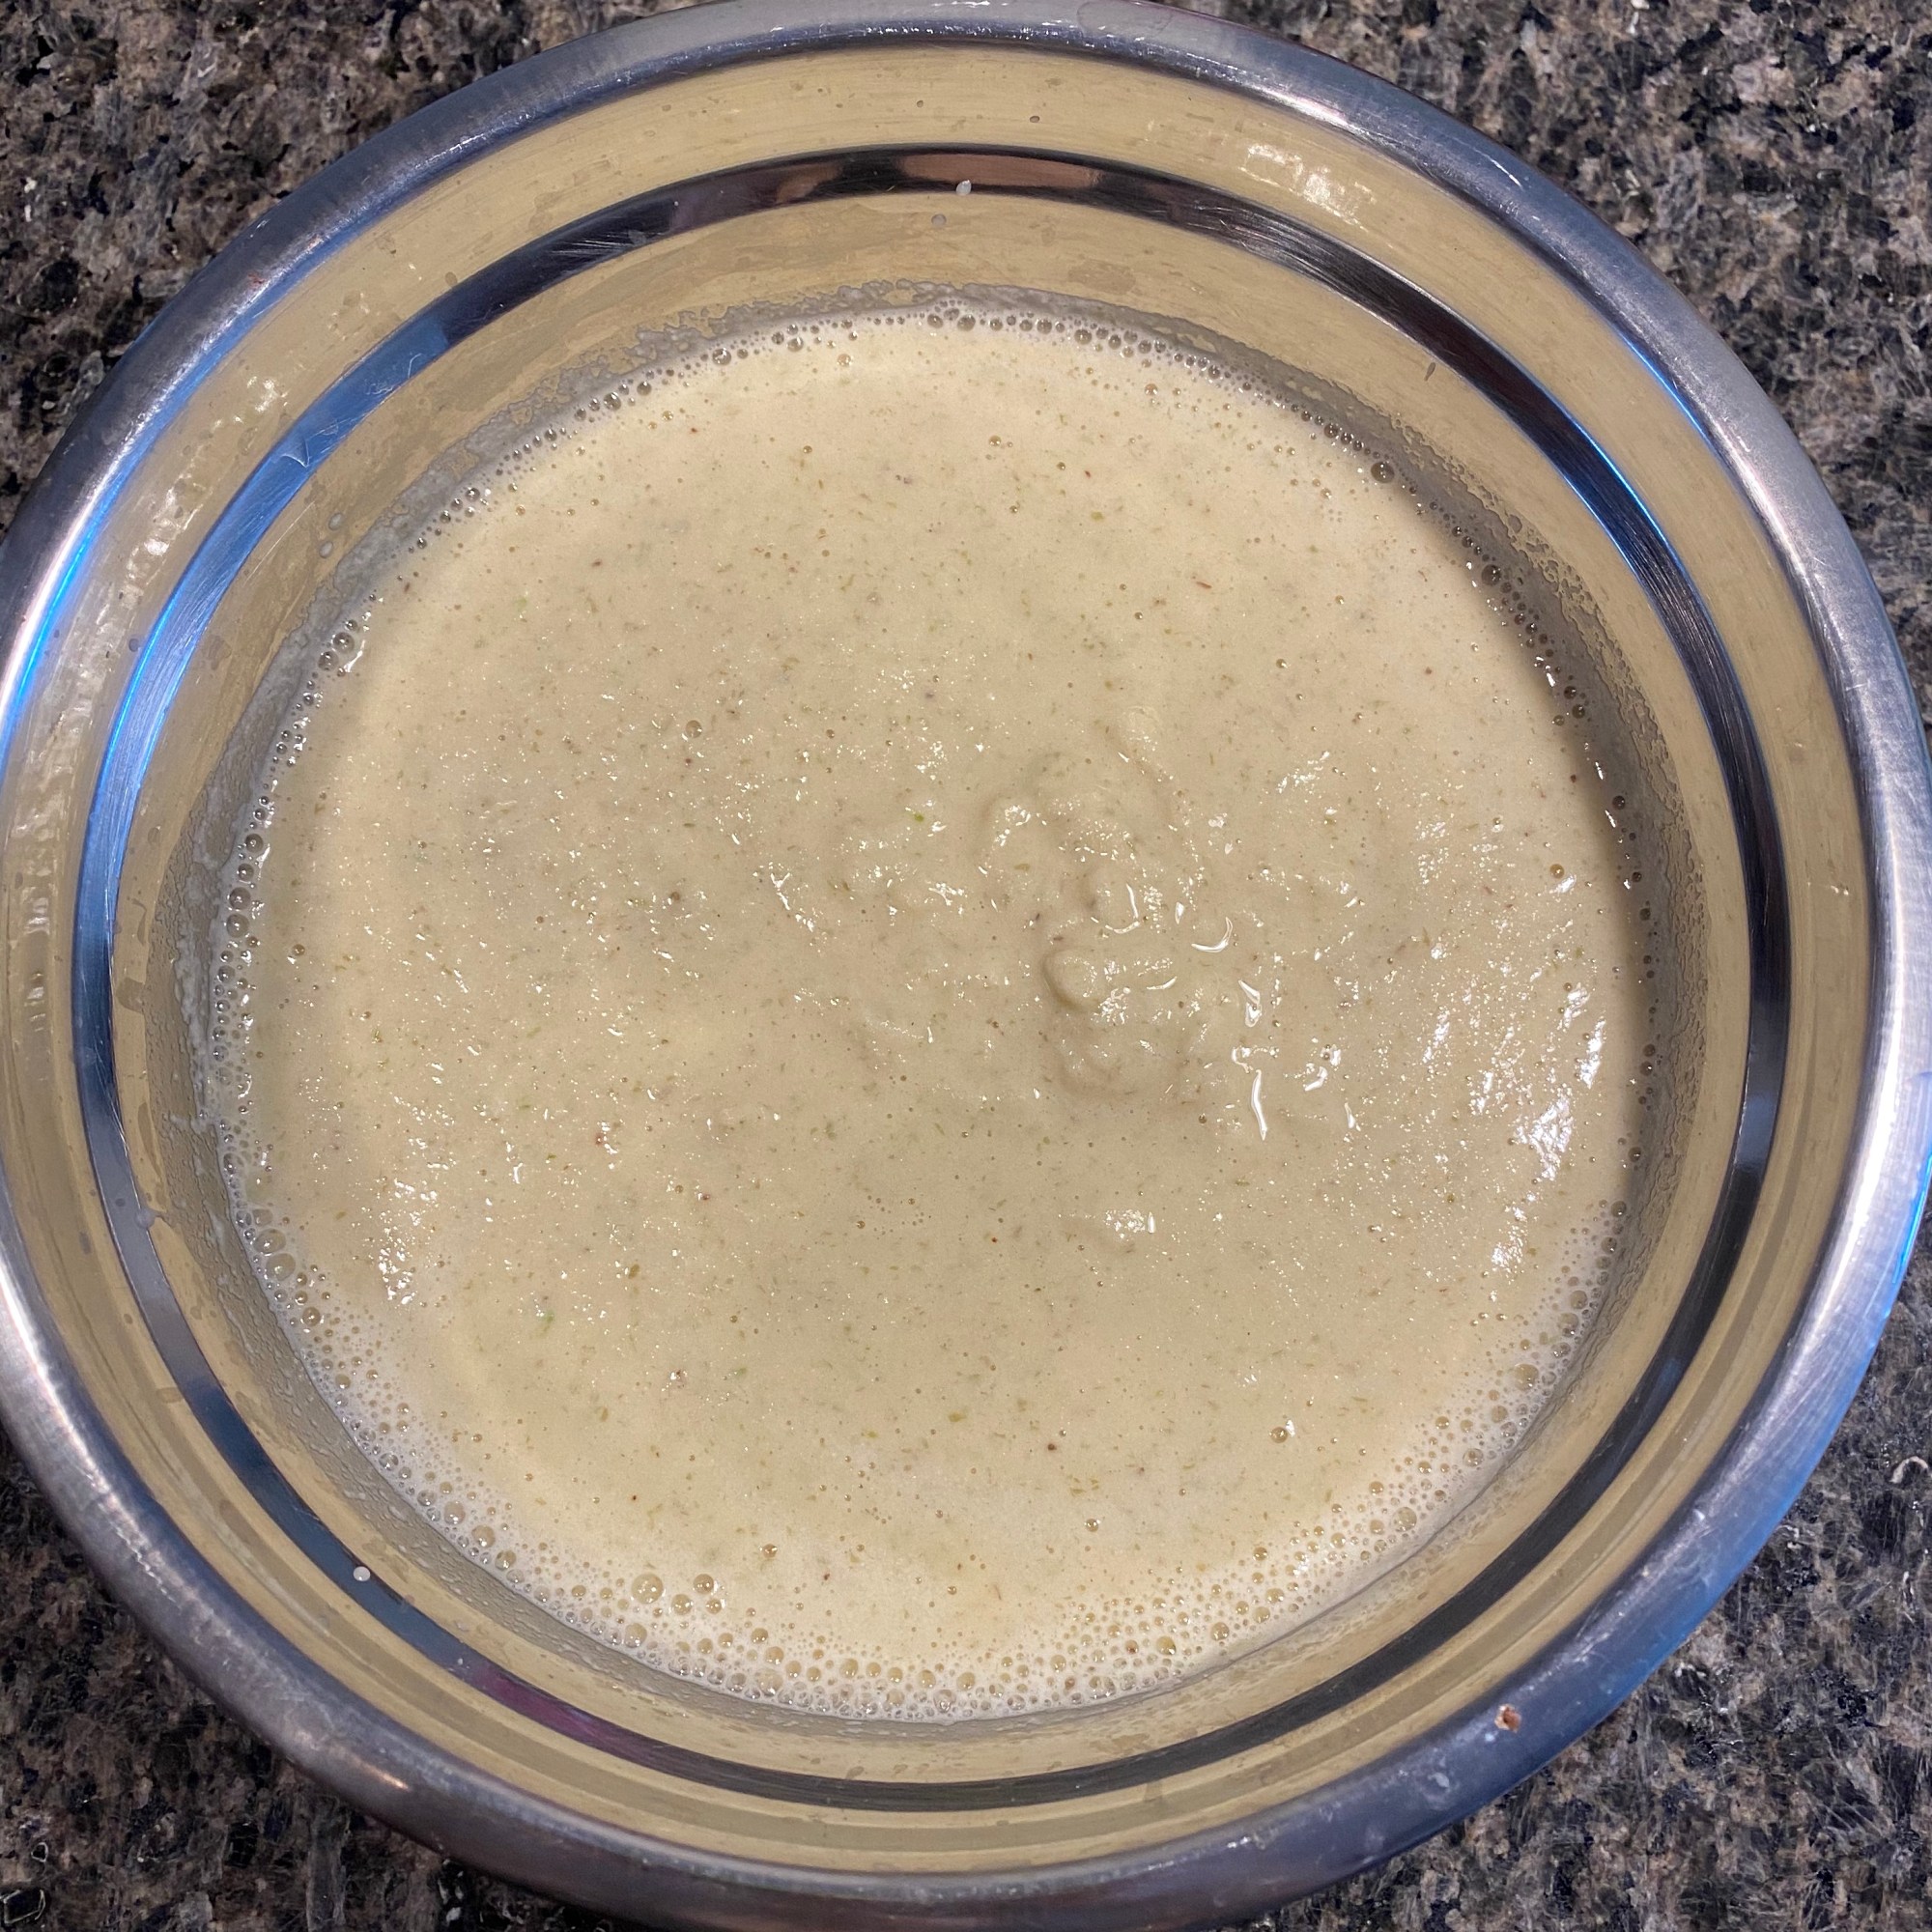
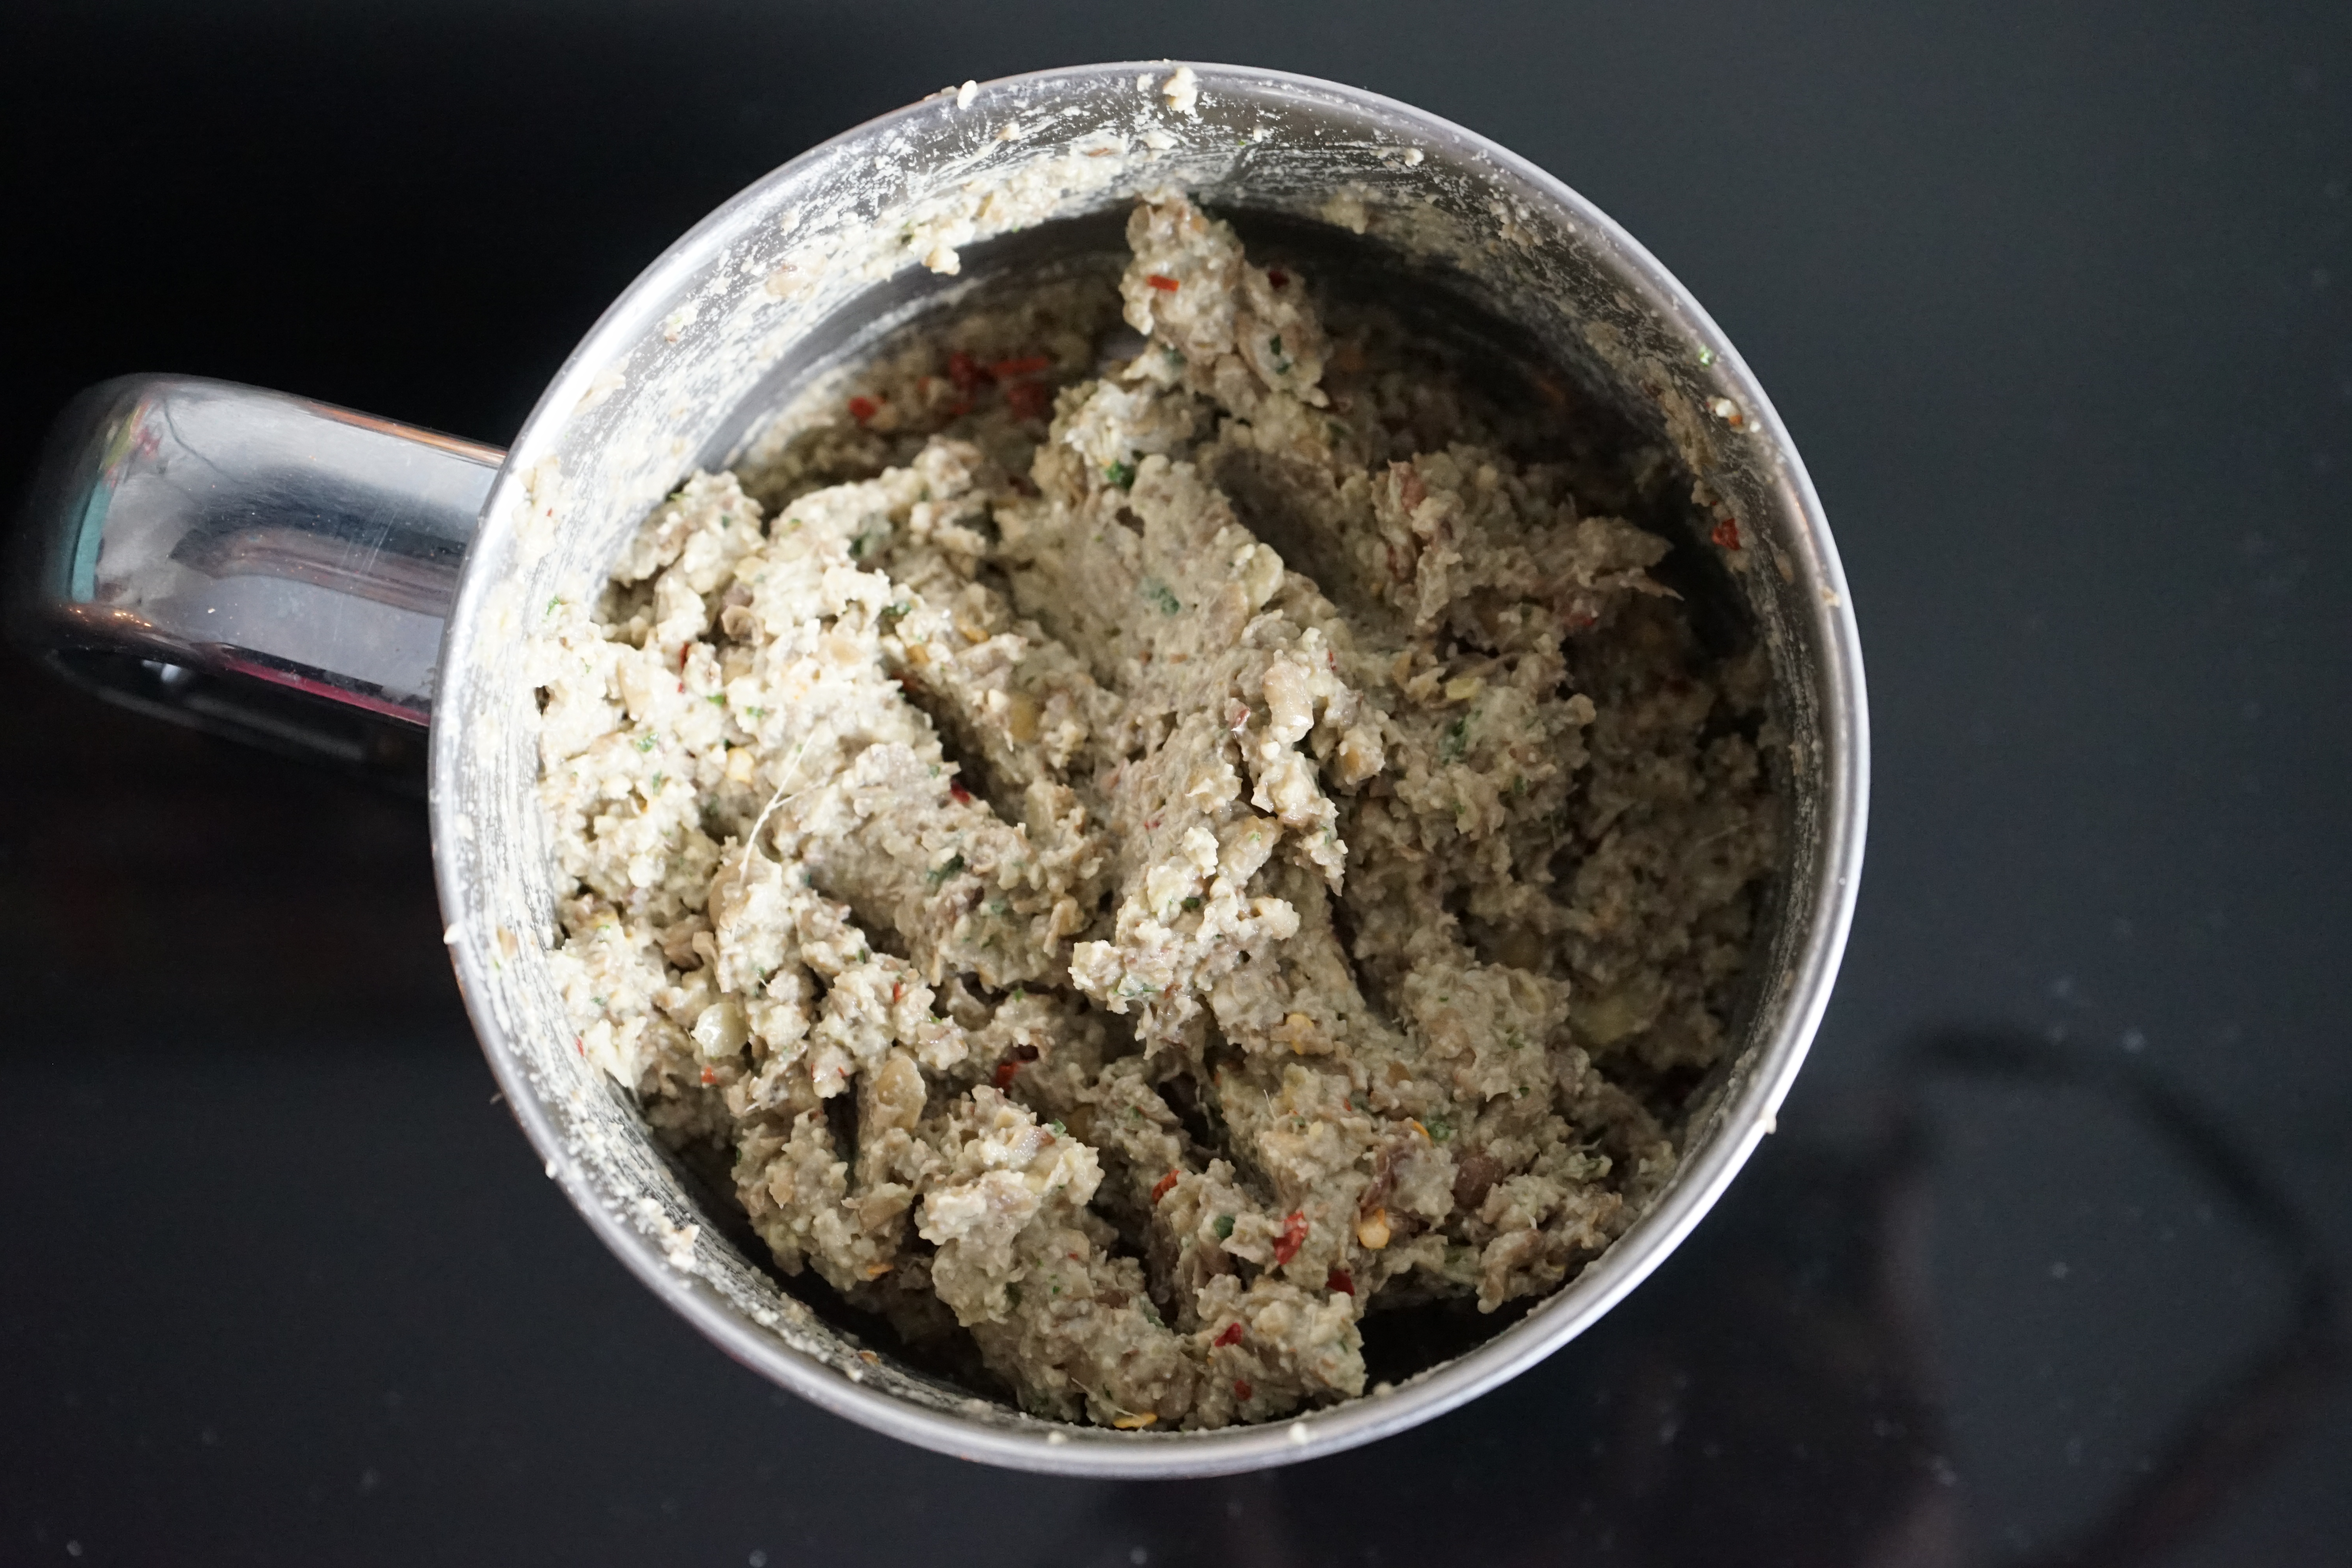
- For the first round, blend without adding any water. Use a spatula to clean the sides of the blender jar to make sure there are no lumps
- Then, add approx. 1/2 cup of water to blend into a smooth batter. The batter should be of dosa batter consistency, not too thick and not too thin
- Transfer the batter into a bowl. To this, add all the spices and vegetables and mix well
- Heat a non-stick pan to medium heat. Once hot, sprinkle some water on it as a cleaning mechanism
- Take a ladle of batter, place is at the center of the pan and slowly spread the batter in a circular motion using the back of the ladle. Don’t apply too much pressure while spreading the batter and ensure that the batter is not spread too thin
- Add some 1 tbsp of oil around the spread batter. Cover with a lid for 1-2 minutes
- Once you remove the lid, you will see brown spots on the bottom of the Pesarattu
- Flip it and cook the other side for 30 seconds
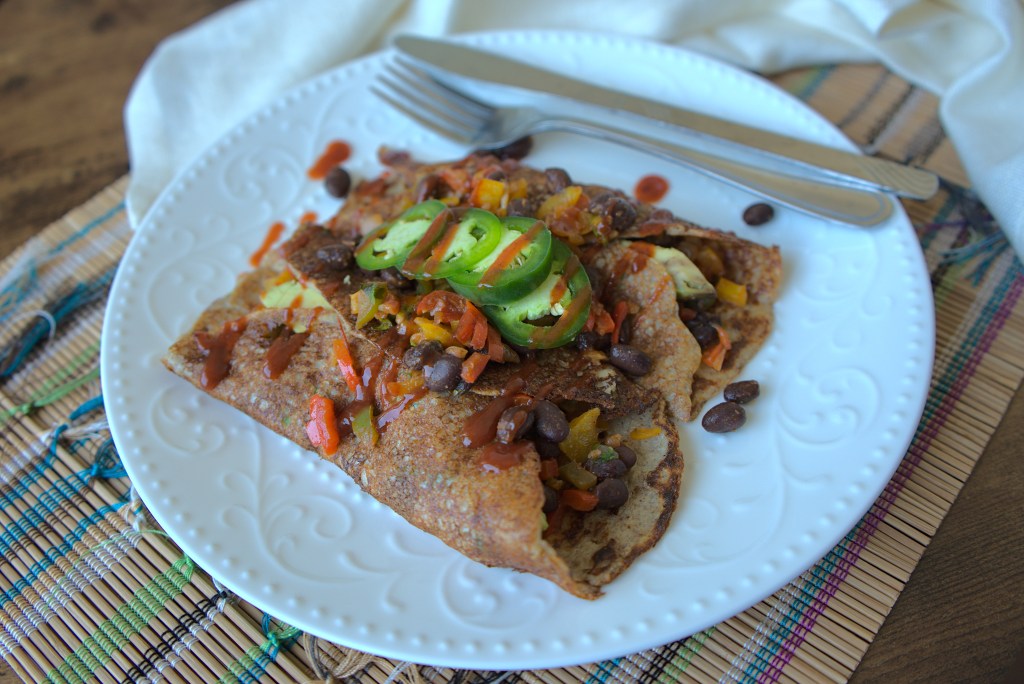
- Remove from the pan and serve with your choice of condiments
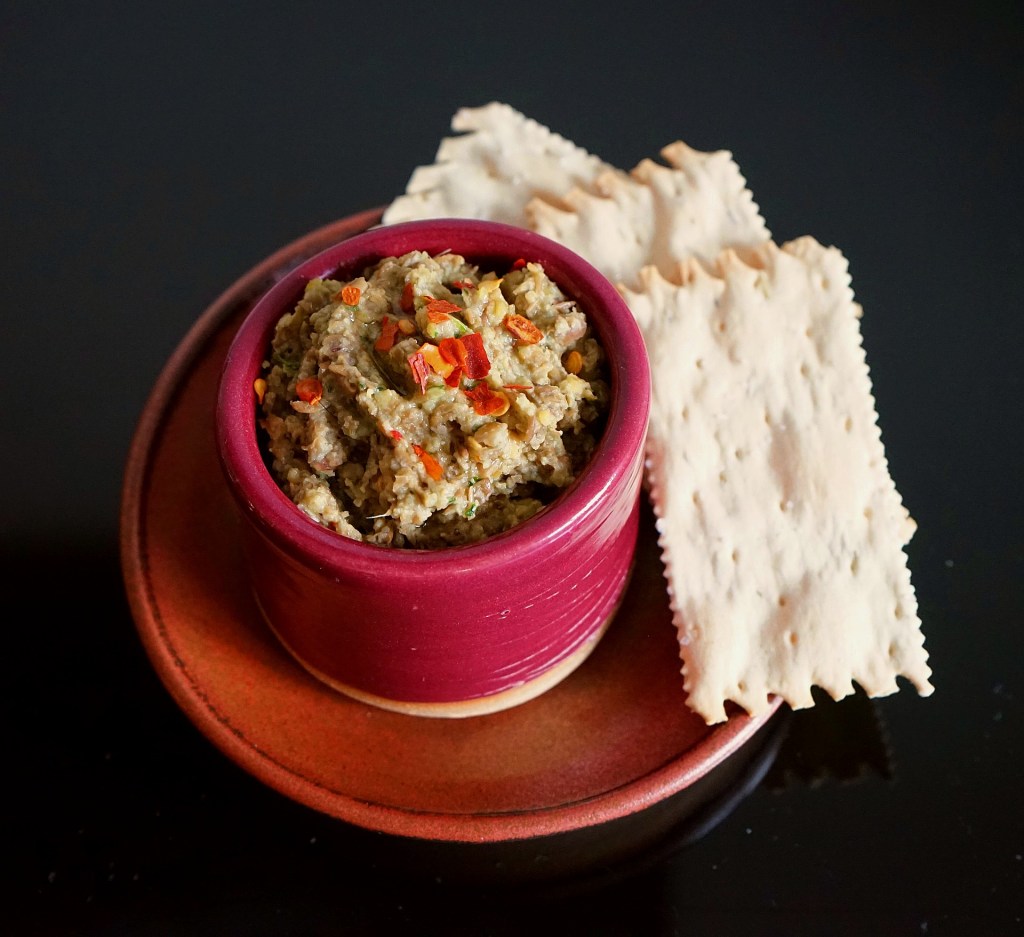
Serving Suggestion – Traditionally, Pesarattu is eaten with chutneys, particularly, Ginger Chutney. Check out the recipe to this chutney when you make this Pesarattu
You can also follow me on Instagram to be up-to-date with what is cooking my kitchen. If you like this recipe, do share your comments below. Don’t forget to post your version on Instagram using #foodformyloveblog.